Table of Contents

In the depths of a mysterious Domain, treacherous foes of even more mysterious origins are preparing for battle... Carefully analyze the opposing lineup and adapt to swiftly dispatch your foes!
Gameplay Overview
Event Gameplay Duration:
➥ 2024/02/15 10:00:00 – 2024/02/26 03:59:59
Eligibility:
➥ Adventure Rank 20 or above
Event Overview:
➥ For 5 days after the start of the event, a new challenge will become available each day.
➥ Each challenge will have four rounds of battle. Before the first round of every challenge, you can select four characters to form a team, and before each following challenge round, you can select two characters to join the team.
➥ Every character starts with 2 Resolve. Each time a character takes part in a combat round, they will lose 1 Resolve. Characters who run out of Resolve cannot continue to be deployed.
➥ Each challenge will have a unique type of “Roiling Resolve”: Special effects will be obtained based on the total Resolve of the team members. Pay attention to these effects and use them effectively to obtain their benefits in battle.
➥ The trial characters available in this gameplay mode will inherit the same Constellation levels of the characters owned by the Traveler.
Gameplay Tutorial
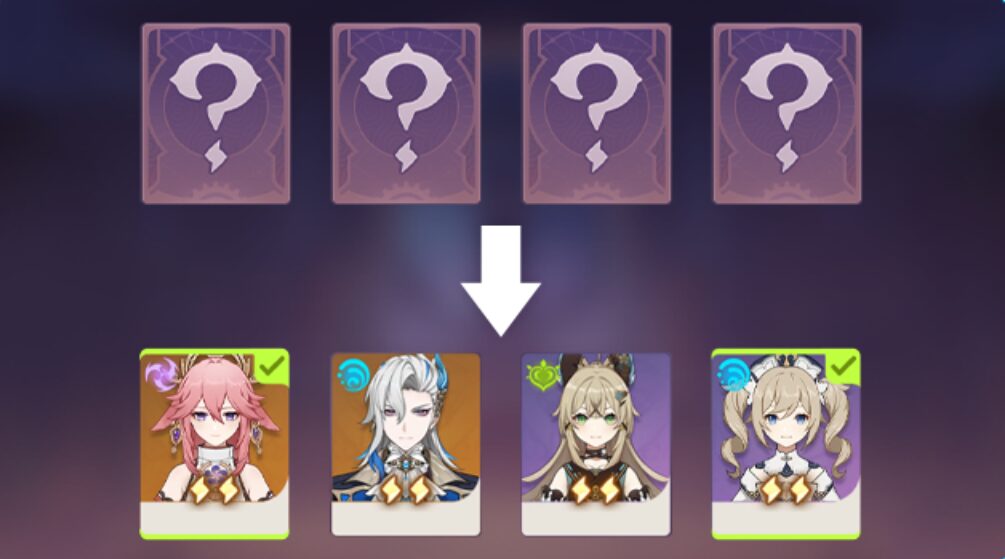
You must complete a number of battle rounds within the time limit to complete Triumphant Frenzy challenges. Before the first round of every challenge, you can select four characters to form a team, and before each following round, you can select two characters to join the team.
Trial characters in this gameplay mode will inherit the actual Constellations you own for them.
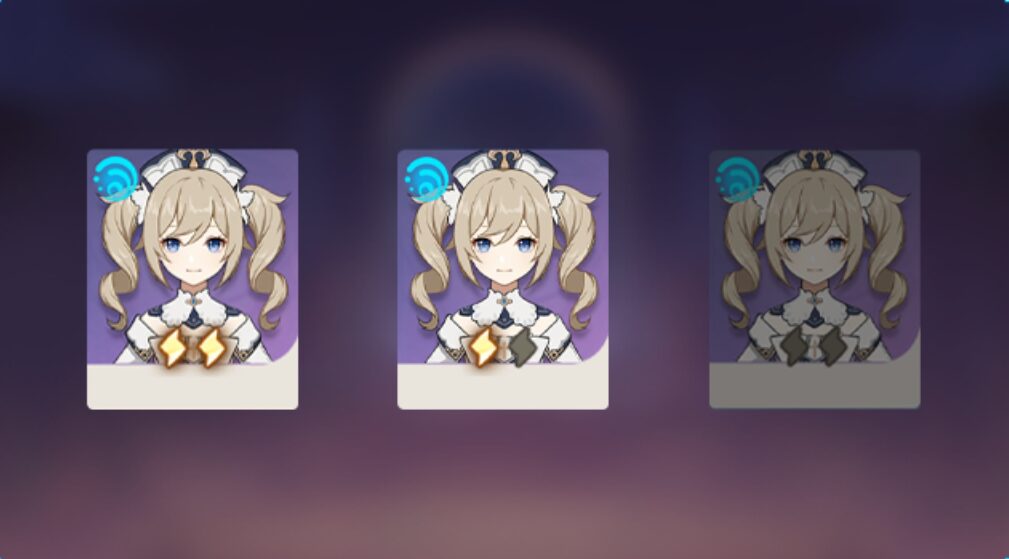
Every character starts with 2 Resolve. Each time a character takes part in a combat round, they will lose 1 Resolve. Characters who run out of Resolve cannot continue to be deployed.
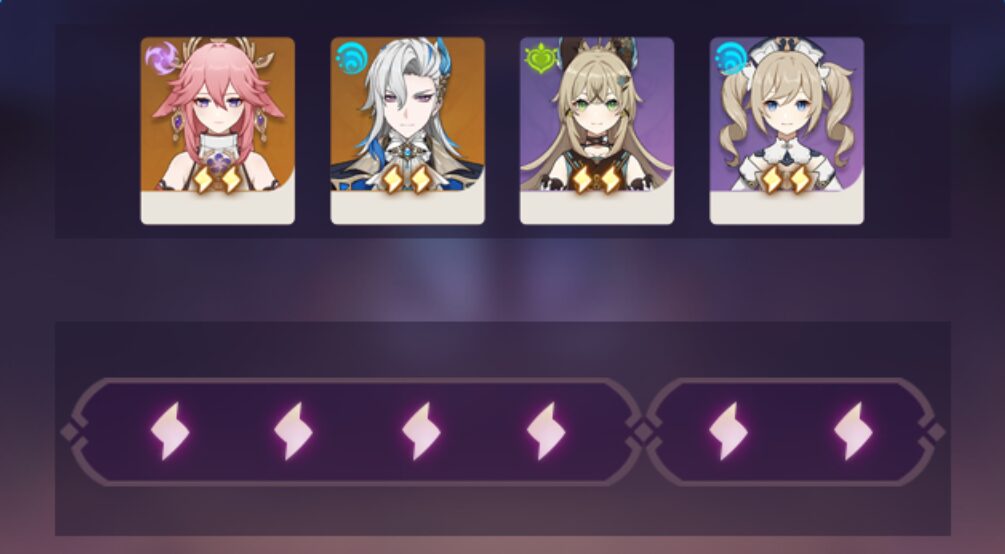
Each challenge has its own unique Roiling Resolve mechanism, which will confer buffs that correspond to the party's total Resolve.
The higher the party members' total Resolve, the more powerful the buffs. Make effective use of these buffs to complete challenges more easily.
Triumphant Frenzy
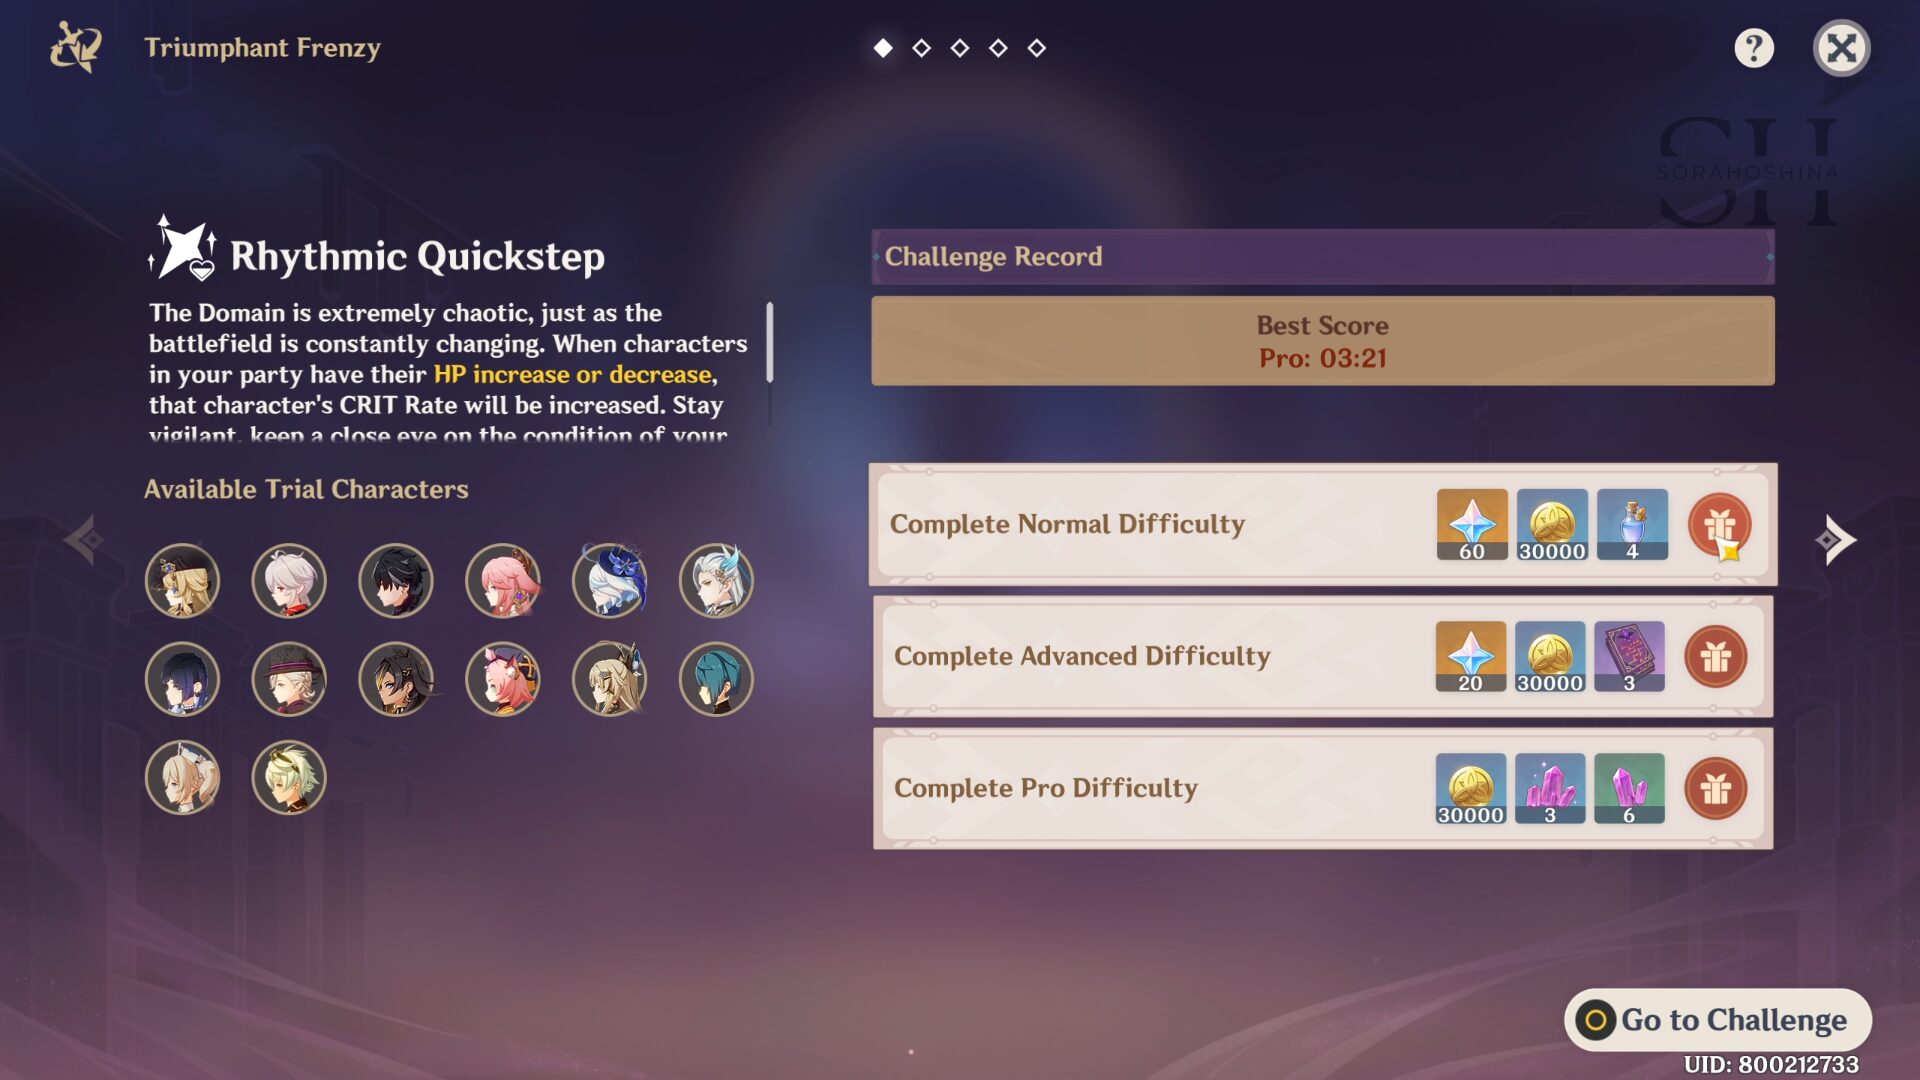
Stage 1 - Rhythmic Quickstep
Combat Buff
Roiling Resolve will grant levels of buffs that correspond to your party members' total Resolve.
When a character's current HP increases or decreases, the active character's Crit Rate will increase by 3%/10% for 8s. This can be triggered once every 0.5s. Max 6 stacks. Each stack's duration is counted independently. This effect will be canceled out the character leaves the field.
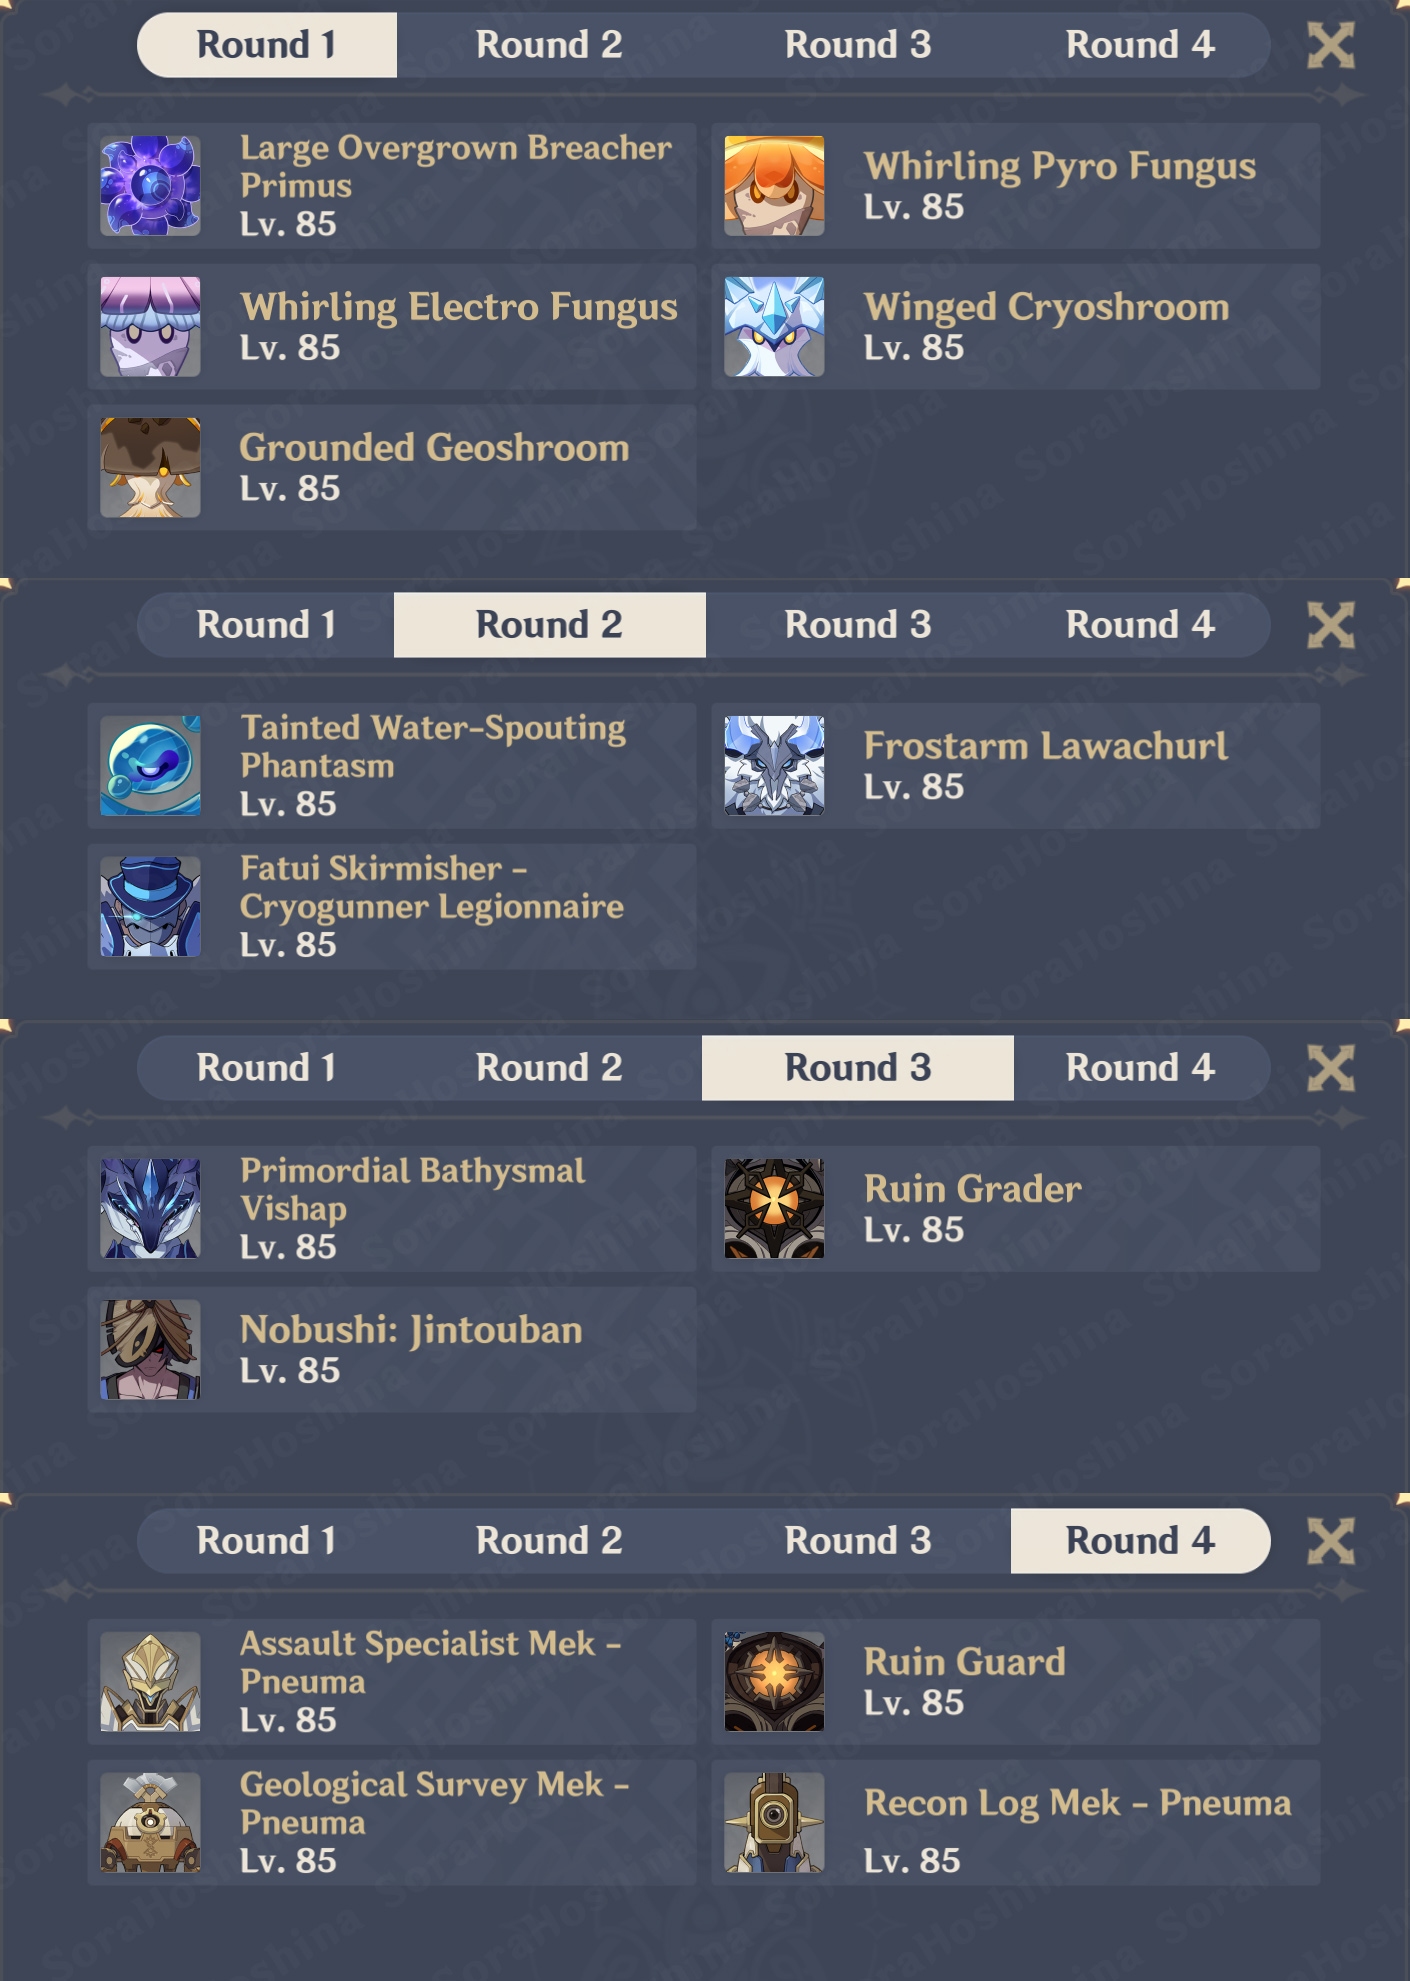
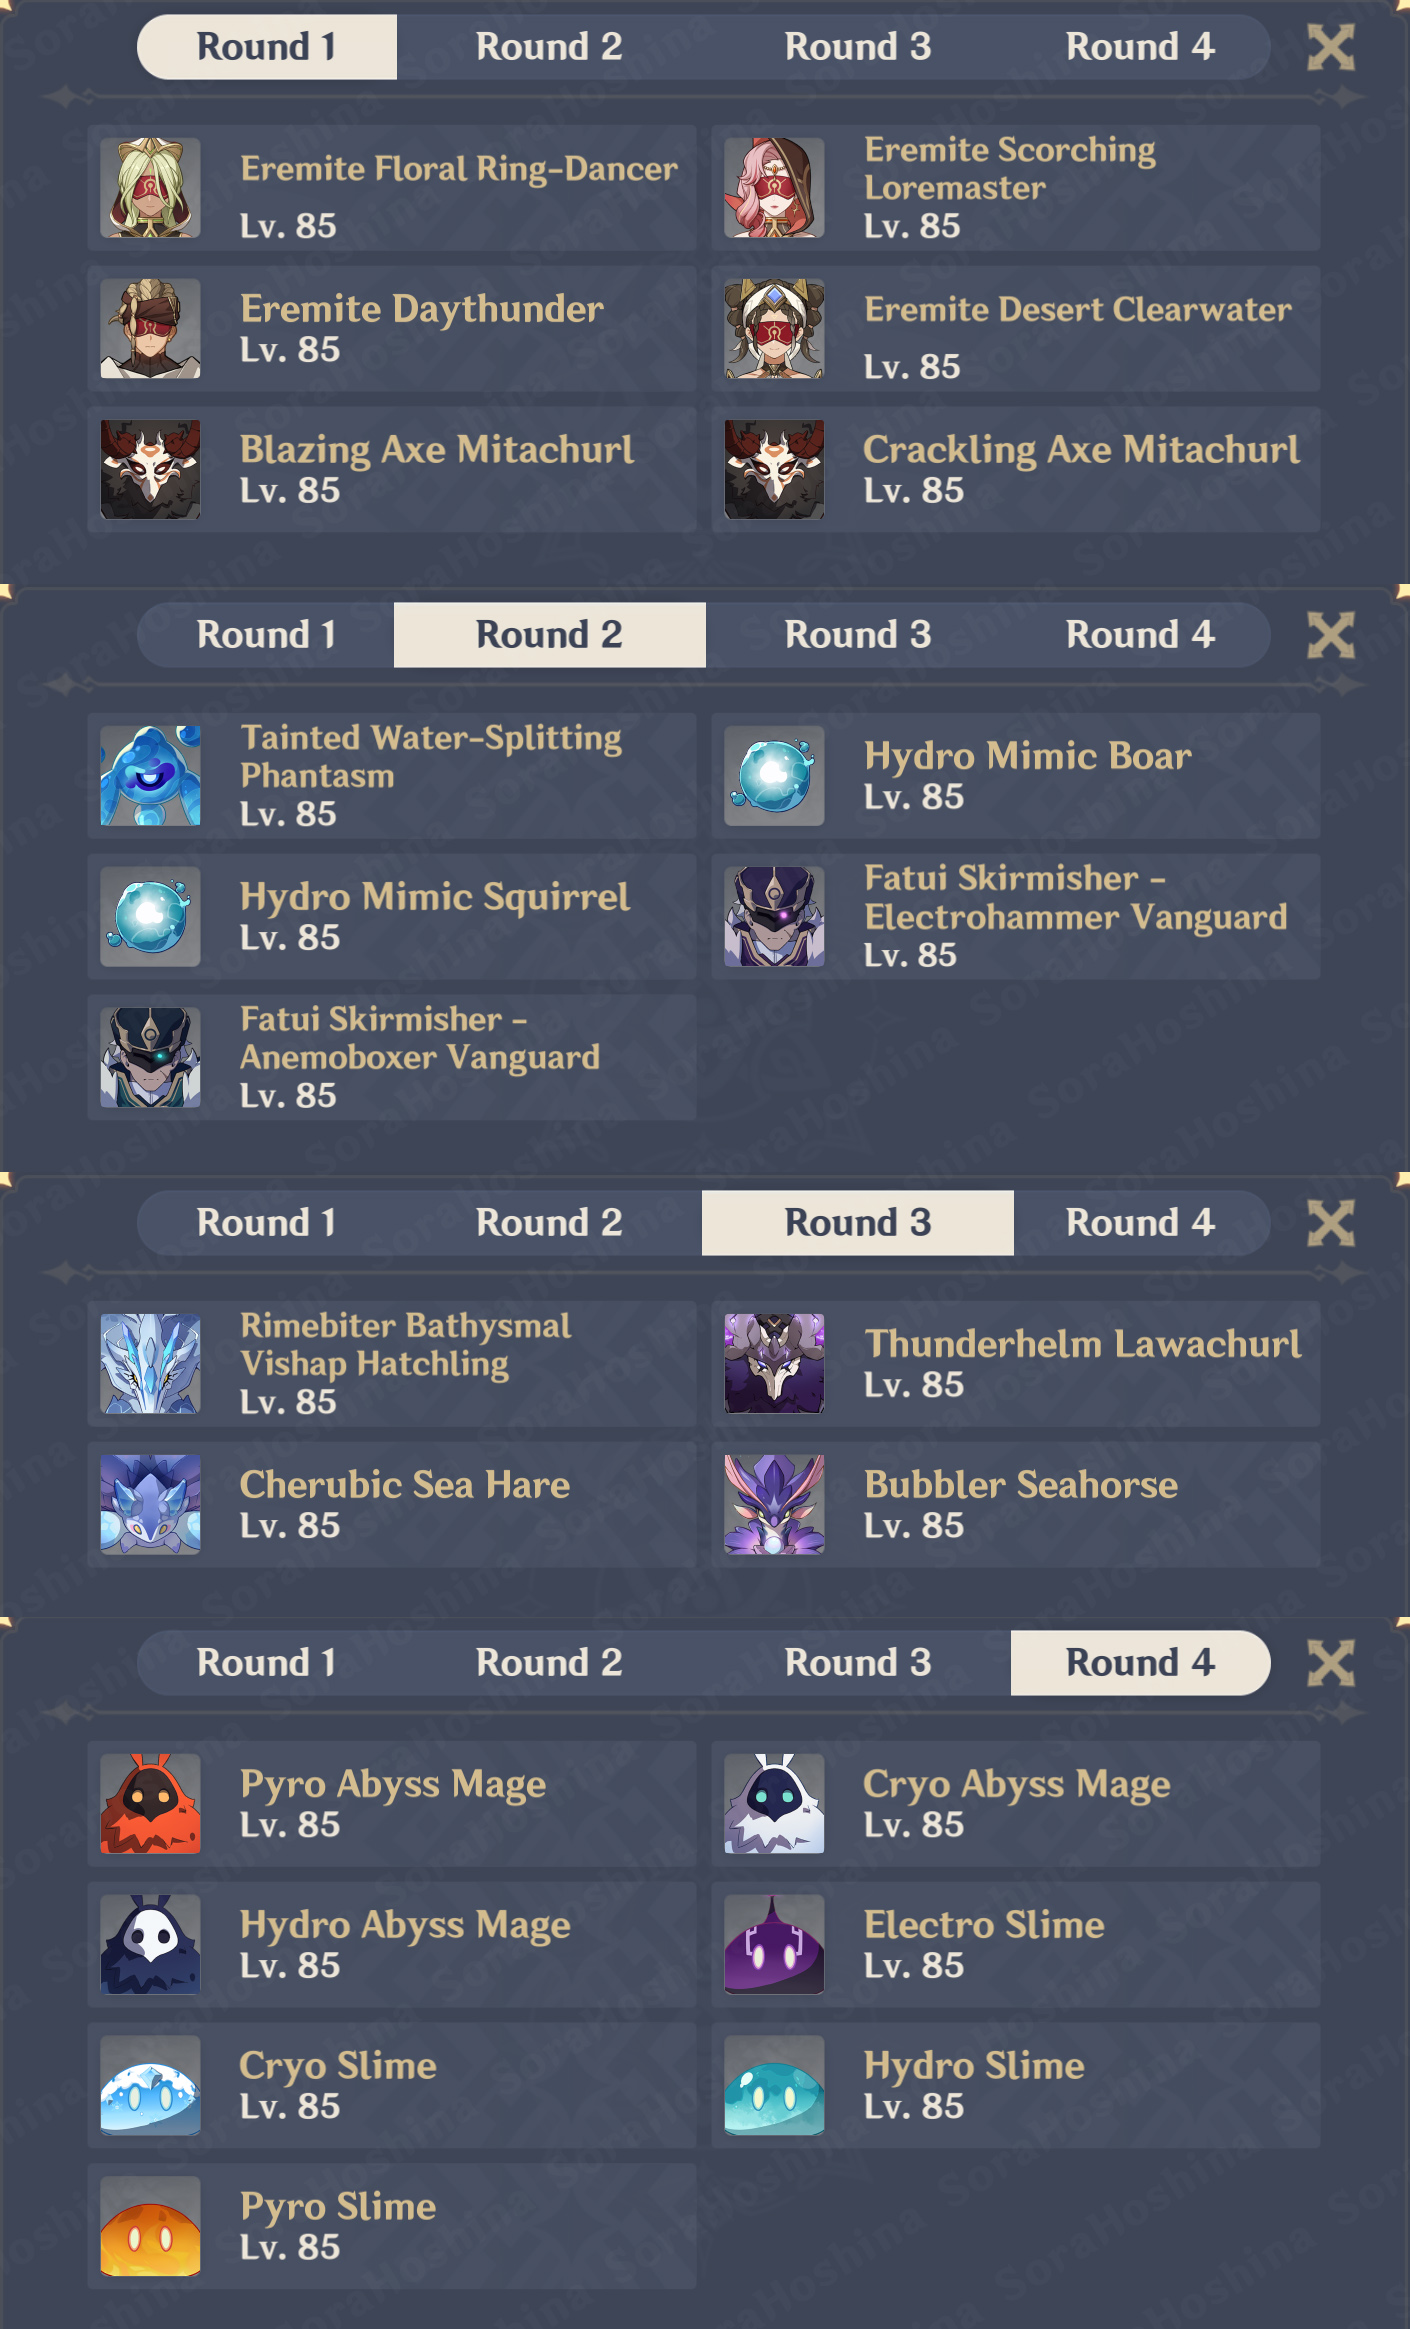
Opponents Detail
Strategy
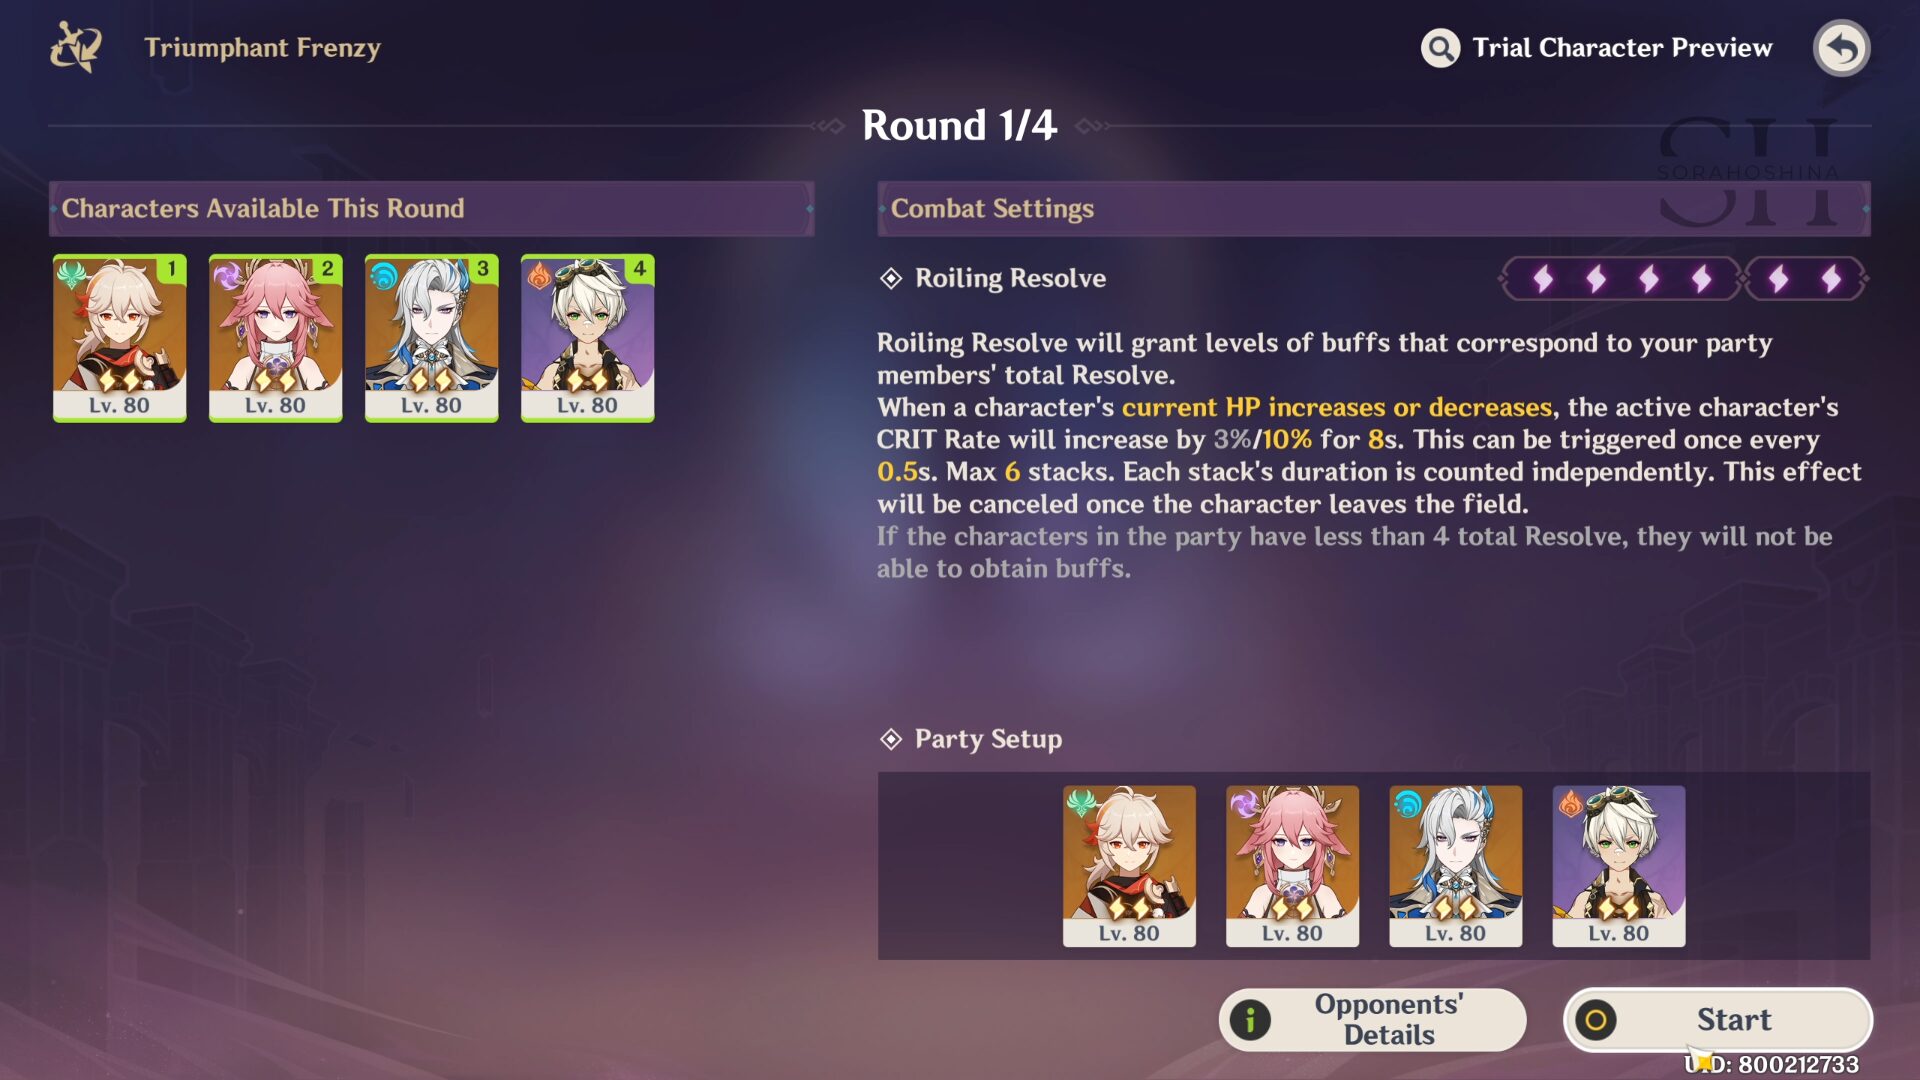
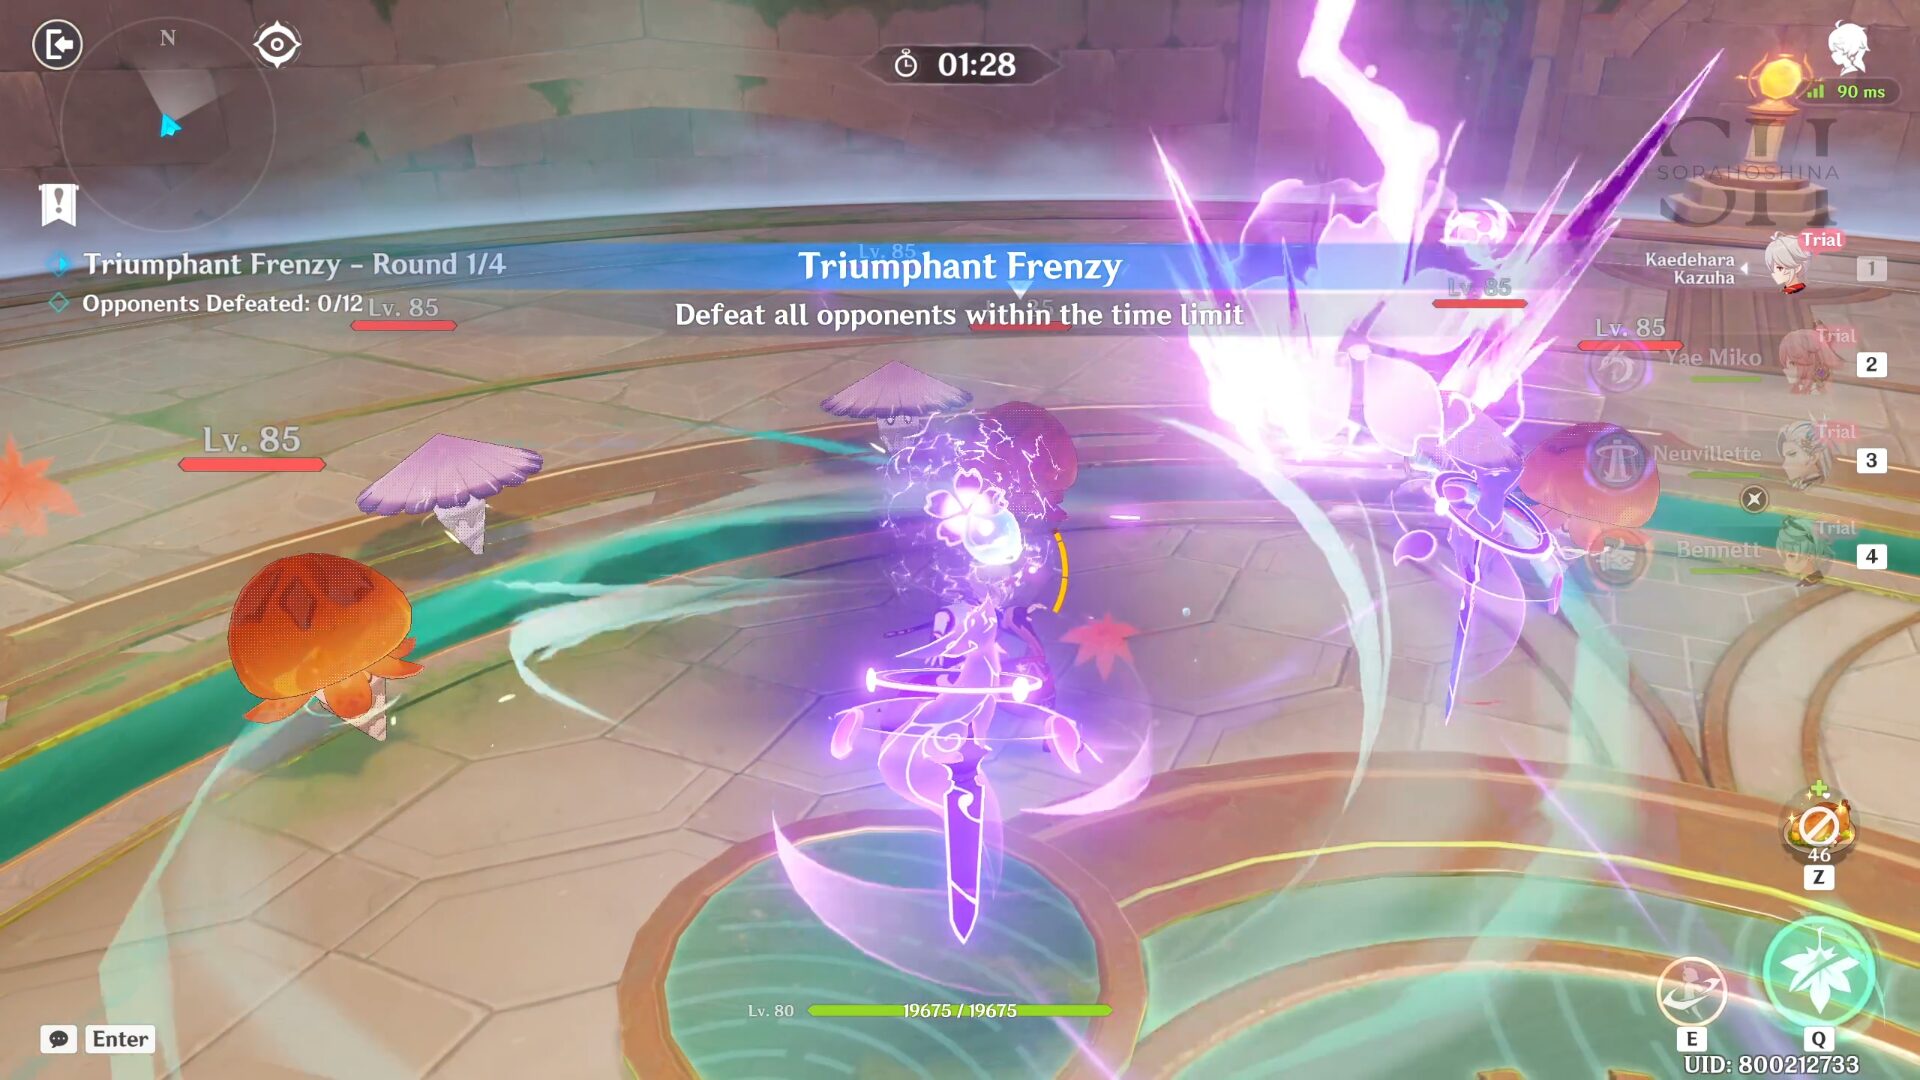
In the first round, choose Kazuha | Yae Miko | Neuvillette | Bennett and include them all in one team. There are many enemies in each round so Kazuha and his CC are really important. Bennett and Miko can cause Overload and throw light enemies away so remember that when you want to use Bennett Skill.
My rough rotation is: Yae Miko Skill x3 > Kazuha Skill & Burst > Neuvillette Burst, Skill & Charged ATK. Insert Miko's Burst and Bennett's Burst whenever you want.
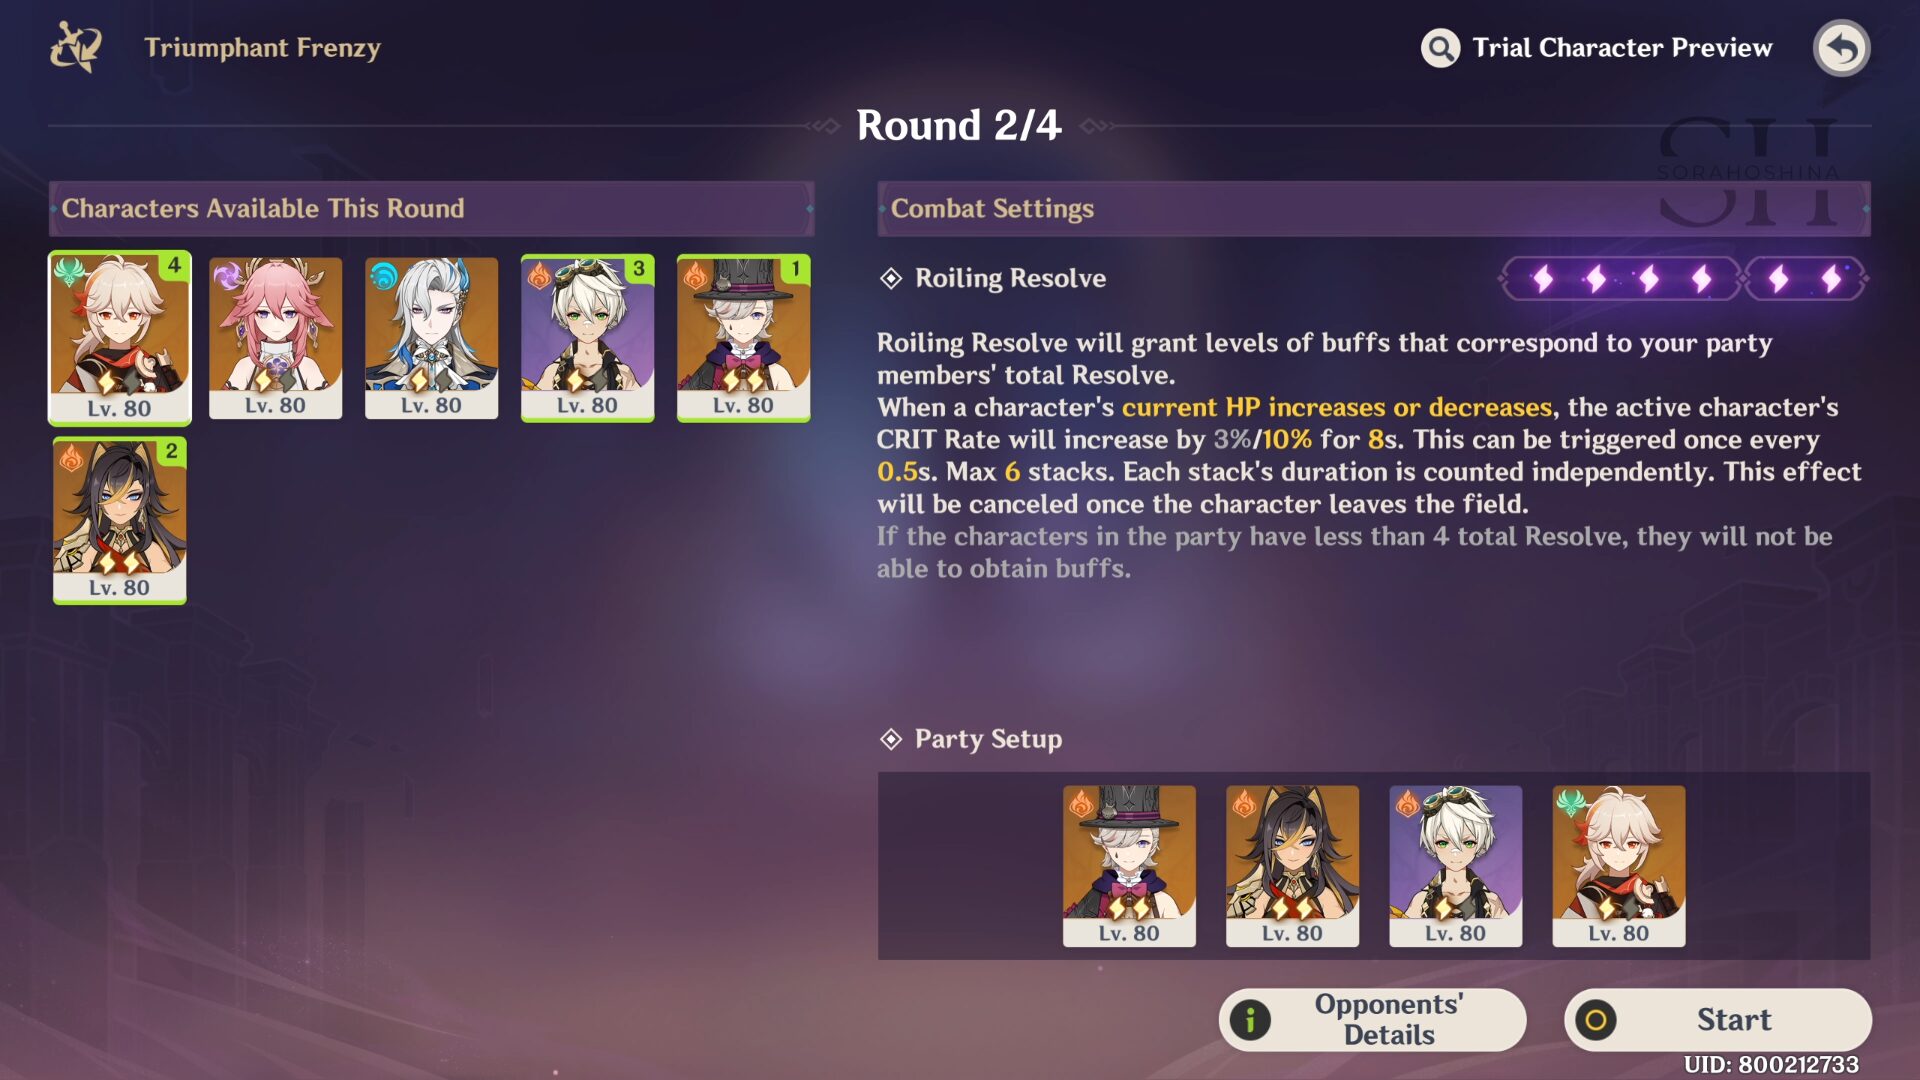

In the second round, choose Lyney | Dehya | Kazuha | Bennett for the mono pyro team since there are many Hydro/Cryo enemies here. There are not many enemies per wave here so Kazuha's CC is not needed but Elemental RES is always welcomed.
The rough rotation is: Dehya Skill > Kazuha Skill, Burst & Skill > Bennett Burst & Skill > Lyney Burst, Charged ATK until his stack is full & Skill. When using Lyney's Charged ATK, don't get too close to enemies' attacks or he will be staggered.
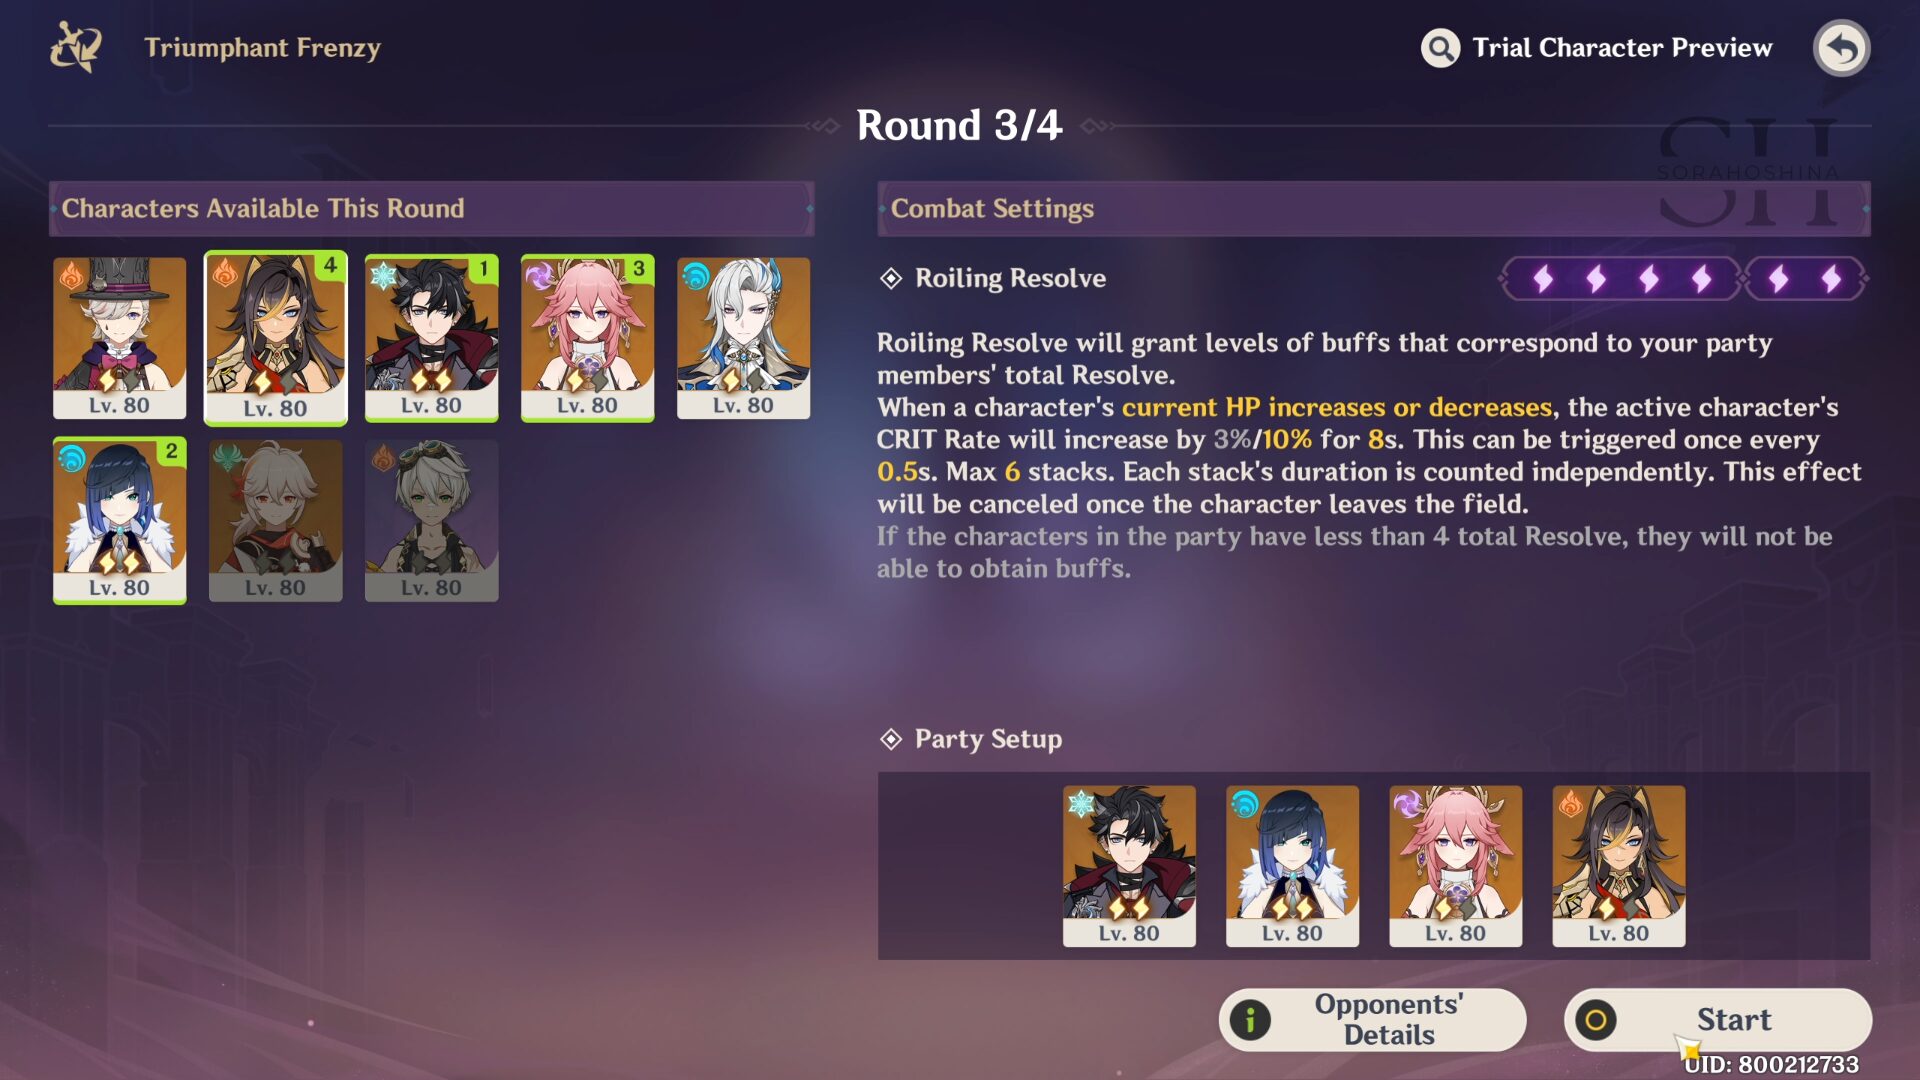
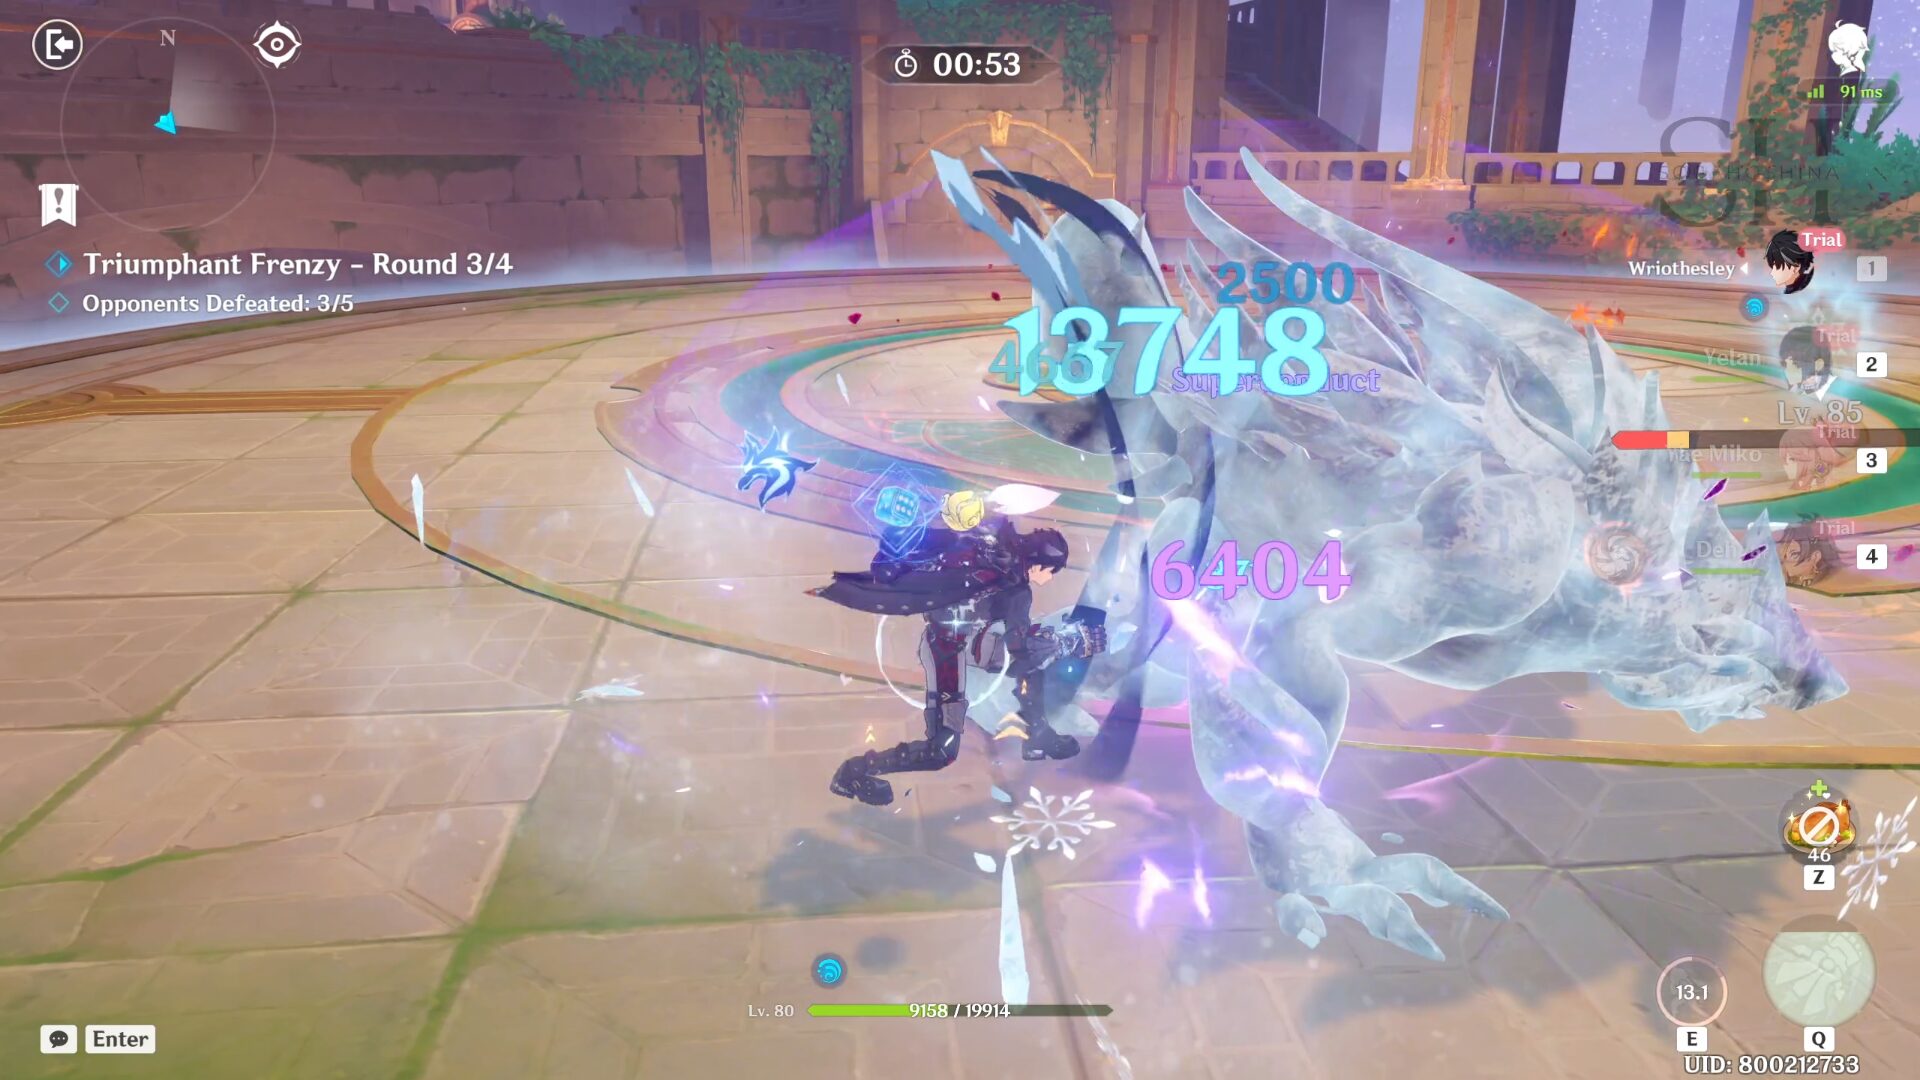
In the third round, choose Wriothesley | Yelan | Yae Miko | Dehya. There are no healers in this team (except Wrio's self-healing) so be careful when you get near the enemies. Although most enemies here are easily staggered with Miko and Dehya's Overload, so they don't have much opportunity to hit you. Nevertheless, try to make your Wriothesley the most active character on the field and use his Charged ATK to heal himself when his HP is less than 60%.
The rough rotation: Yae Miko Skill x3 > Dehya Skill > Yelan Burst & Skill > Wriothesley Skill, Spam NA & Charged ATK. Use Miko's Burst whenever she has enough energy, but I never use Dehya's Burst because of the not-so-high damage and long uptime on the field.
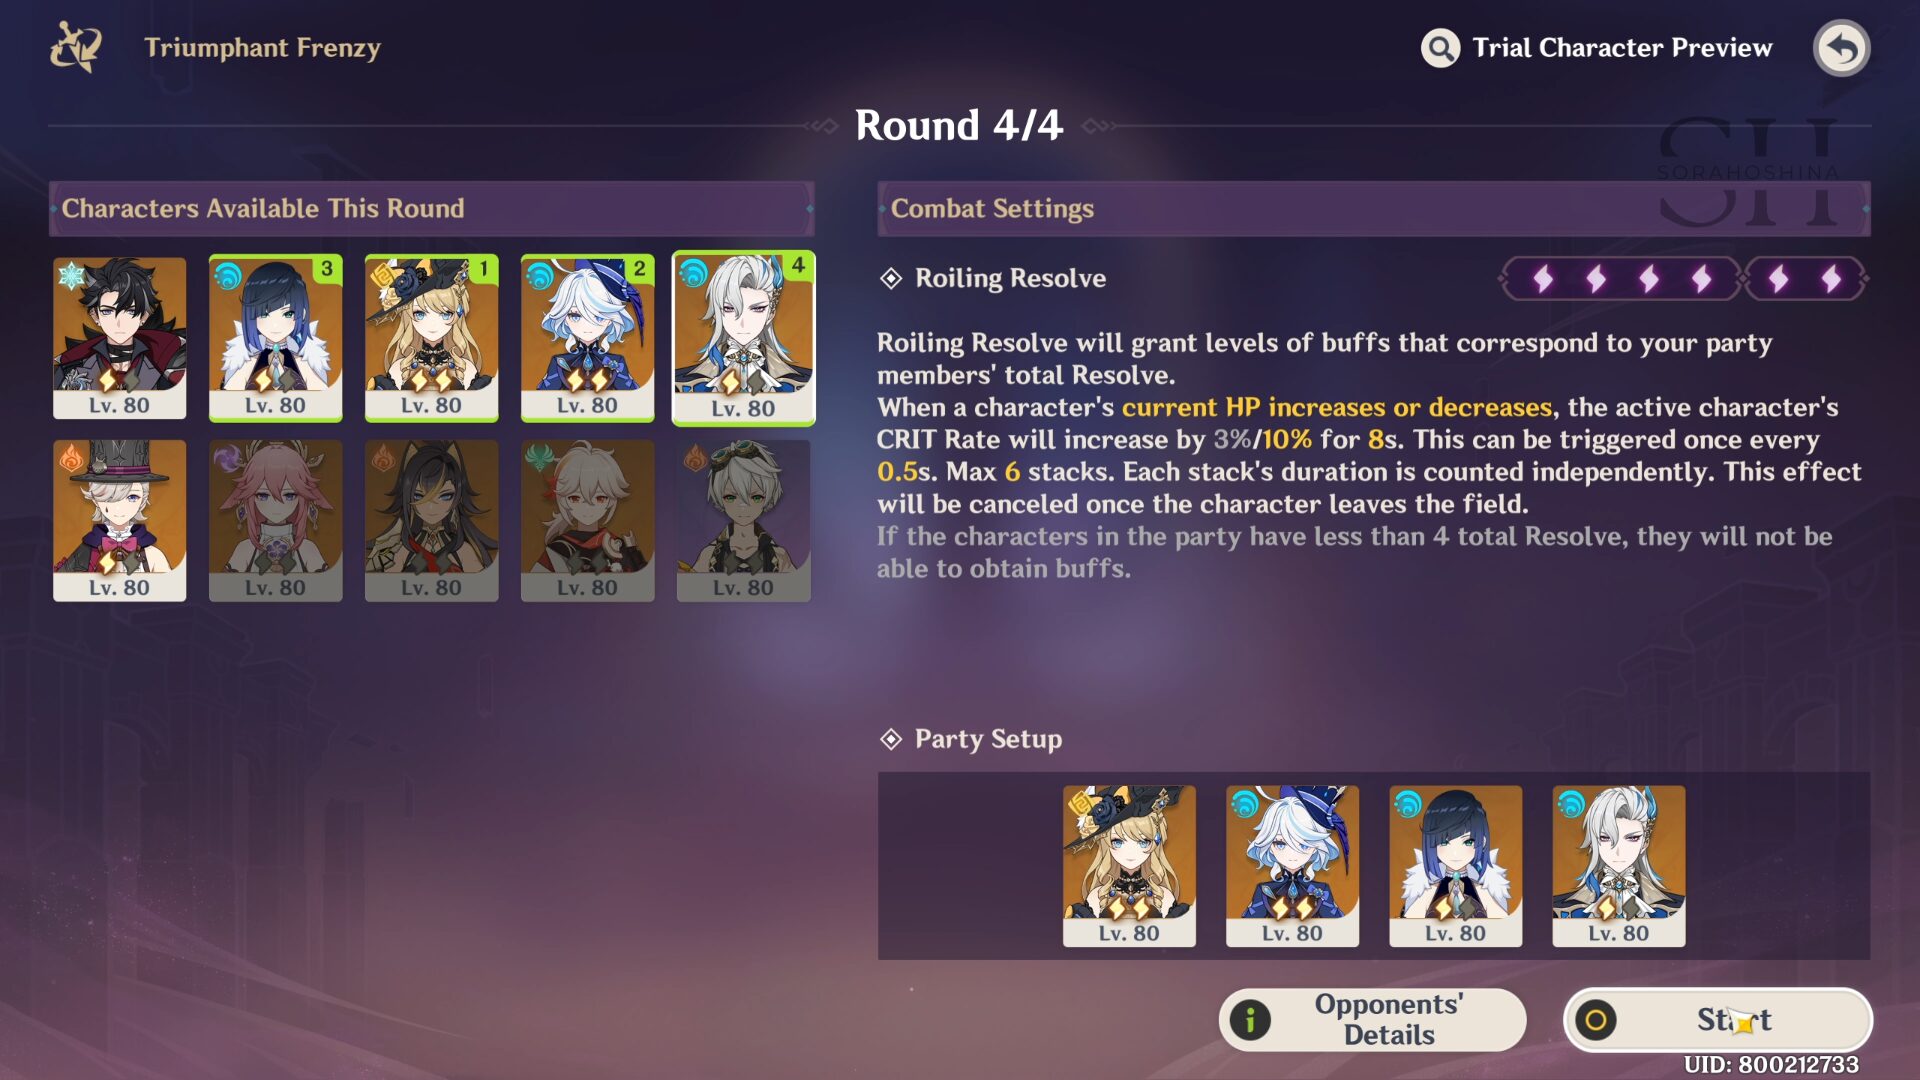

In the fourth round, choose Navia | Furina | Yelan | Neuvillette. Honestly, Neuvillette is just here as a filler to make sure we fill the Roiling Resolve bar to get the maximum buffs. You can either choose to use the Navia Furina Yelan trio with Navia as the active character, or focus on the Neuvillette Furina duo. Or just all characters if you can manage to rotate them nicely. Everyone in this team is strong.
The rough rotation: Furina Burst & Skill > Yelan Burst & Skill > Navia Burst, Hold Skill & Spam NA to generate Crystal. If you want to use Neuvillette, you can use his Burst, Skill & Charged ATK after Furina. His raw damage + buff from Furina is enough to kill all enemies honestly.
Stage 2 - A Blade From Above
Combat Buff
Roiling Resolve will grant levels of buffs that correspond to your party members' total Resolve.
When the current active character's Plunging Attack hits an opponents, a shockwave will be unleashed at the opponent's position, dealing a certain amount of/a greater amount of True DMG. This effect can be triggered once every 5s.
Opponents Detail
Strategy
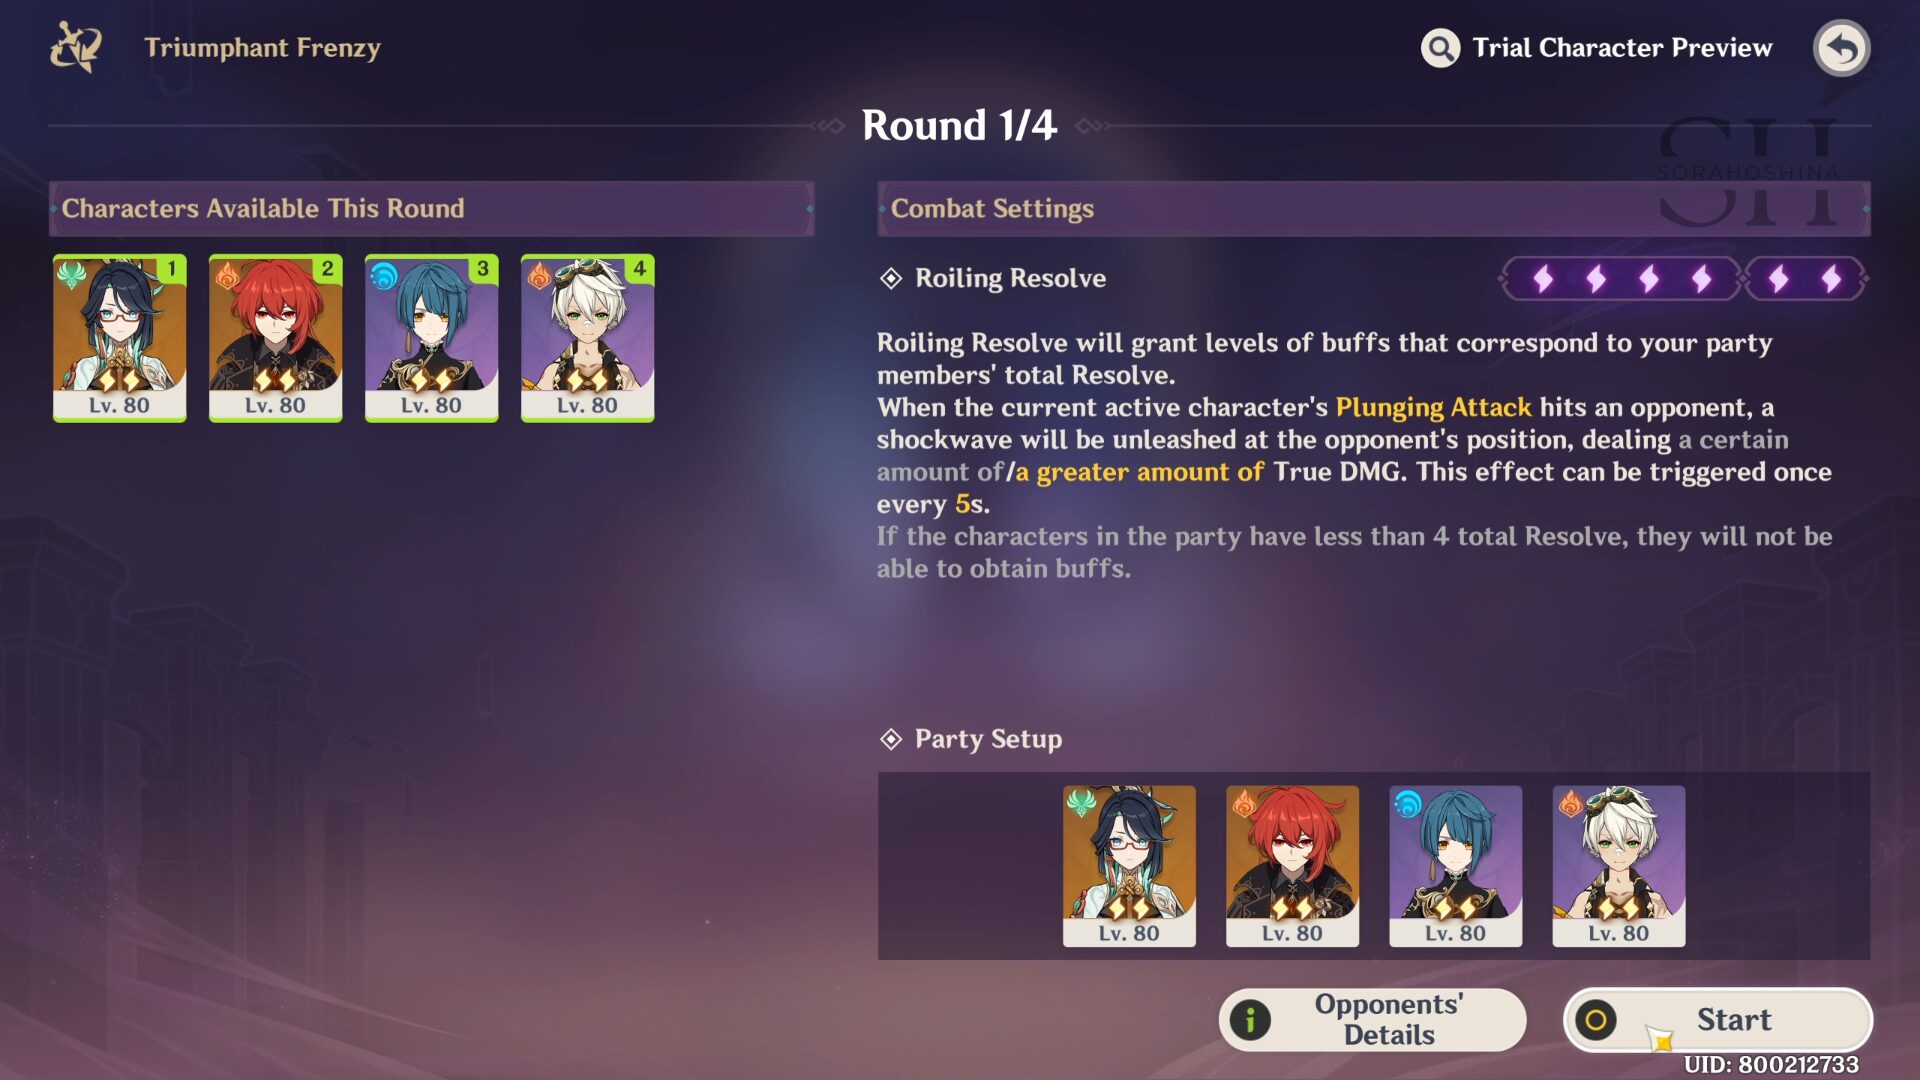

In the first round, choose Xianyun | Diluc | Xingqiu | Bennett and include them all in one team. In the first wave, go to the most left/right enemy so the others can come to you. Since there are no CC characters here, there's a possibility some of the enemies will stray quite far from you. But don't worry too much as they will come back to you later since all of them are melee type. During the last wave with 2 lady Eremites, focus on the Floral Ring-Dancer since she will mostly stay put, while the Loremaster keep teleporting away.
My rough rotation is: Bennett Burst & Skill > Xingqiu Burst & Skill > Xianyun Burst & Skill > Diluc Burst, Normal ATK & Plunge ATK.
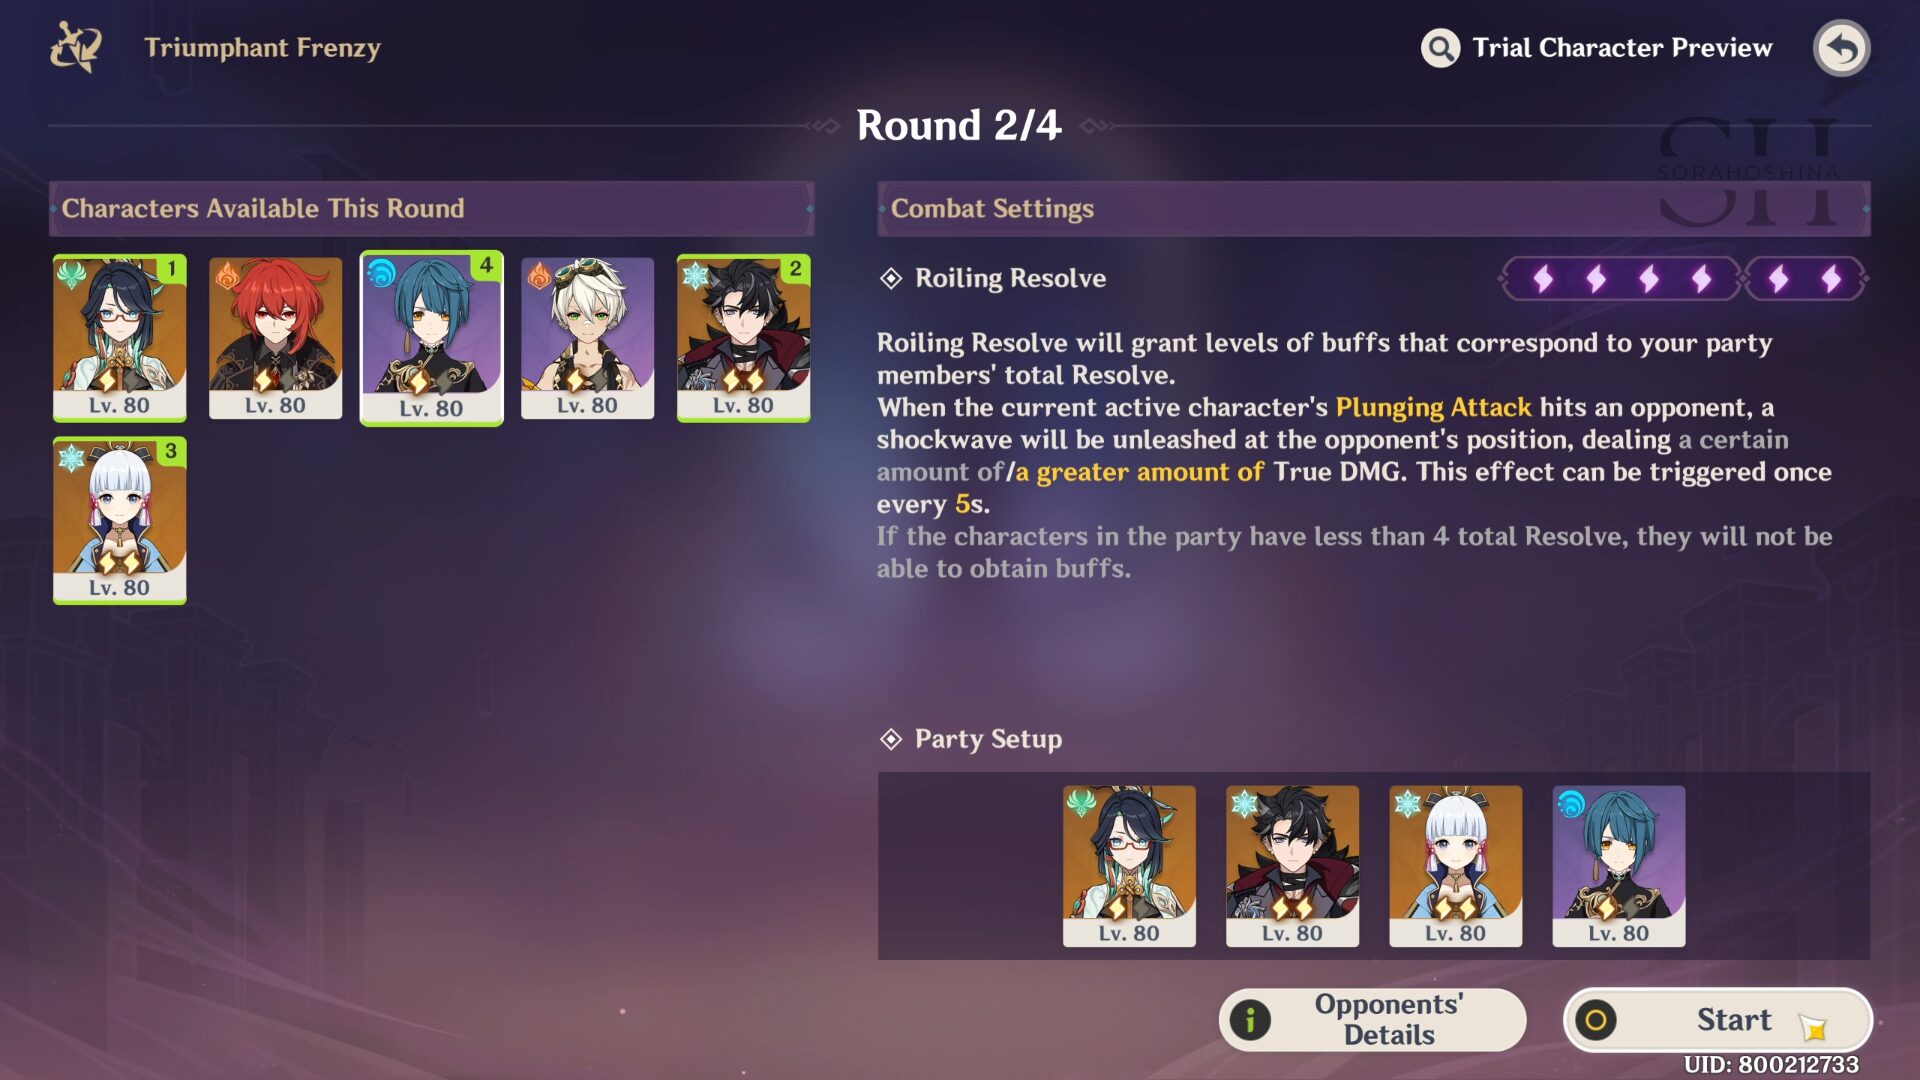

In the second round, choose Xianyun | Wriothesley | Ayaka | Xingqiu for the Freeze team. The one who will take advantage of Xianyun's Burst will be Wriothesley since he's a catalyst user so he can deal Cryo damage easily (while Ayaka can also deal consistent Cryo DMG, you need to make sure she's infused properly before jumping so it consumes more time). Ayaka's role here is her Burst during the wave with Phantasm.
The rough rotation: Ayaka Skill > Xianyun Burst & Skill > Wriothesley Burst, Skill & Plunge ATK. I didn't use Xingqiu since the first wave already features Hydro enemies, but you can use him if you want (possibly after Xianyun).
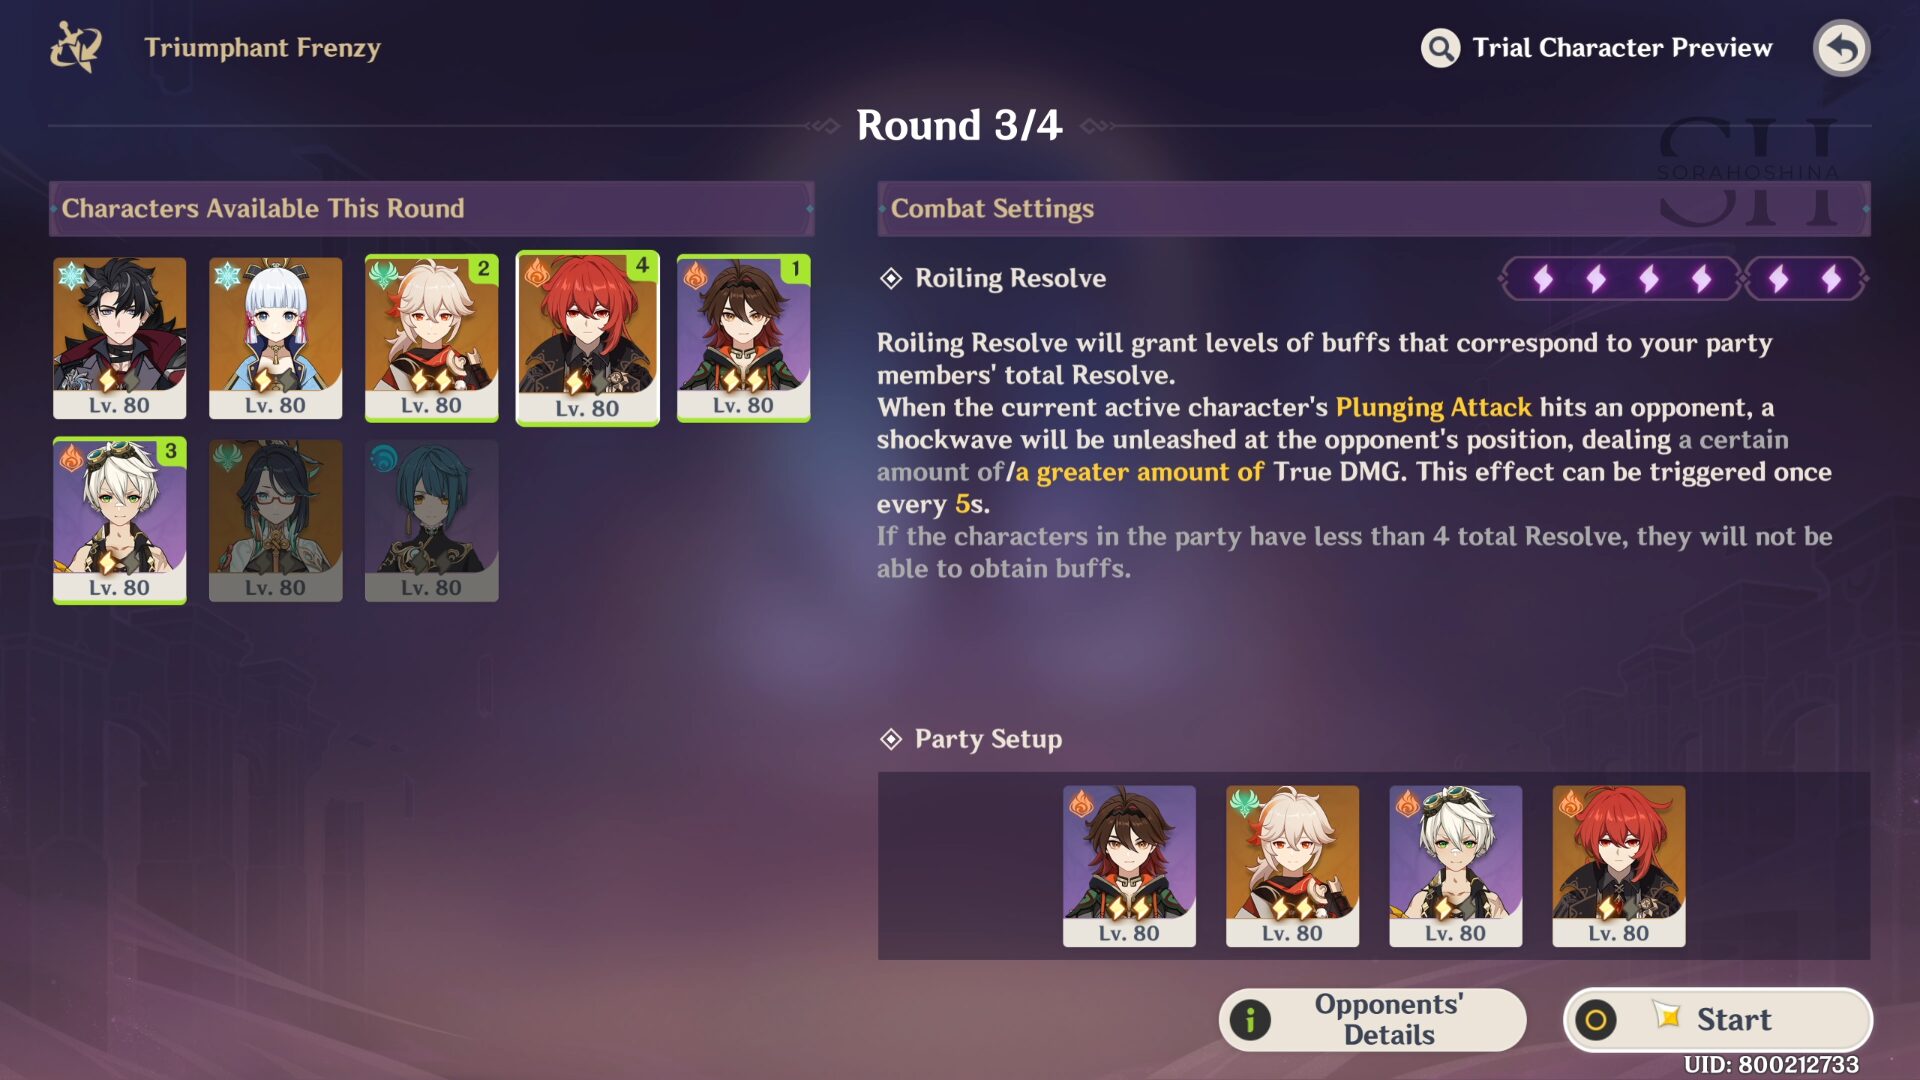
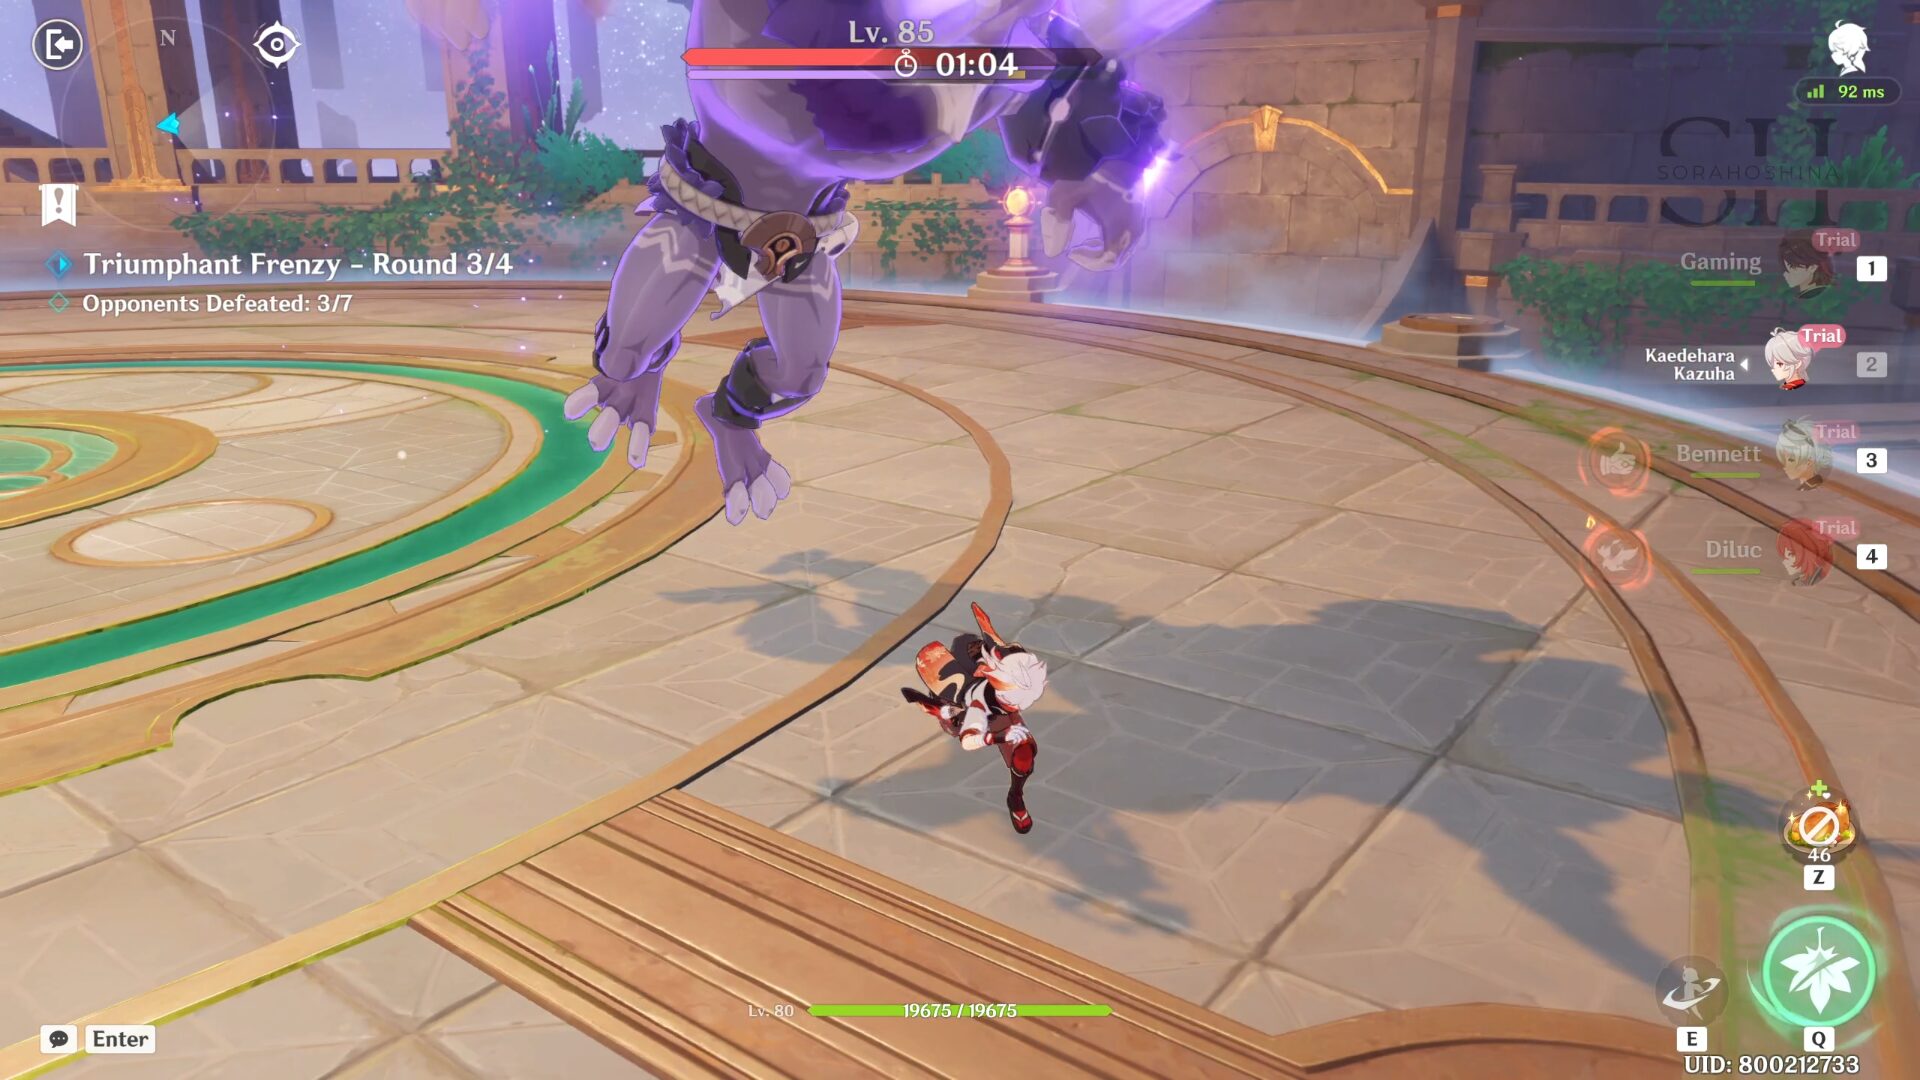
In the third round, choose Gaming | Kazuha | Bennett | Diluc. Diluc is just there for the Resolve stack and we'll use Gaming as the main DPS since his whole kit is about plunging and you want to activate the Resolve buff. In the second wave with the Lawachurl, make sure to wait until it's done with its lunge before you use your Bursts or it will stray far away from Bennett and Kazuha's AoE Burst (you can see in my video above at 2:41).
The rough rotation: Bennett Burst & Skill > Kazuha Burst & Skill > Gaming Skill, Burst & spam your Skills whenever the CD ends. As you can see, I didn't use Diluc since he can't really do plunging without Xianyun (I'm not good with 'Dragon Strikes,' but if you are, feel free to use him as the main DPS instead of Gaming).

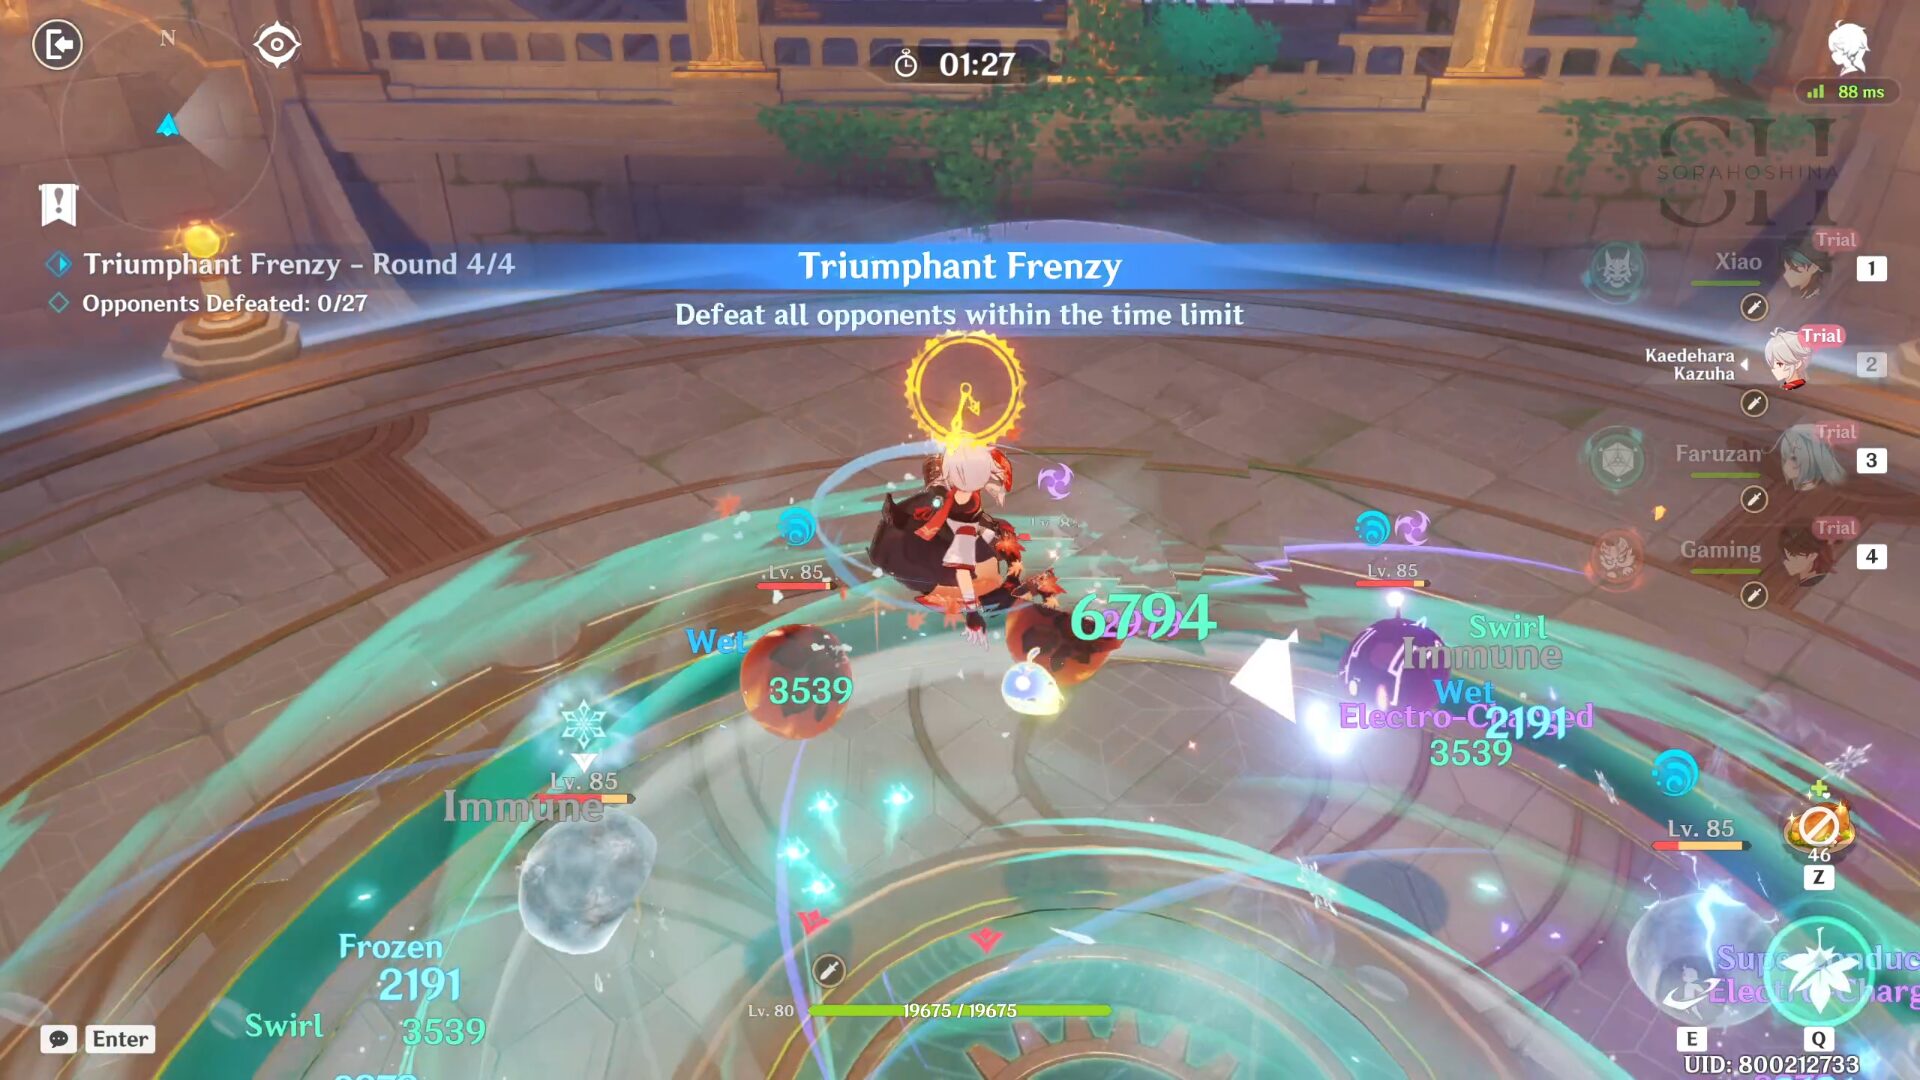
In the fourth round, choose Xiao | Kazuha | Faruzan | Gaming for the Mono-Anemo (yeah, as you can guess, Gaming is there for the Resolve stack). Honestly, since the first 3 waves feature Slimes, you can just use Kazuha's Hold Skill and Burst to take care of them. Only when the last wave with the Abyss Mage did I use Xiao and his Plunge ATK. But maybe it's possible because of my Kazuha's constellation, and it might be a bit hard for C0 Kazuha to pull through, so depending on Xiao from the start is also a-okay!
The rough rotation: Kazuha Hold Skill & Burst (& Hold Skill again if possible) > Faruzan Burst, Skill & Charged ATK > Xiao Skill, Burst & Plunge ATK.
Stage 3 - Blazing Like a Flaming Flower
Combat Buff
Roiling Resolve will grant levels of buffs that correspond to your party members' total Resolve.
Within 6s after a character triggers a Vaporize or Melt reaction, the DMG dealt by that character through Vaporize or Melt reactions will be increased by 35%/100%.
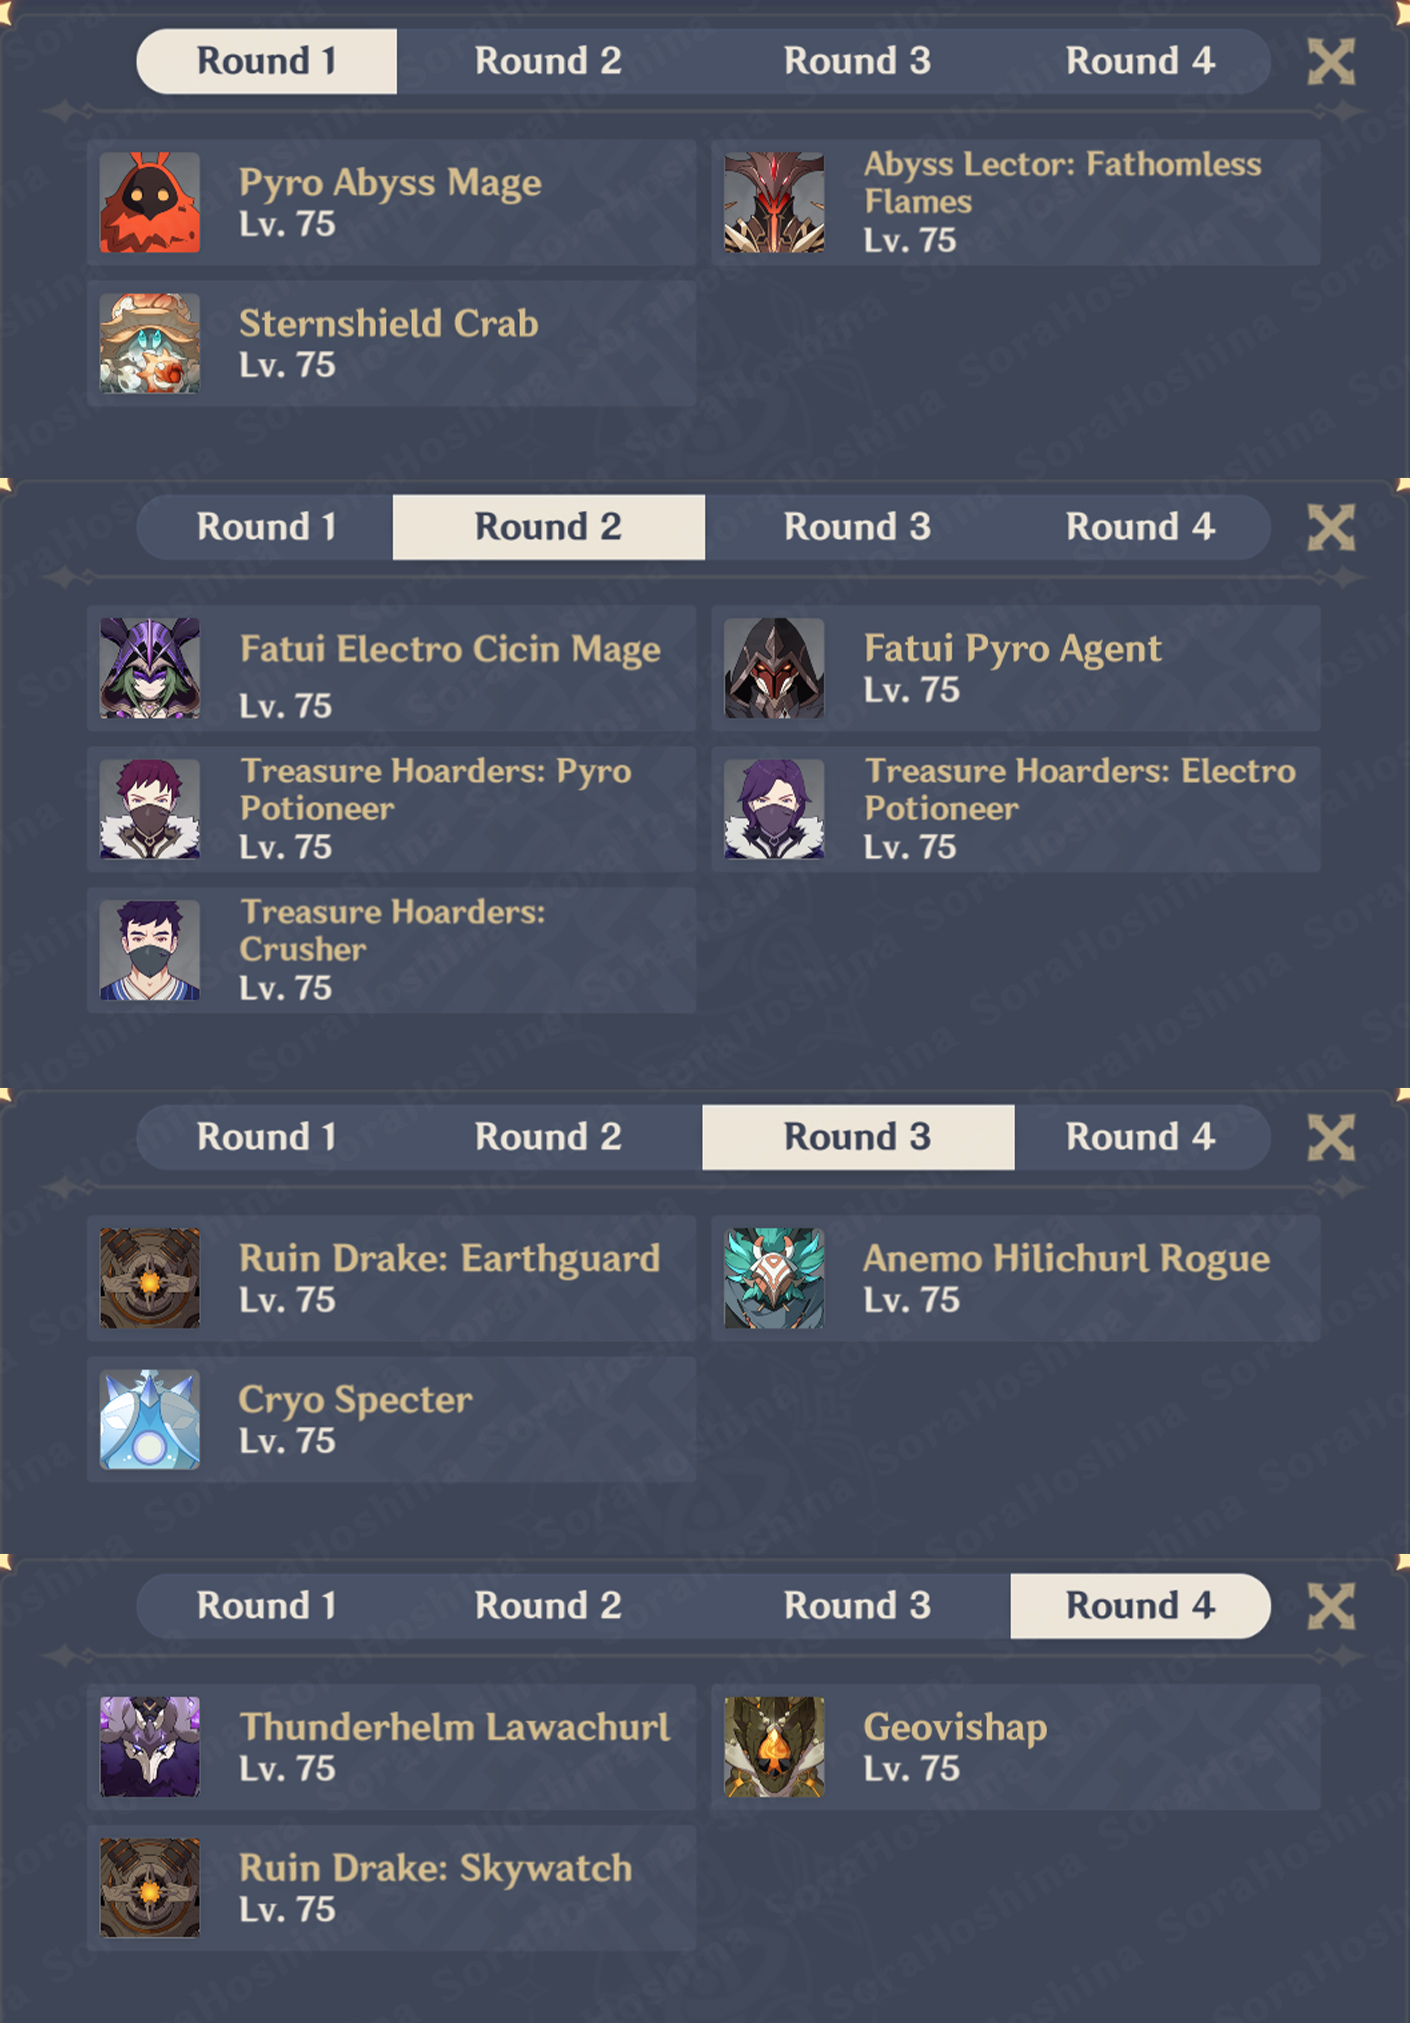
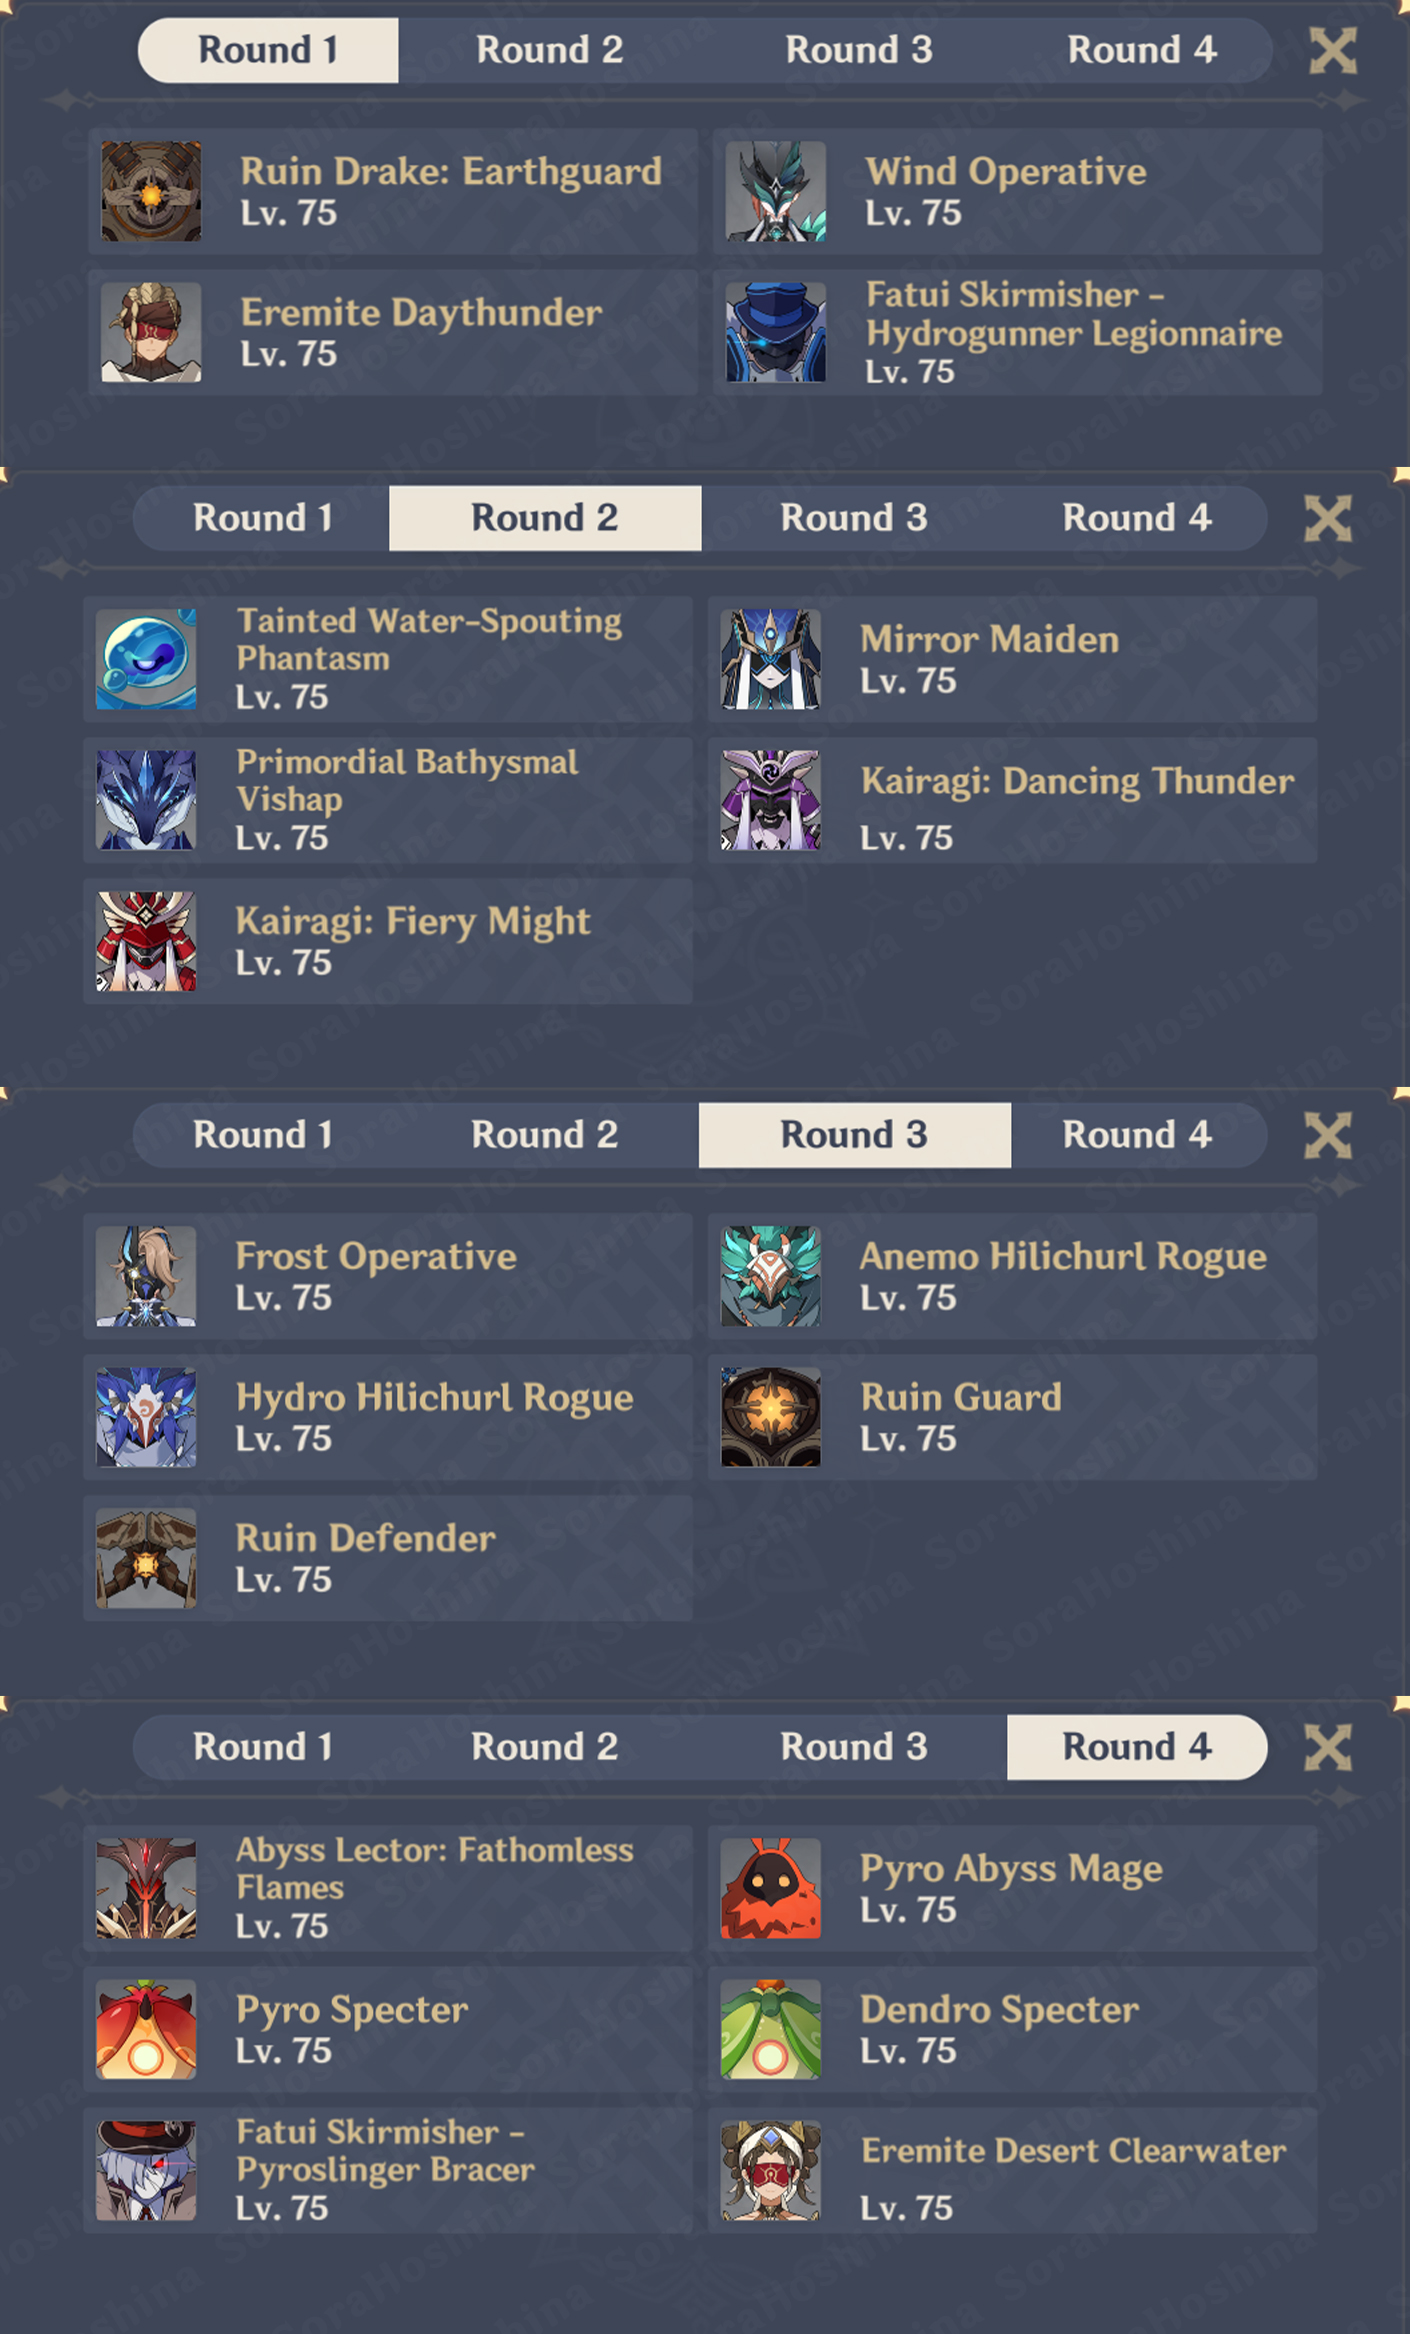
Opponents Detail
Strategy


In the first round, choose Furina | Yelan | Xingqiu | Bennett. The first 2 waves feature Pyro-shielded enemies, so Bennett won't really be used there. But he will be utilized in the last wave against Abyss Lectors to heal your team. Pro tip: When using Xingqiu Burst, stand in front of 1 Abyss Lector and make sure his back is against another Lector. This way, when Xingqiu uses his Burst, the Lector will stagger a little bit and get closer to the other one (You can see in my video above at 0:53).
The rough rotation: Furina Burst & Skill > Yelan Burst & Skill > Xingqiu Burst & Skill > Keep using anyone's Normal ATK to trigger the rain swords while also using Skills for anyone whose CD has ended. When Abyss Lectors appear, don't forget to use Bennett's Skill and Burst to apply Pyro on them in addition to healing your team.
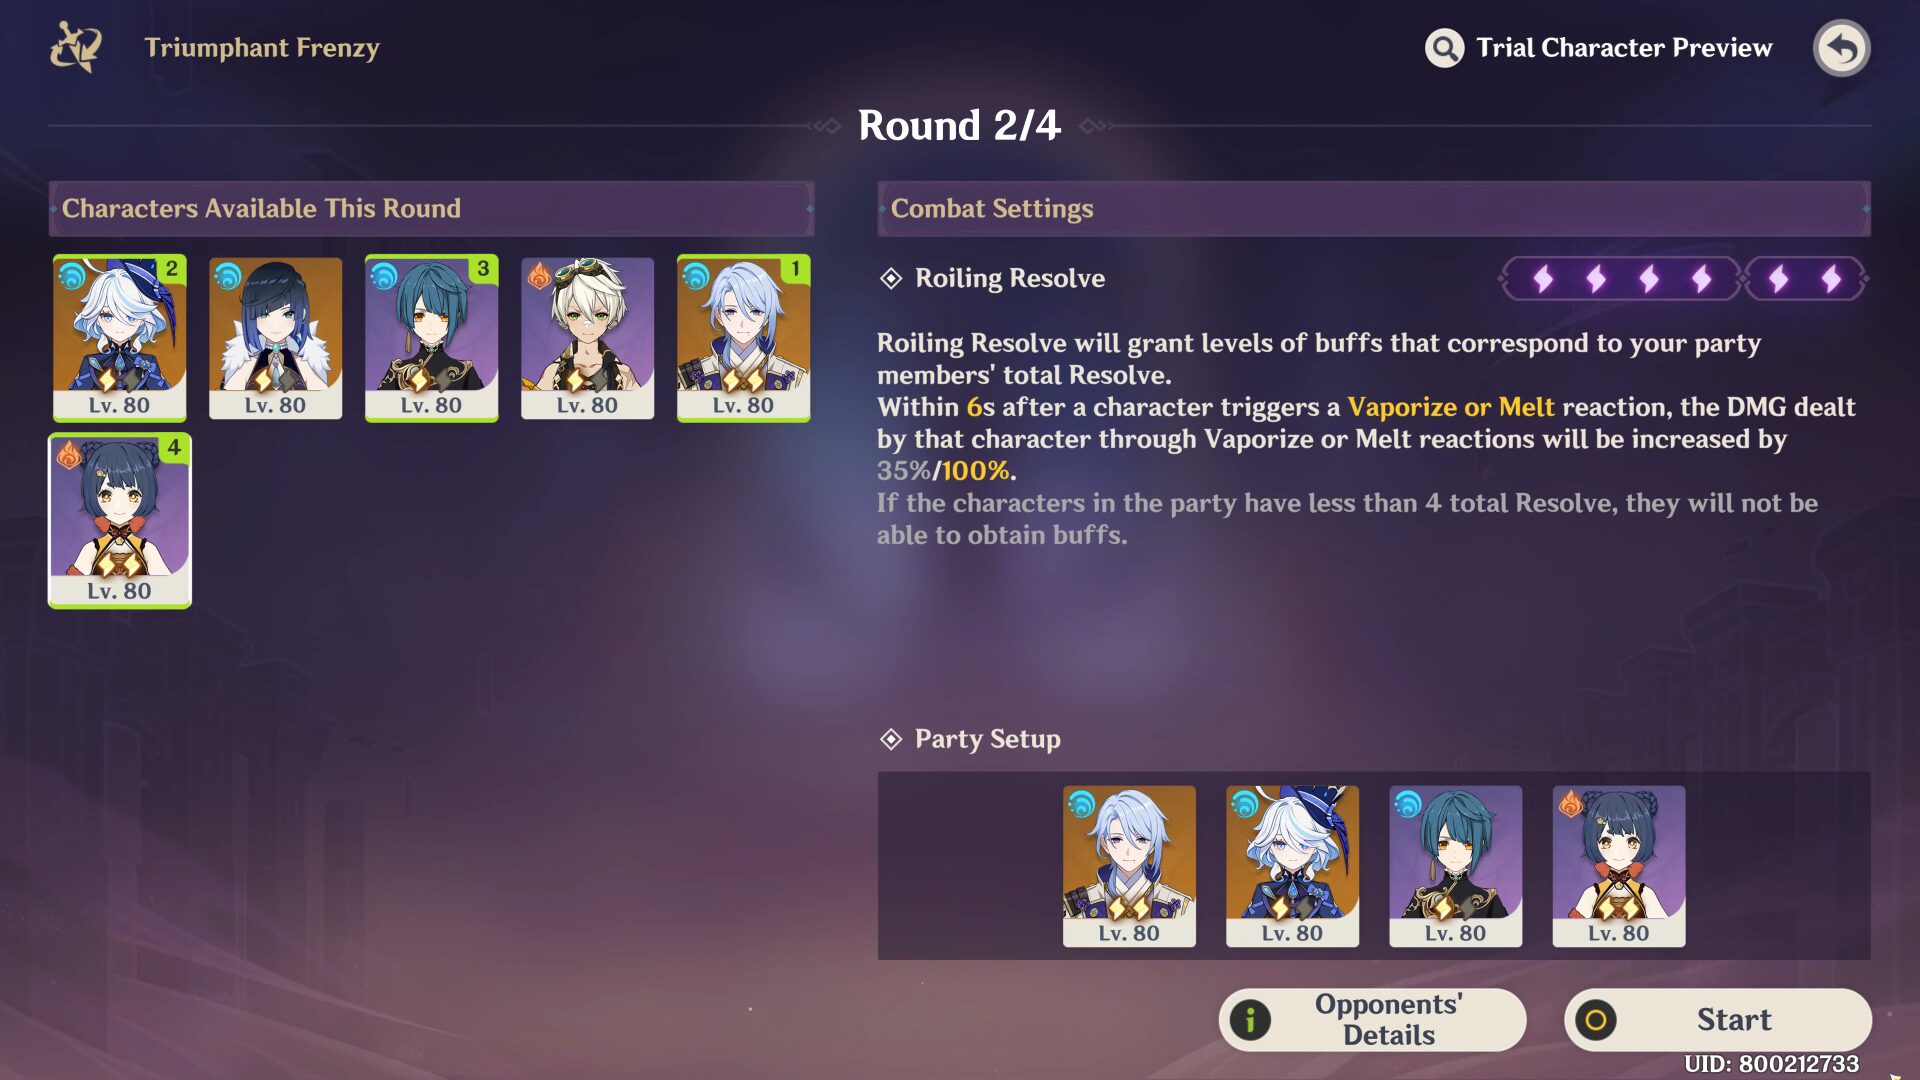
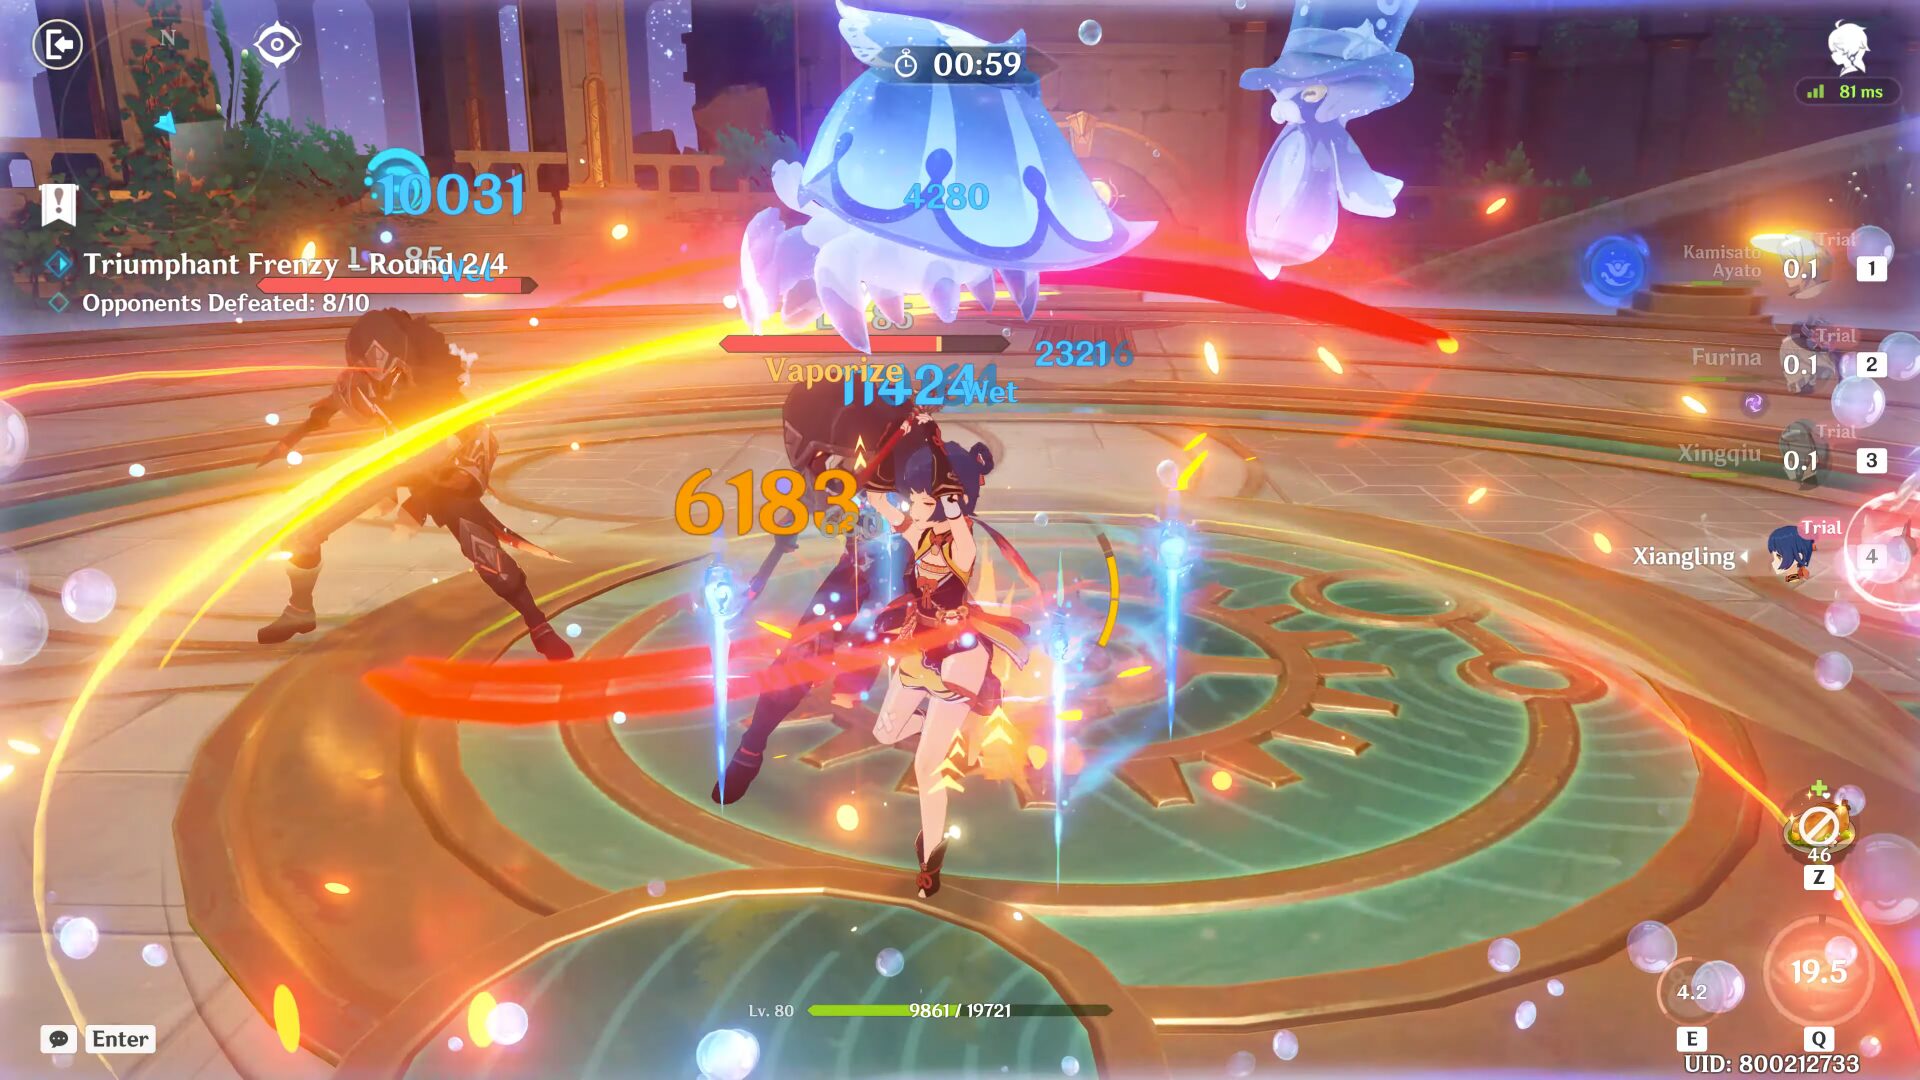
In the second round, choose Ayato | Furina | Xingqiu | Xiangling. During the first 2 waves, you don't really need to use Ayato's Burst as the last three characters in the team above are enough to deal with the mobs (Treasure Hoarders and Electro Cicin Mage) since their HP is not that high. It's not like you can't use Ayato's Burst, I just want to save his Energy until the last wave. In the last wave, same as the first round, try to use Xingqiu's Burst in front of one of the Pyro Agents to stagger him a little bit towards the other agent. This way, you can deal damage to both of them.
The rough rotation: Furina Burst & Skill > Xiangling Burst & Skill > Xingqiu Burst & Skill > Ayato Burst, Skill & Normal ATK. Early reminder that it's quite hard to gain energy for Xiangling cause she consumes a lot of them.
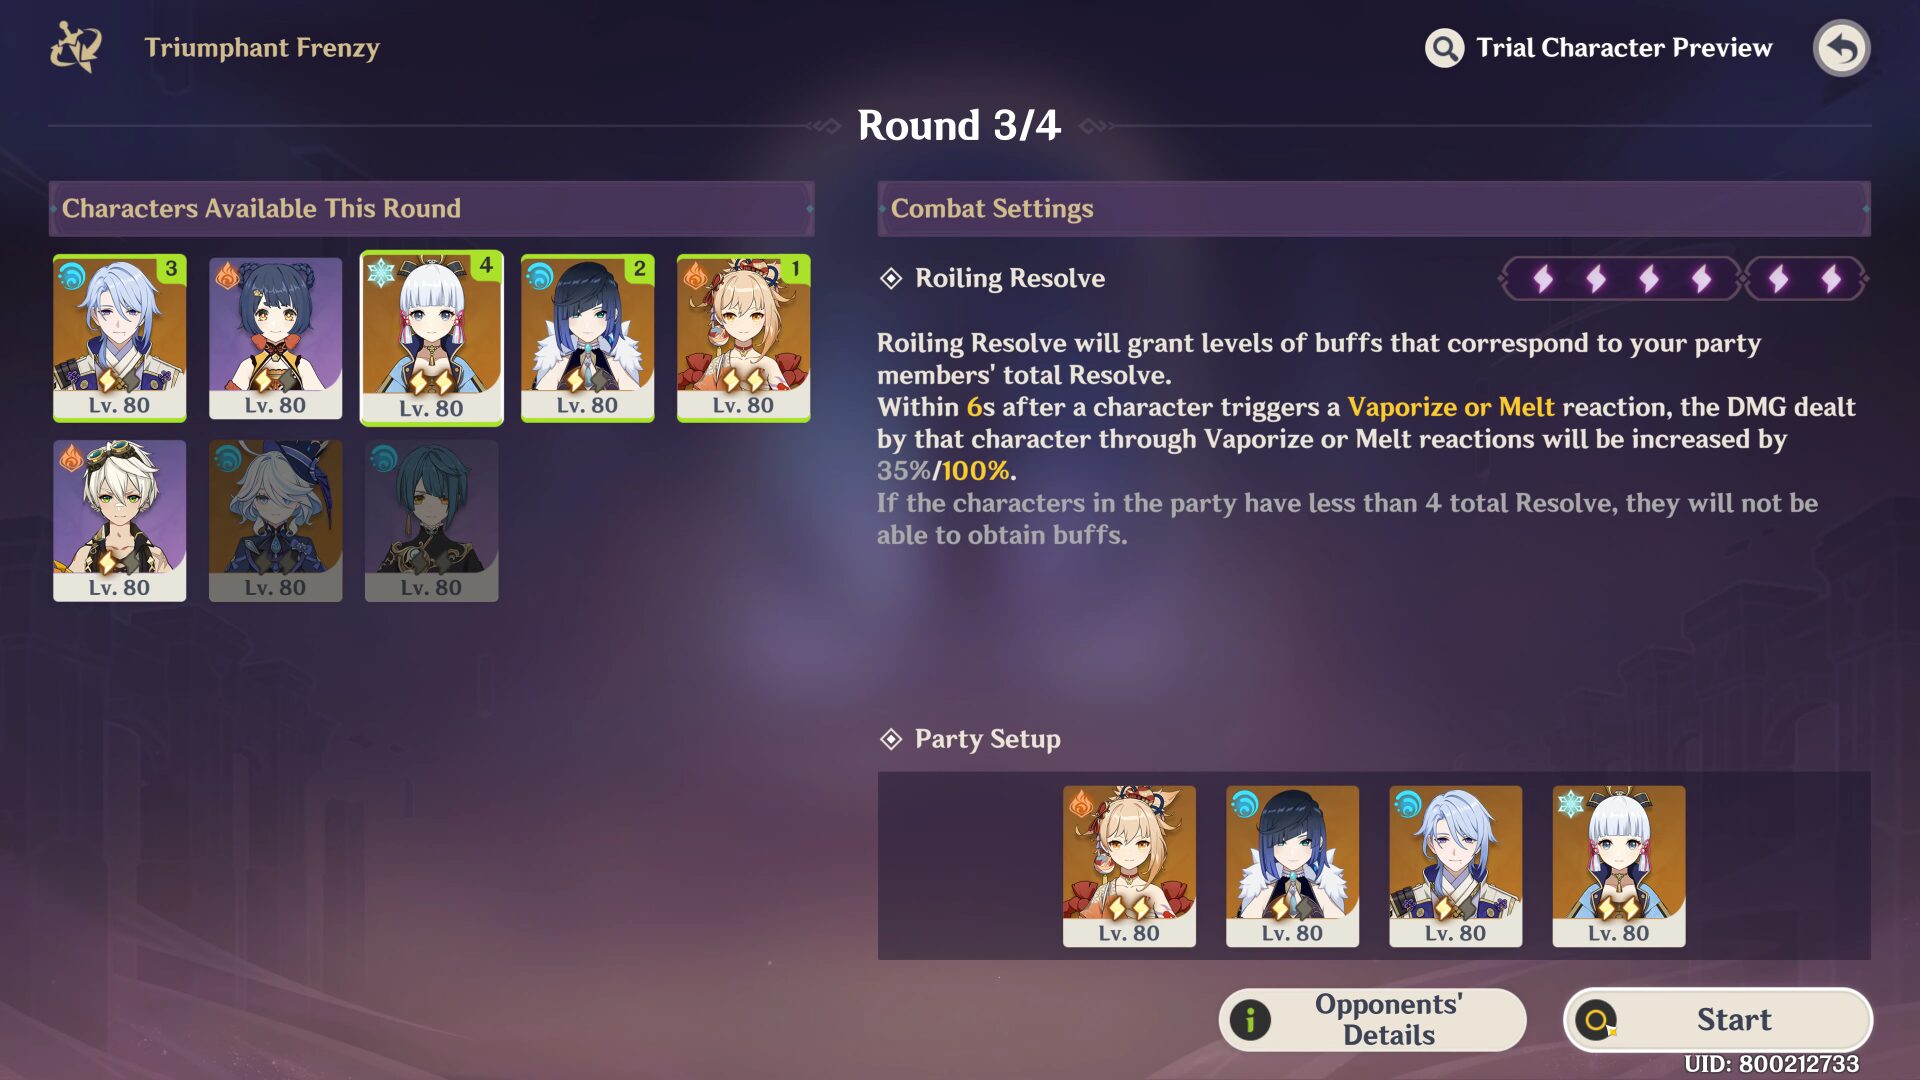
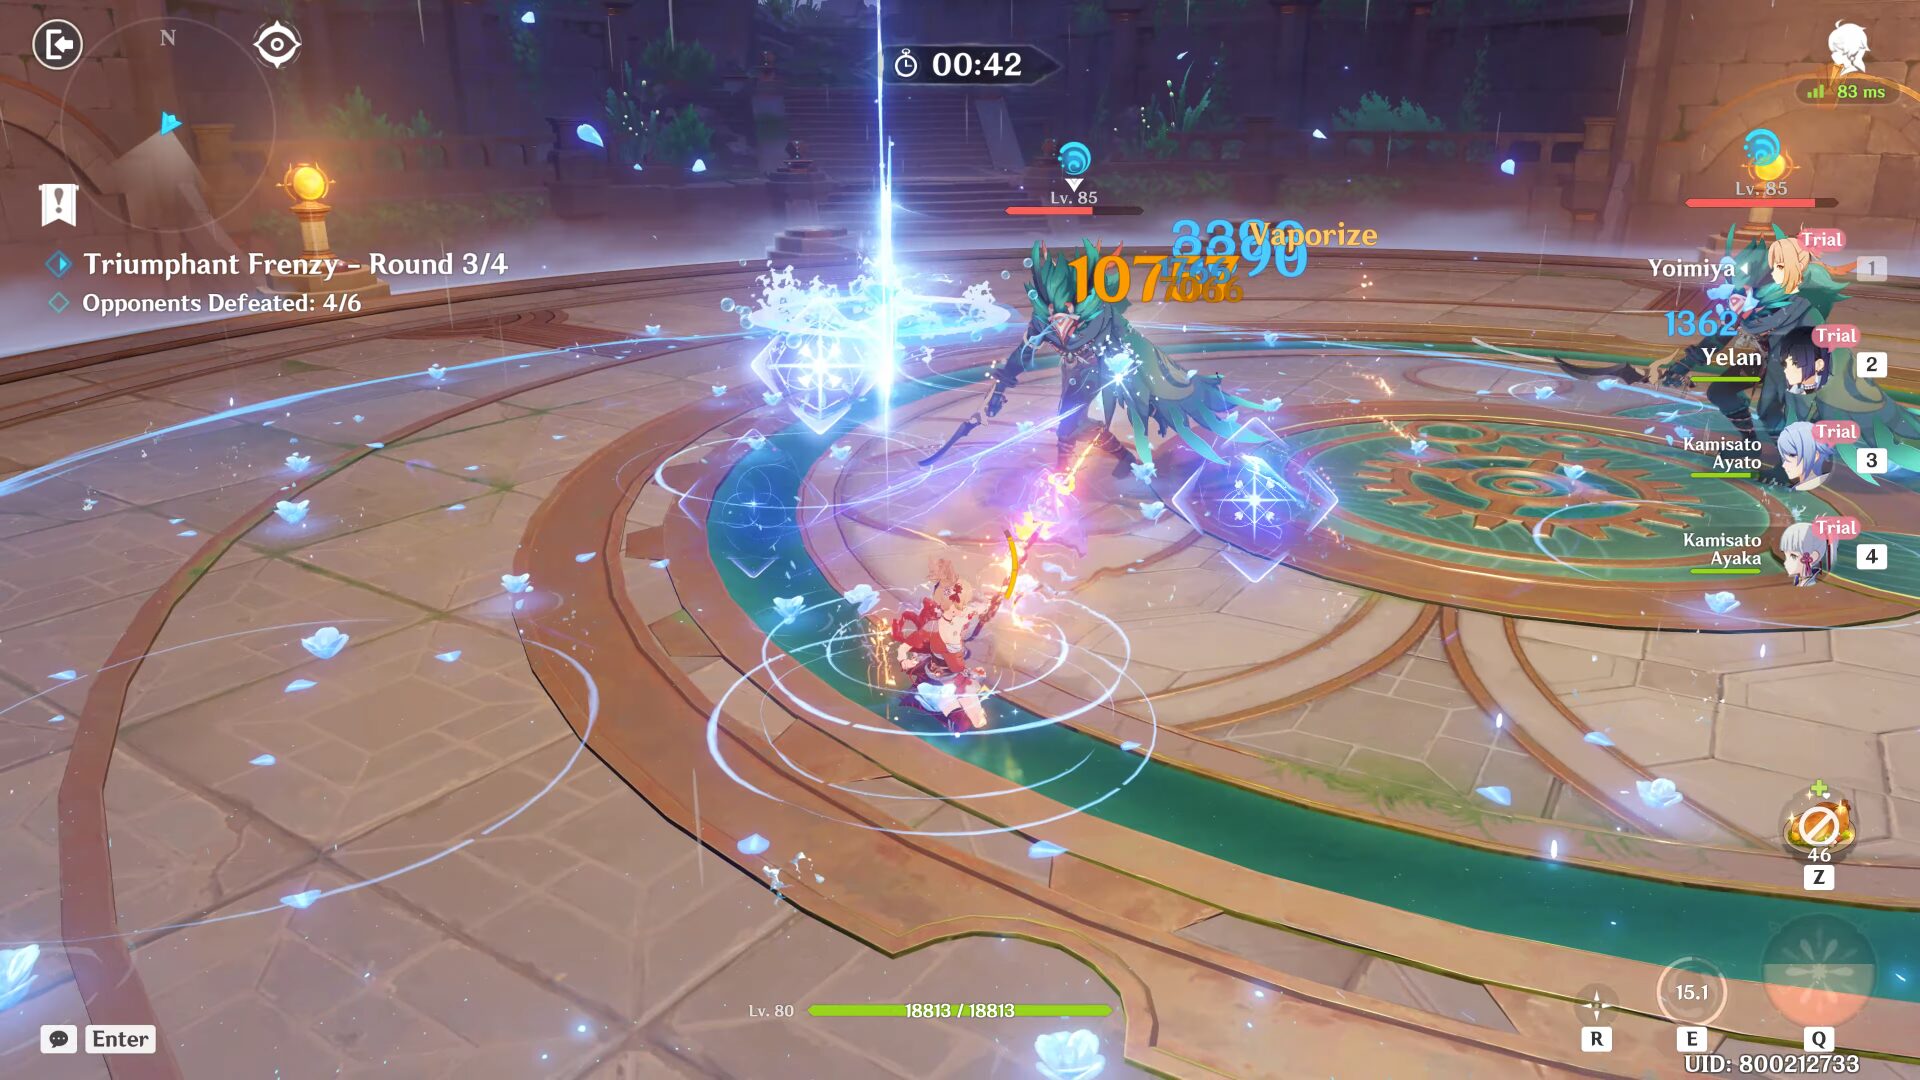
In the third round, choose Yoimiya | Yelan | Ayato | Ayaka. Yeah, there's a lot of potential main DPS here but what I'm after is their capabilities of off-field Burst. Beware that you don't have any healer or shielder here so pay attention to your health (Yoimiya also can get staggered easily since there's no shield so dodge at the right time).
My rough rotation: Ayato Burst > Yelan Burst & Skill > Yoimiya Skill & Spam Normal ATK. Aside from the Hydro duo, it's quite hard to get energy for Yoimiya and Ayaka, so I recommend using their Bursts on the second wave with the Ruin Drake. If you gain enough energy for Ayaka, you can use it again at the last wave.
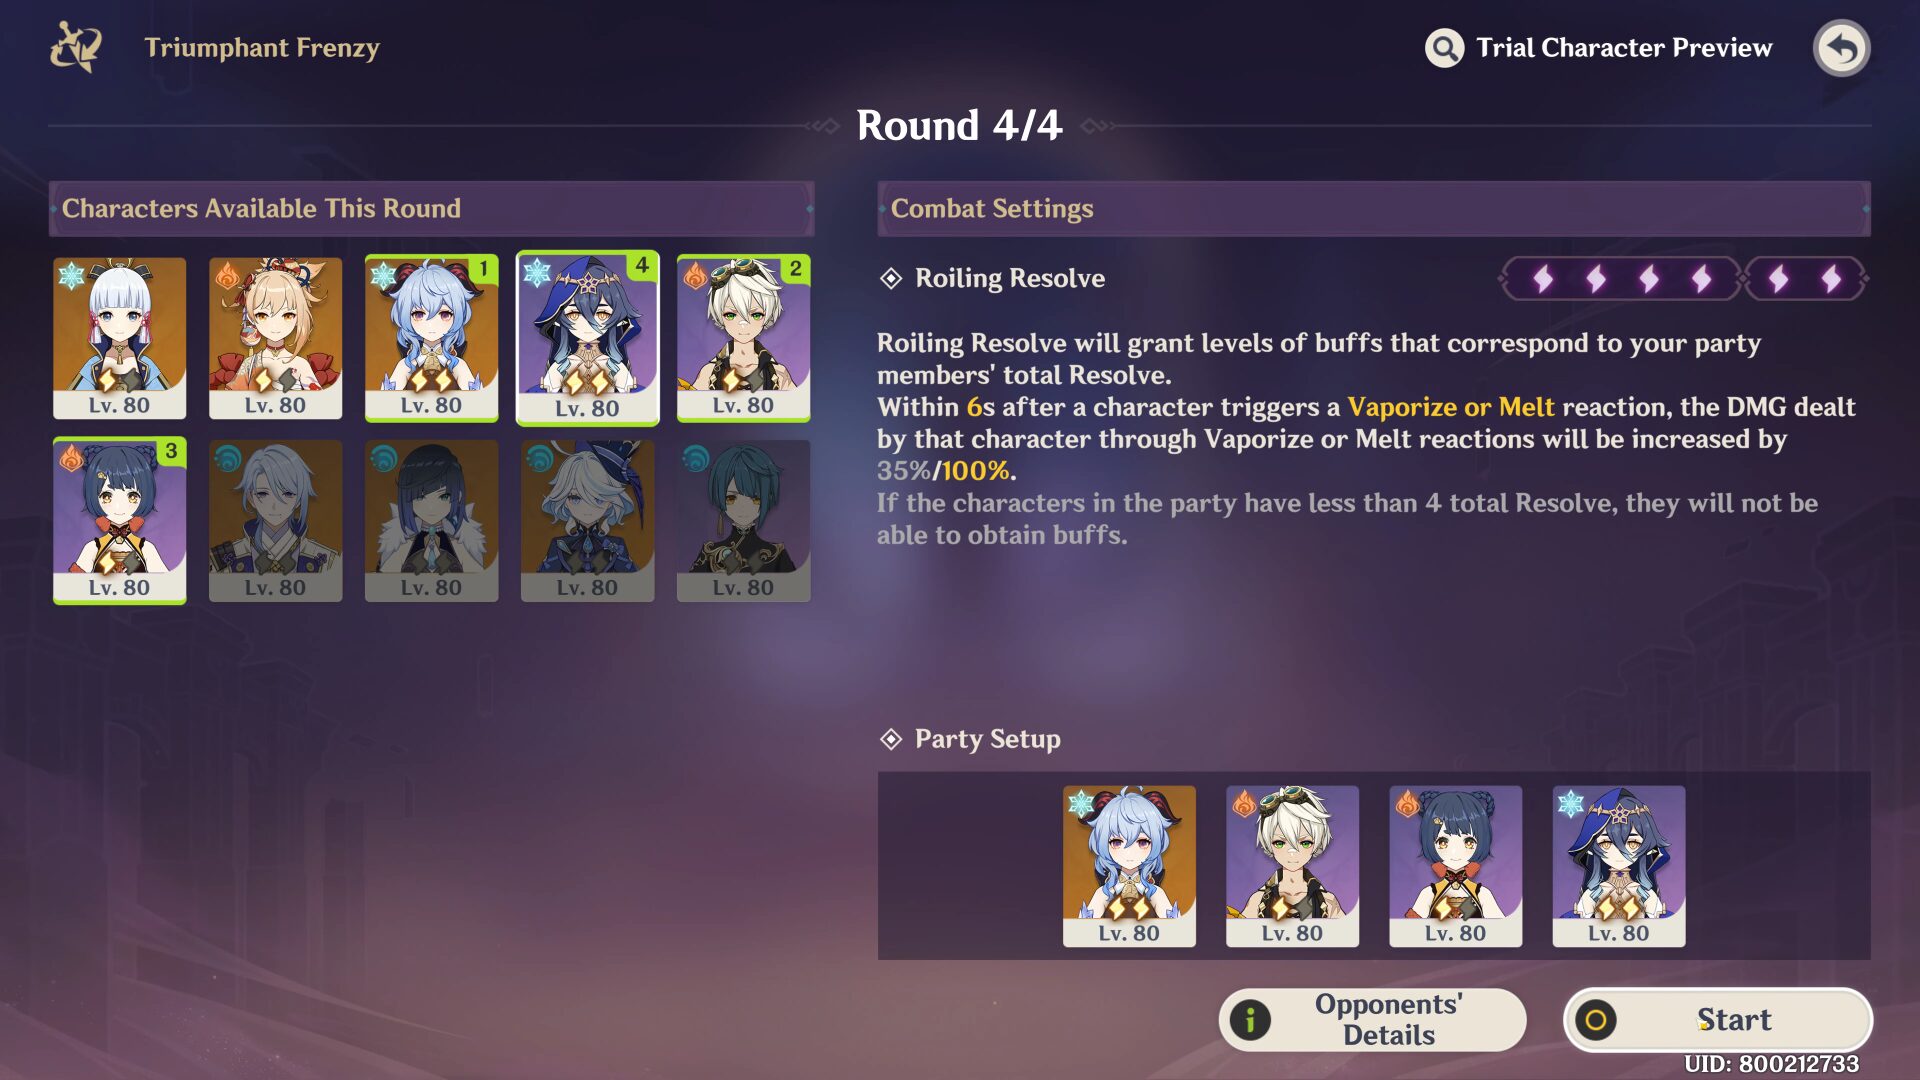
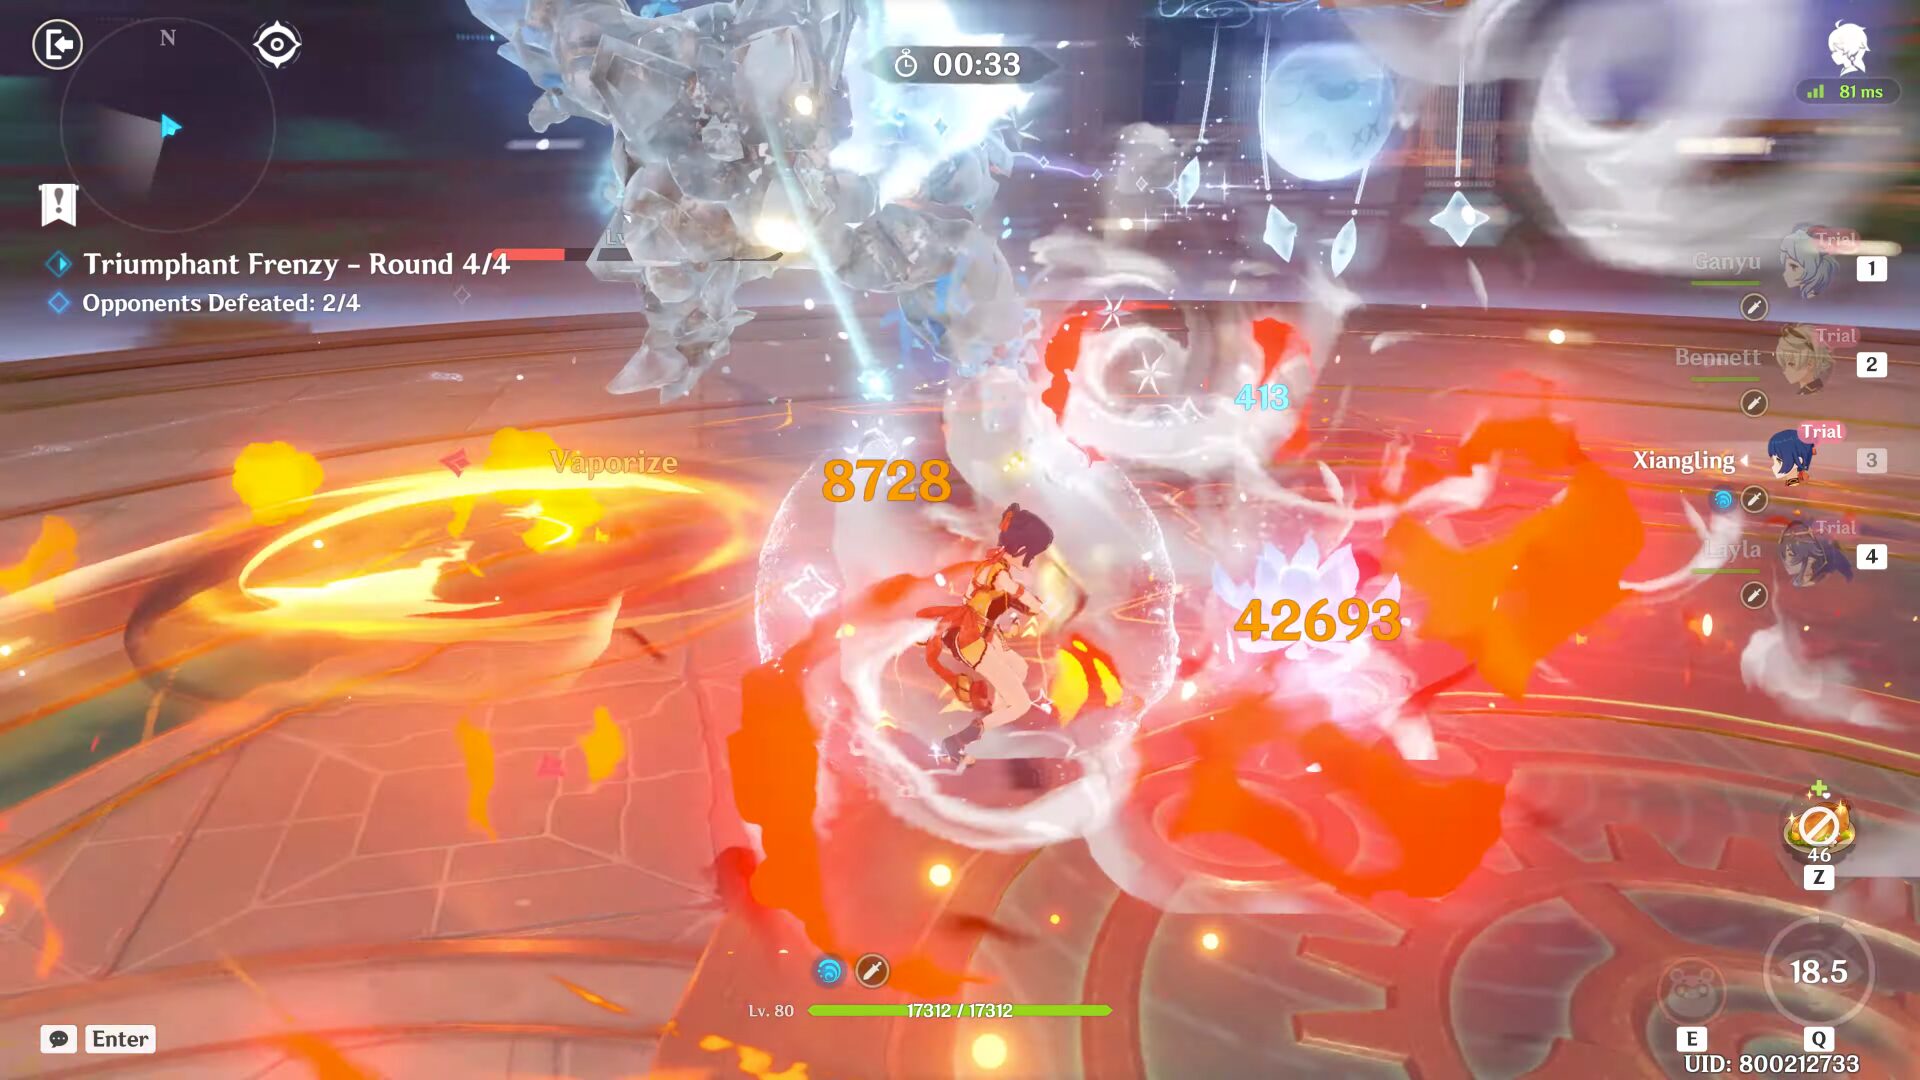
In the fourth round, choose Ganyu | Bennett | Xiangling | Layla. Layla is replaceable with Dehya, but I prefer the former since she can create a shield and make the Vishap stumble when attacking a shielded character. Having 2 characters of respective elements also helps (a little) with both of their Energy. Usually, when fighting Vishaps, I would suggest going to the wall to corner them. But in this event, just go to one of the Vishap and let the other one come to you. It's because we're really strict on time and sprinting to another spot and waiting for all the enemies to chase after you is too RNG and time-consuming.
The rough rotation: Ganyu Burst & Skill > Bennett Burst & Skill > Xiangling Burst & Skill > Layla Burst & Skill > Ganyu Charged ATK. Although I lay it out like this, I also can't 100% follow the rotation because some characters don't have enough energy to use their Burst (*cough* Xiangling *cough*) so I'll just skip the Bursts and keep spamming Skills until all of them has enough Energy.
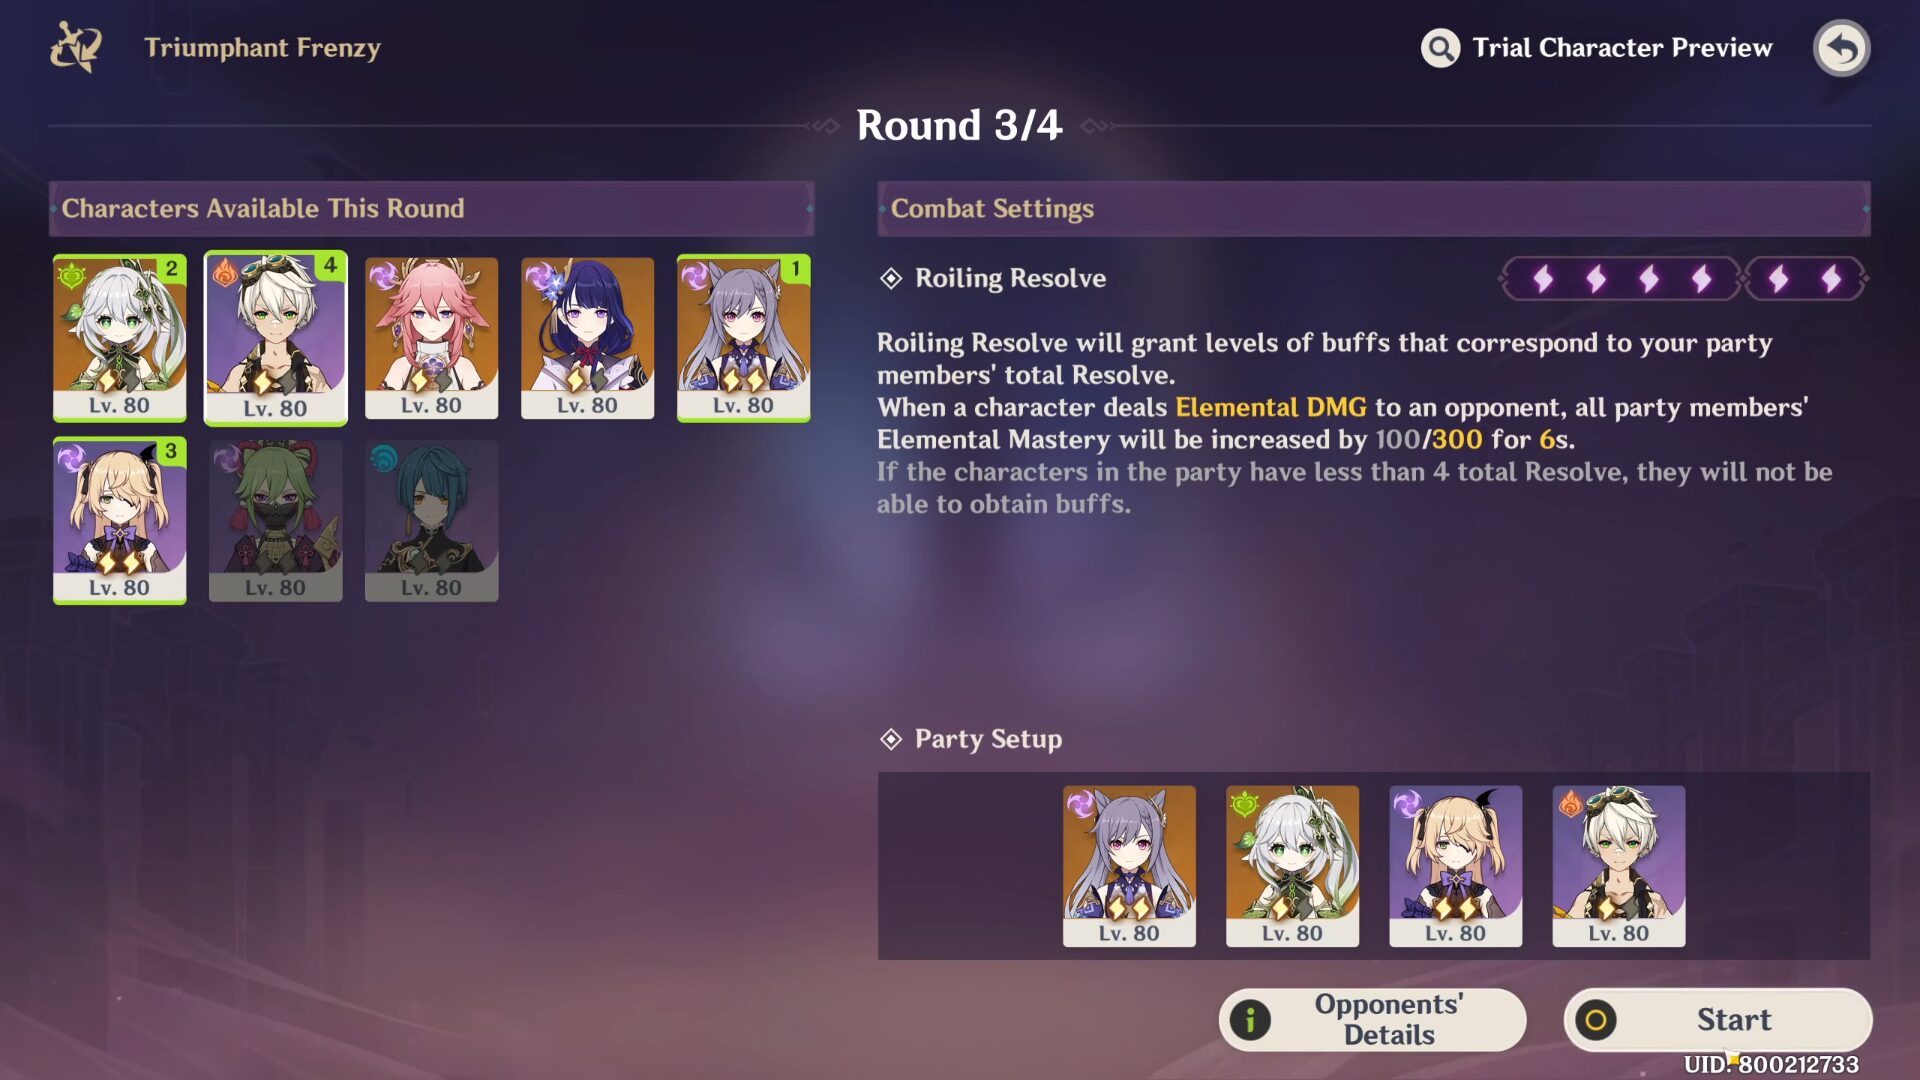
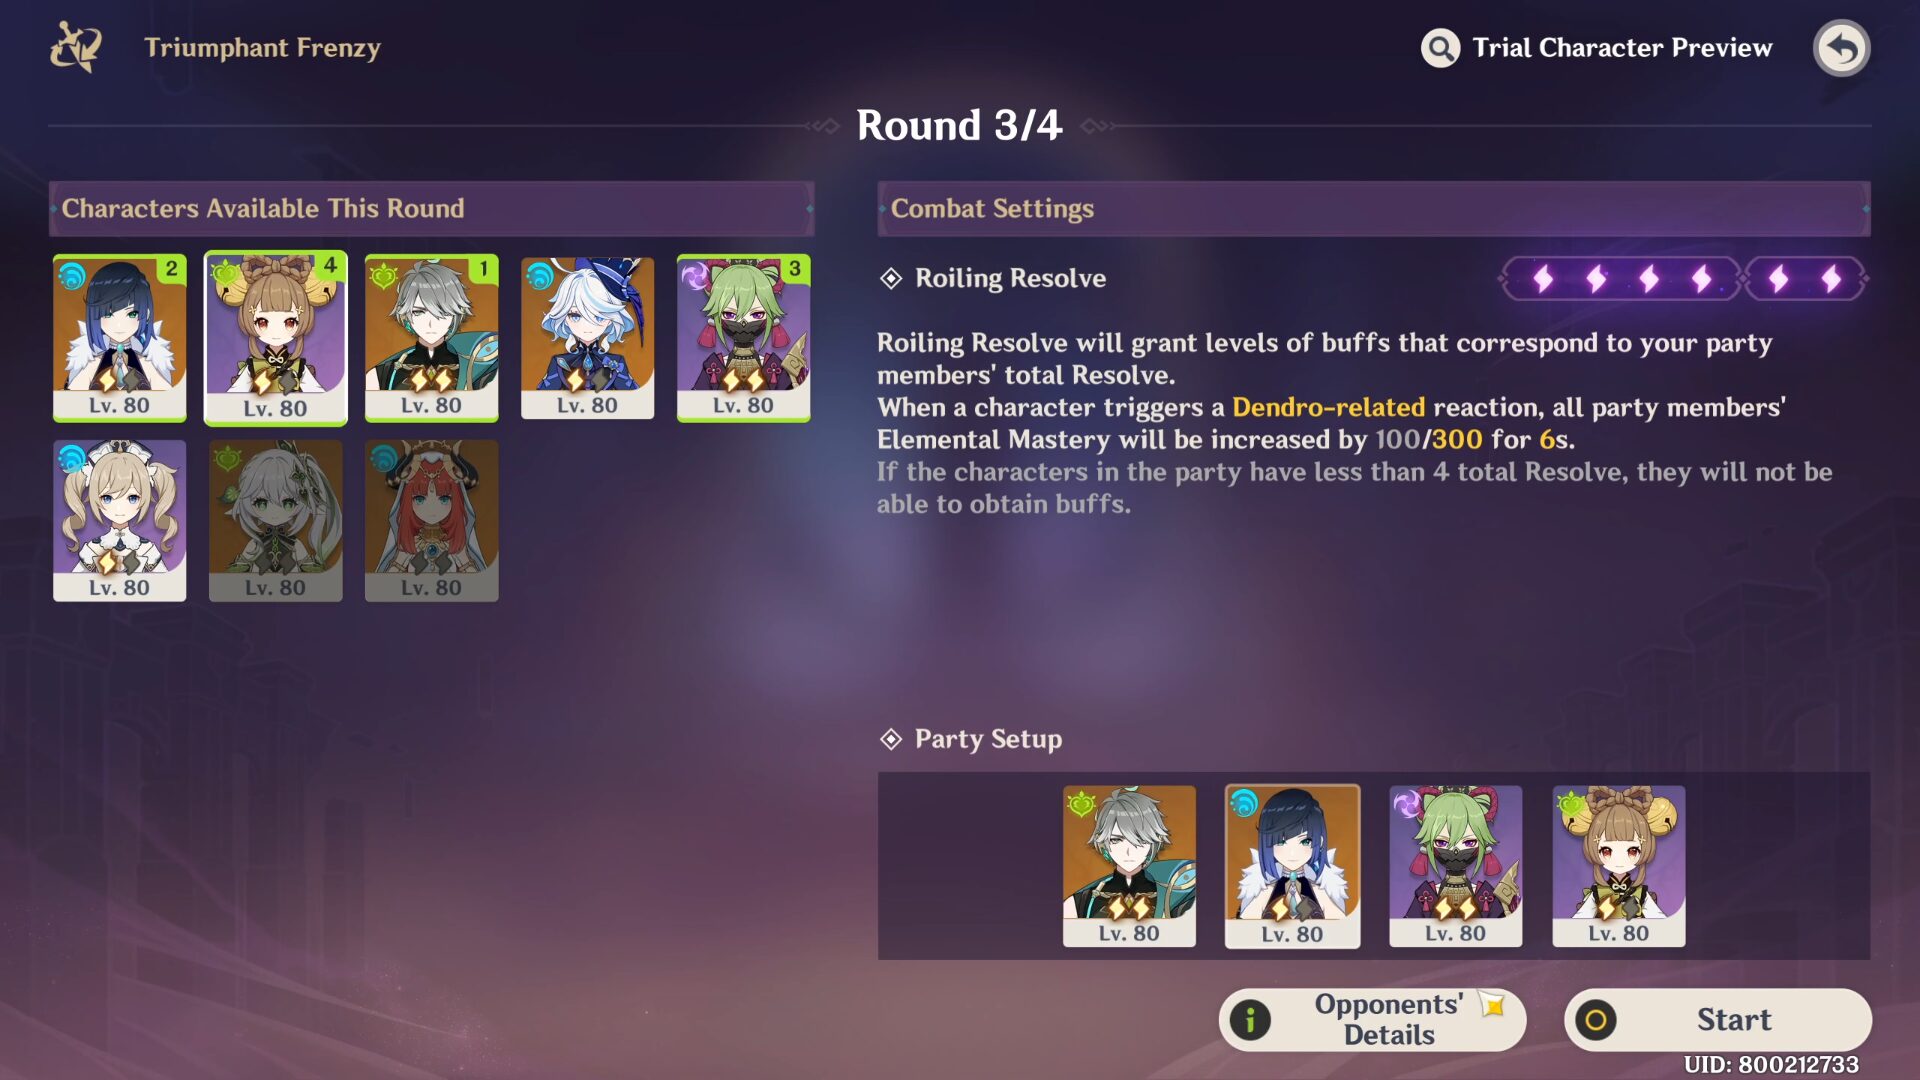
Stage 4 - Law of Concentrated
Combat Buff
Roiling Resolve will grant levels of buffs that correspond to your party members' total Resolve.
When a character deals Elemental DMG to an opponent, all party members' Elemental Mastery will be increased by 100/300 for 6s.
Opponents Detail
Strategy
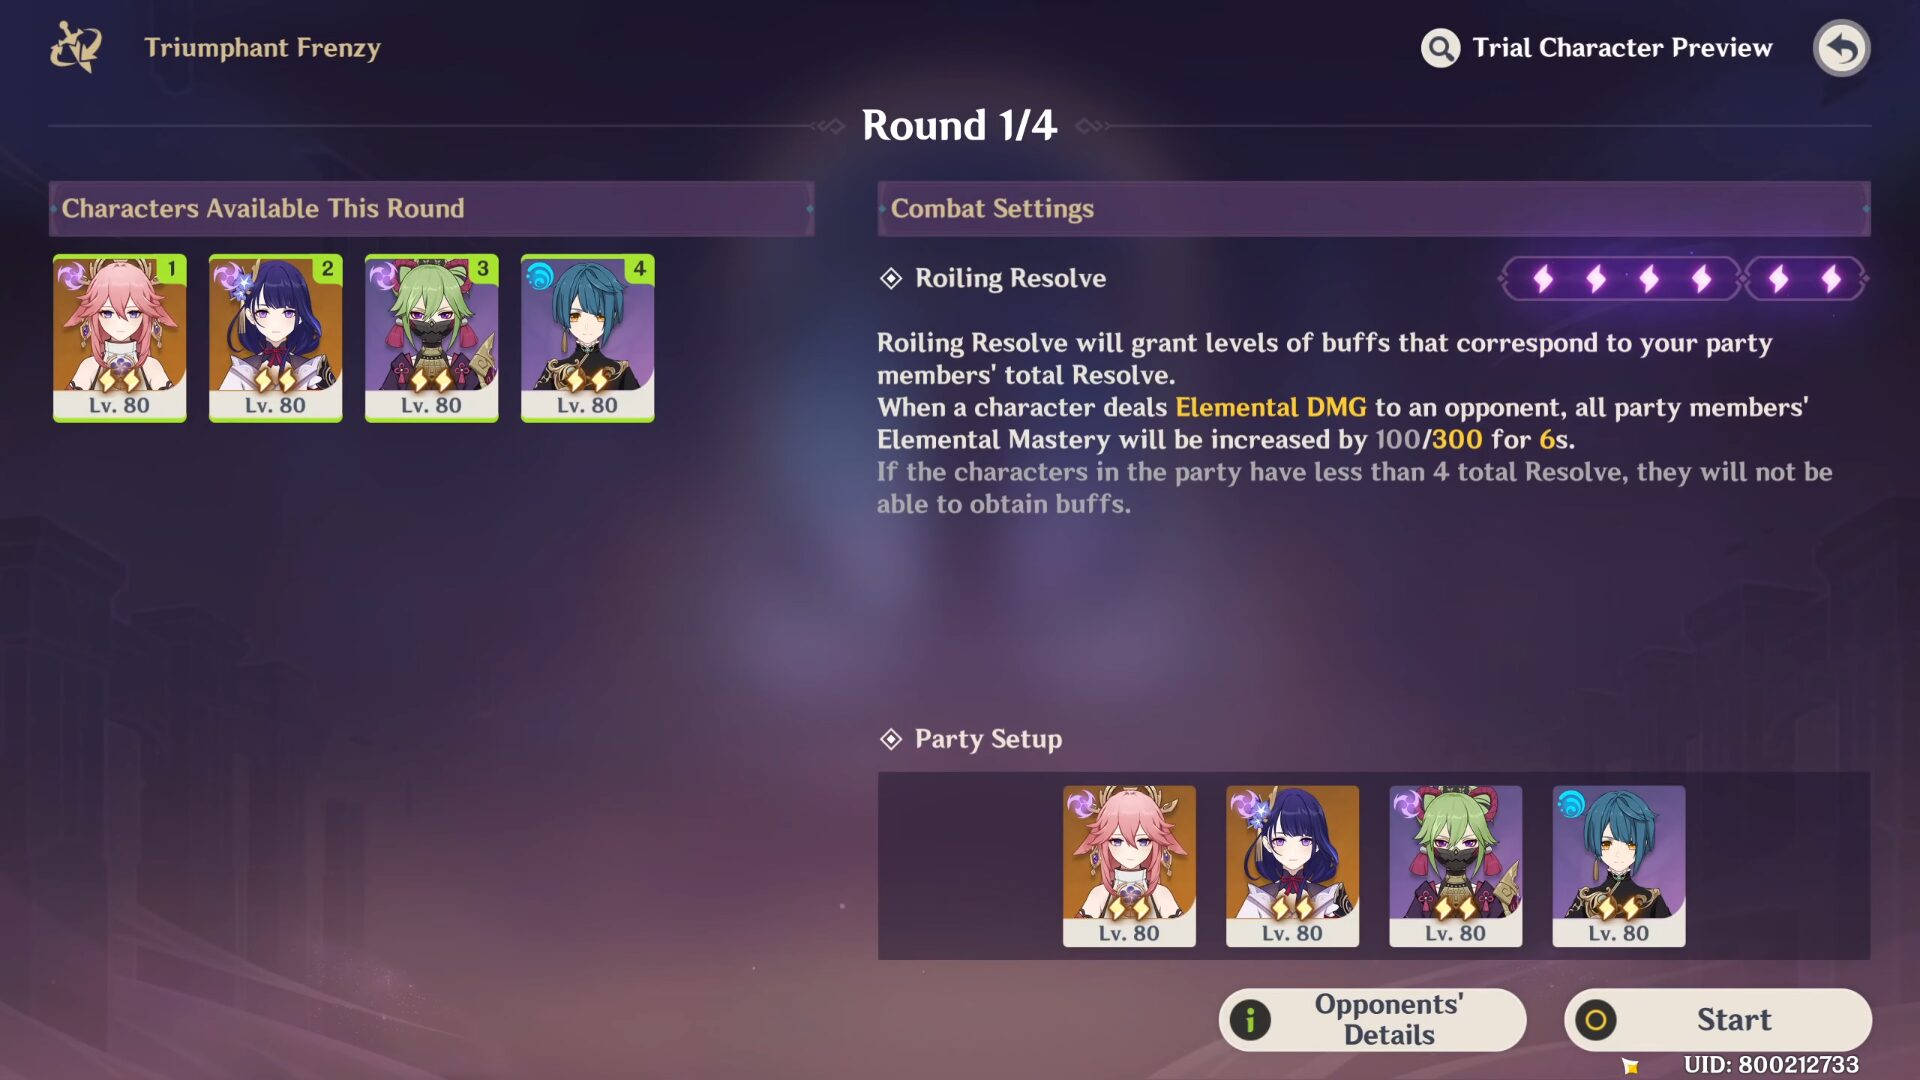
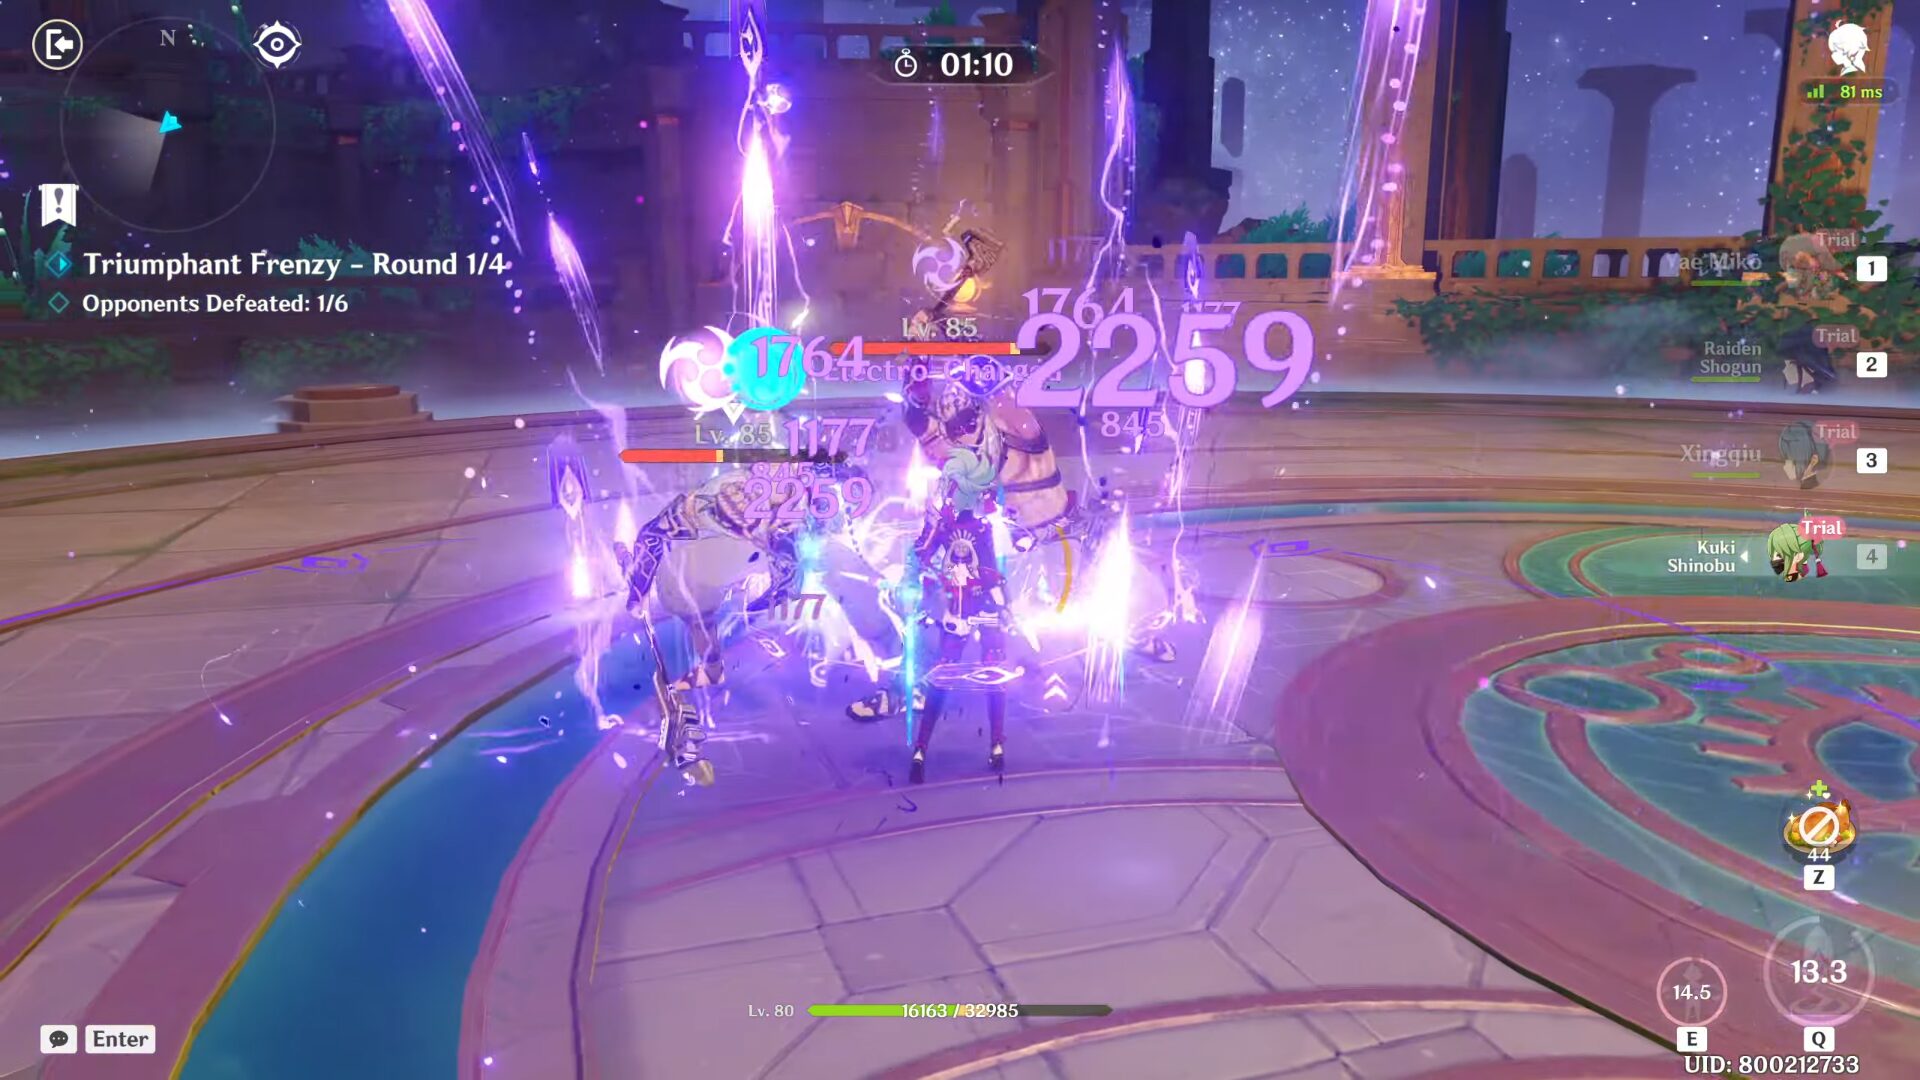
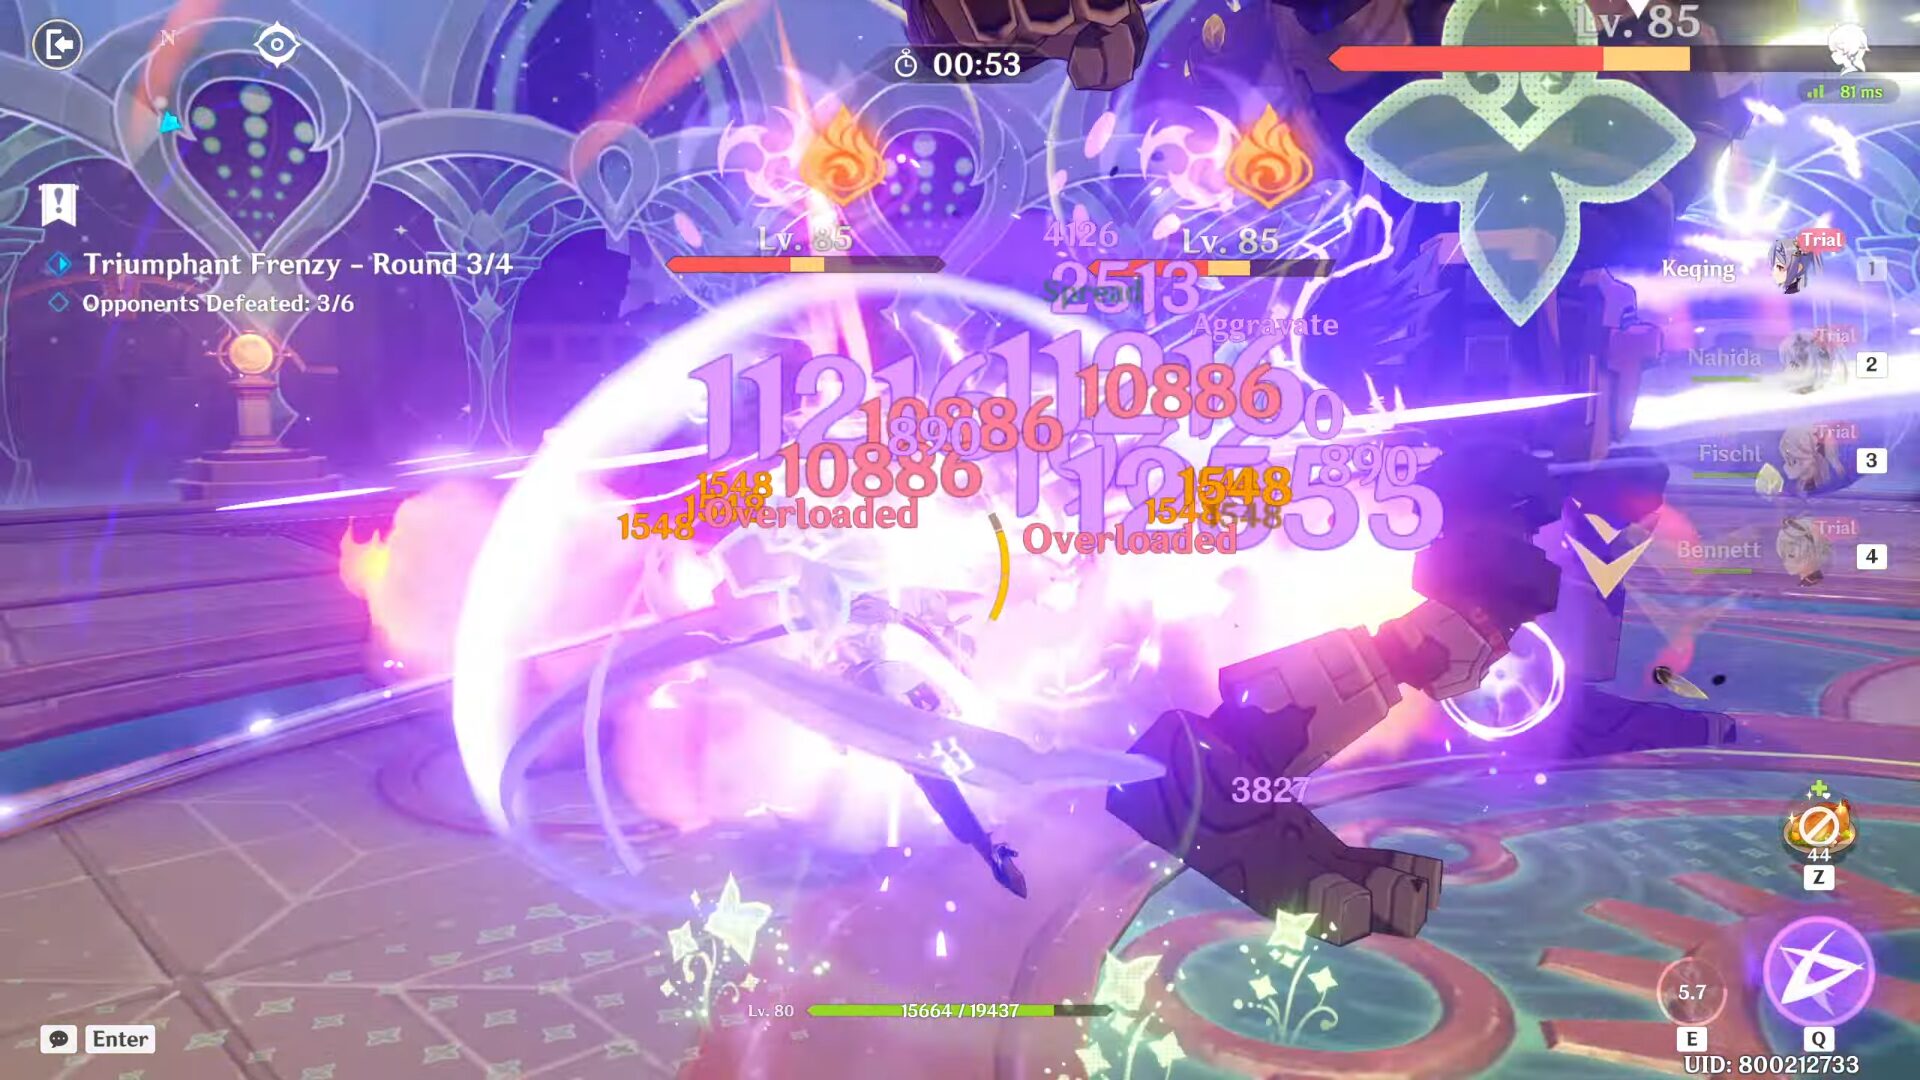
In the first round, choose Yae Miko | Raiden Shogun | Kuki Shinobu | Xingqiu for the team. Kuki is not a core member in this round but for the next round with Nahida, but I still include her here to use her Burst for Raiden. In the last wave with 2 Hydrogunners and Wind Operative, focus on the Hydrogunners first so they can't heal the Operative and preferably before they even put up their Hydro shields. Although even if they did, your 3 Electro characters are more than enough to destroy those shields.
The rough rotation: Raiden Skill > Yae Miko Skill x3 > Xingqiu Burst & Skill > Yae Miko Burst & Skill x3 > Kuki Shinobu Skill & Burst > Raiden Burst. Yae Miko has the highest energy requirement in the game (90 like Raiden but the Electro Archon can restore her energy fast) so it might look hard to refill her Burst back, but if you keep using everyone's Skill, it should be enough to refill her Burst.
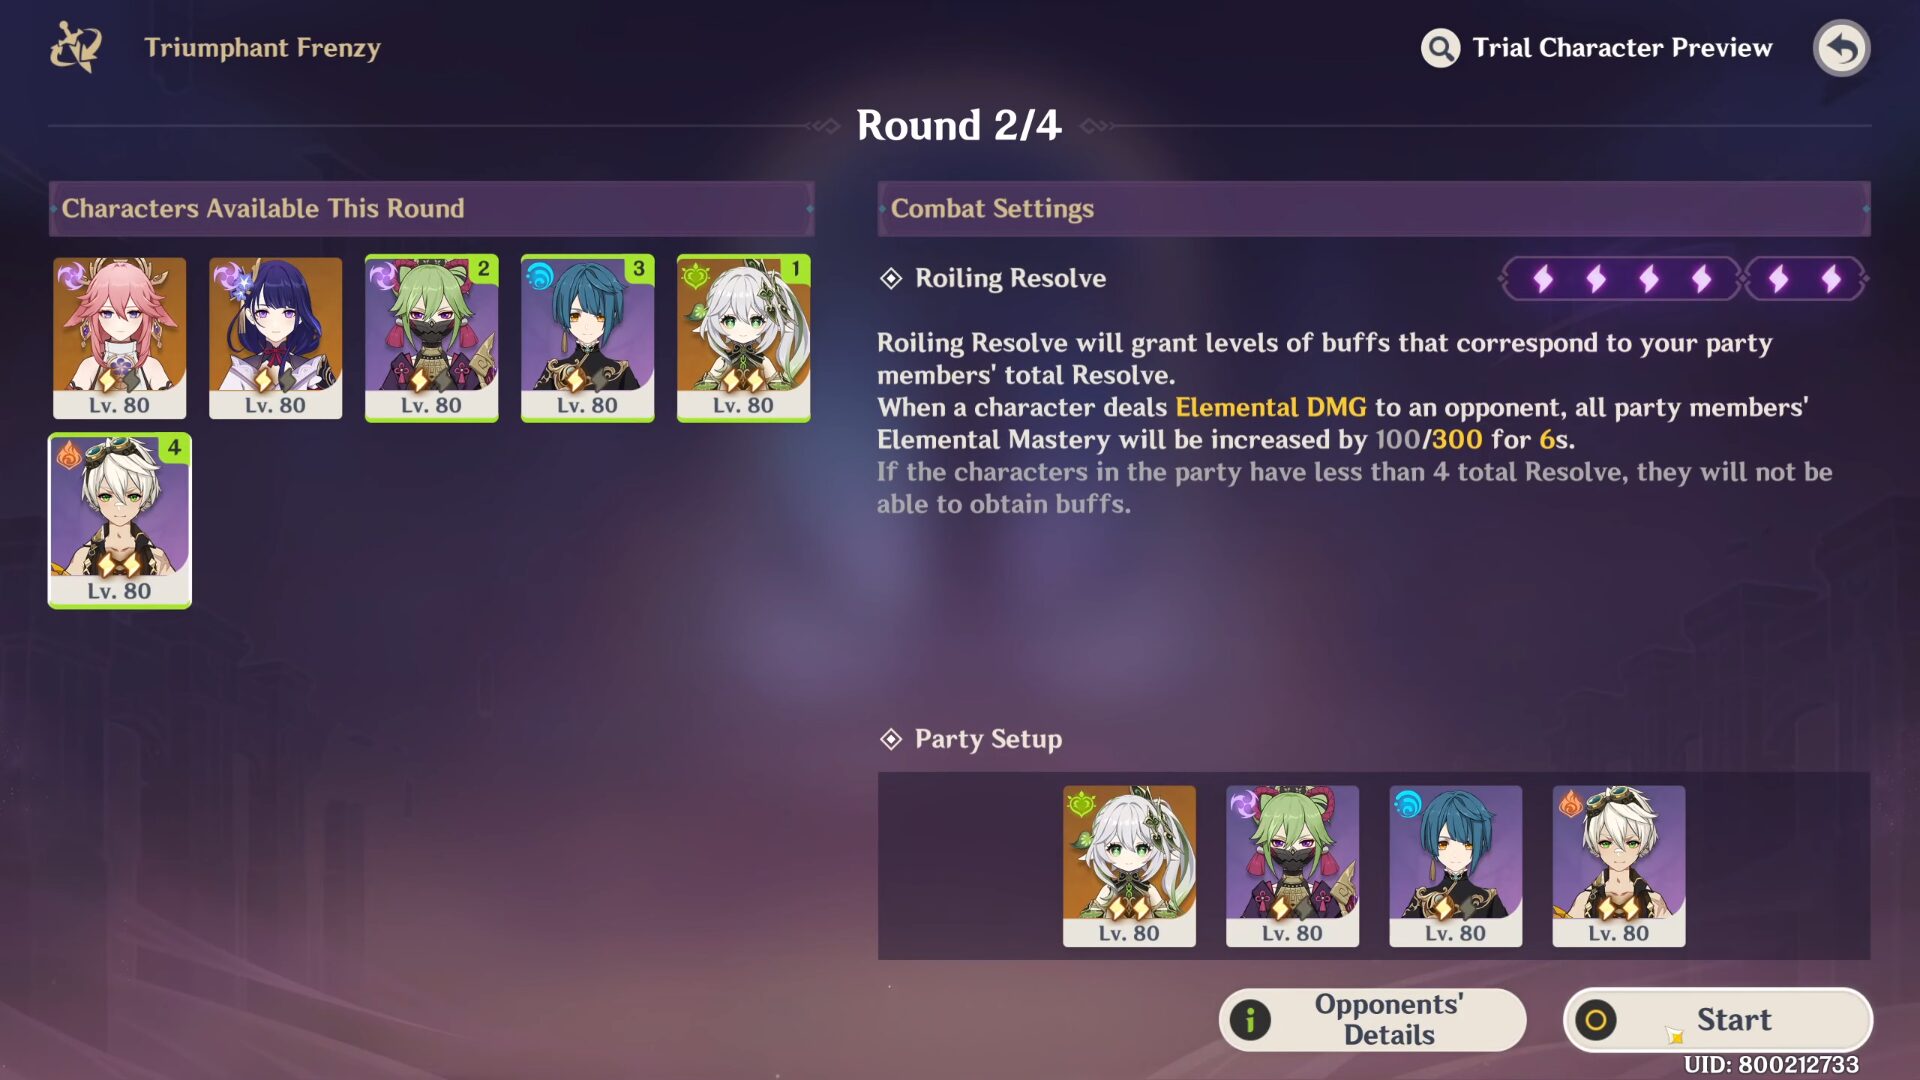
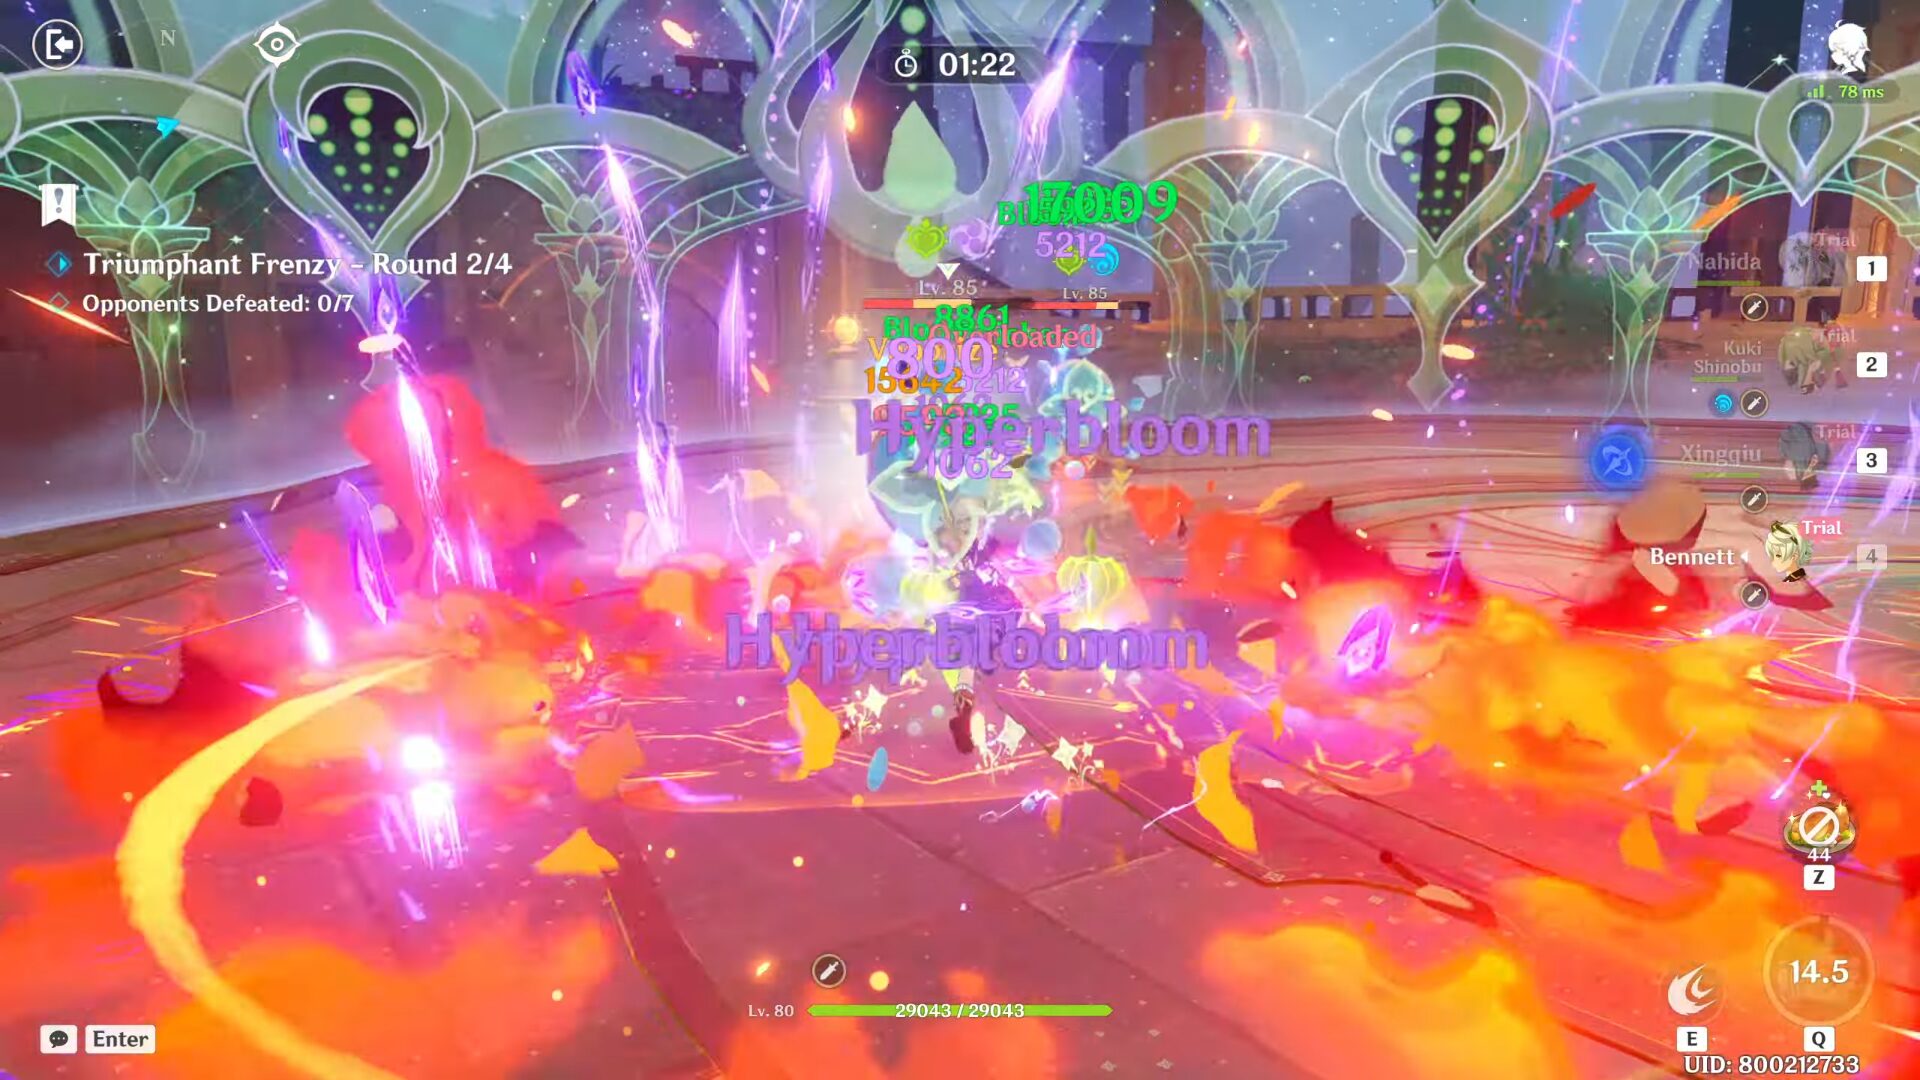
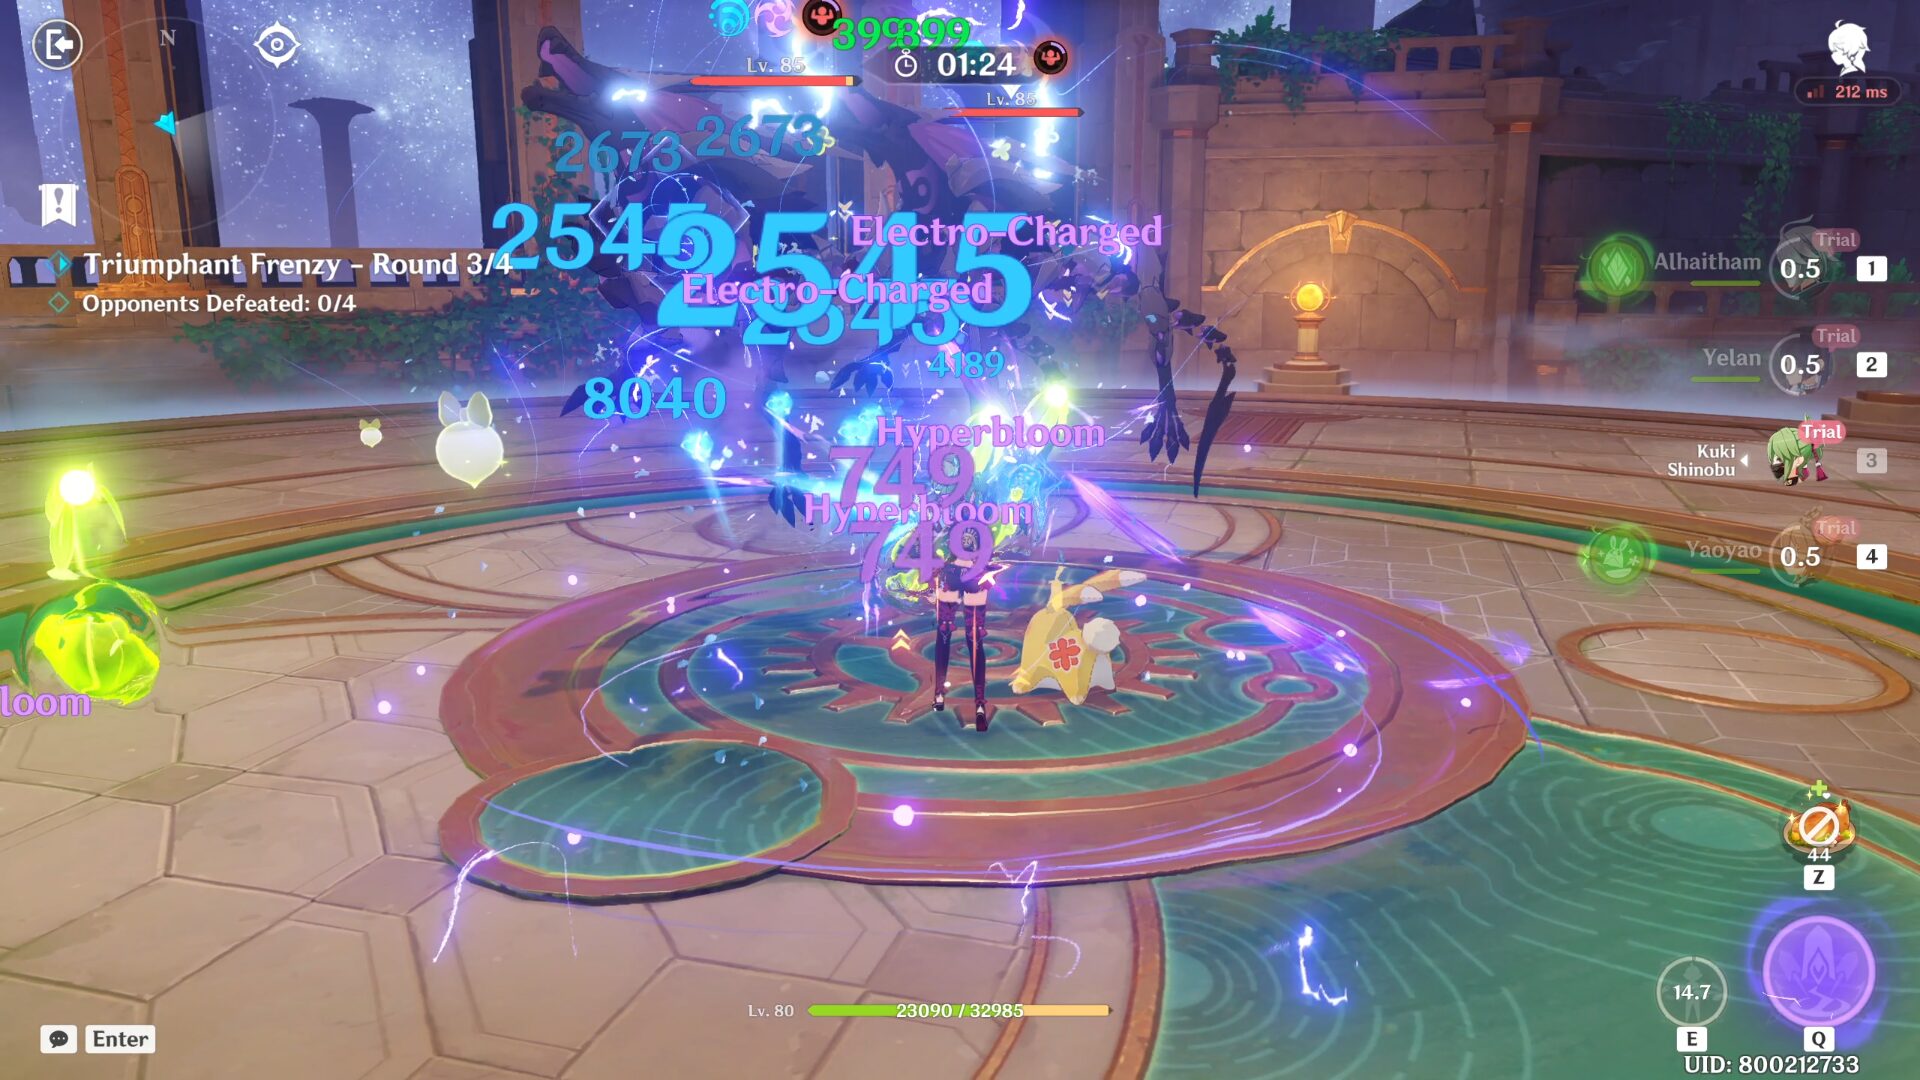
In the second round, choose Nahida | Kuki Shinobu | Xingqiu | Bennett. For those who have Nahida, I'm sure you know how strong this team is for her. The core here is the first 3 characters for Hyperbloom, but I added Bennett for the extra Burgeon and healing because why not. In the second wave with Mirror Maiden and Kairagi, I suggest focusing on the Mirror Maiden and letting the 2 Kairagi chase after you. However, if one of the Kairagi is down because of collateral damage, immediately go to the remaining Kairagi and defeat him before he can restore half of his energy.
The rough rotation: Nahida Hold Skill & Burst > Kuki Skill > Xingqiu Burst & Skill > Bennett Burst & Skill > Nahida Normal ATK. You can use Kuki Burst whenever you like since it's not that crucial, but the extra damage is always welcome.
In the third round, choose Keqing | Nahida | Fischl | Bennett. It's nice to use Keqing here since her Burst is AoE so she can hit enemies even when they're not grouped together (like in the second wave with Hilichurl Rouge). Overall, as long as you get Nahida's Seed of Skandha to all enemies and Fischl's Skill, Keqing should be able to deal decent damage to everyone. And there are no enemies that you have to pay special attention to.
The rough rotation: Fischl Skill > Nahida Skill & Burst > Bennett Burst & Skill > Keqing Skill & Burst. Everyone here should have enough energy for their Burst in each rotation since all of them have low energy requirements (40 for Keqing hecc yeah!).
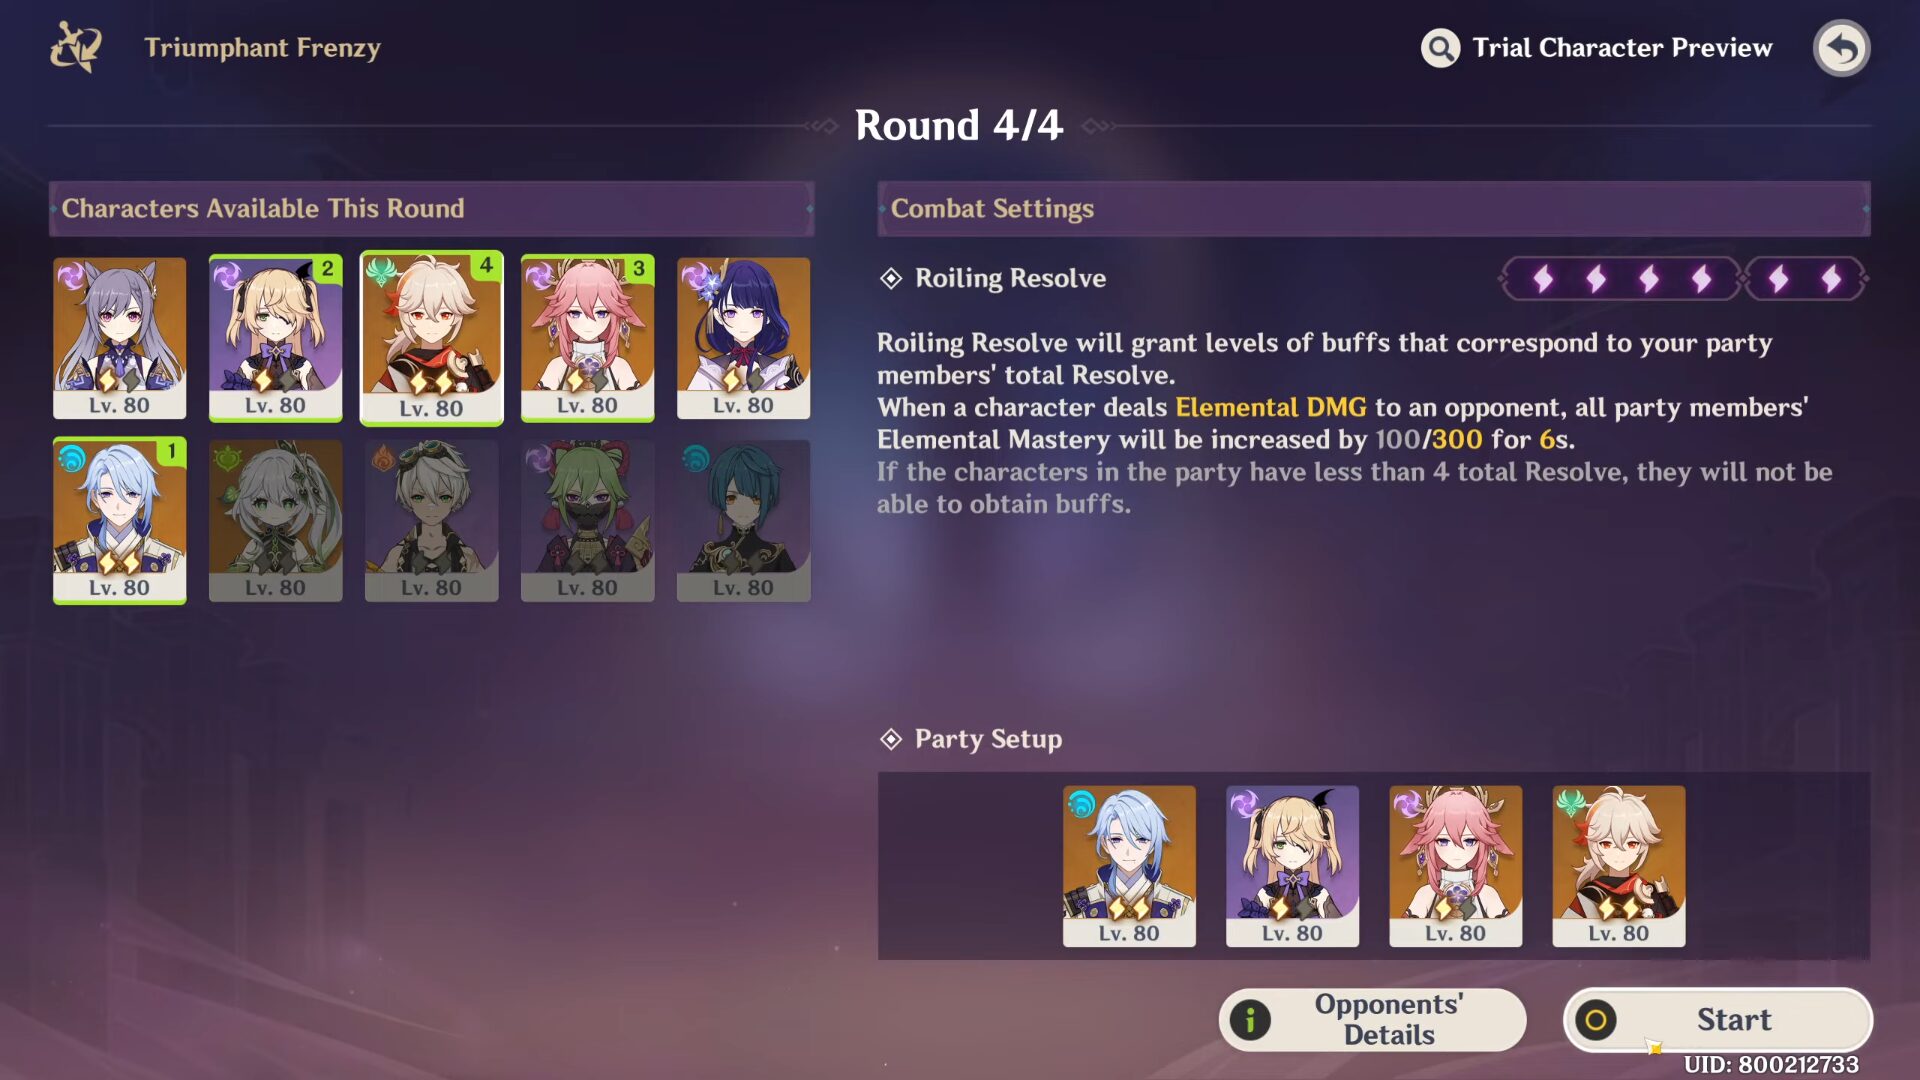
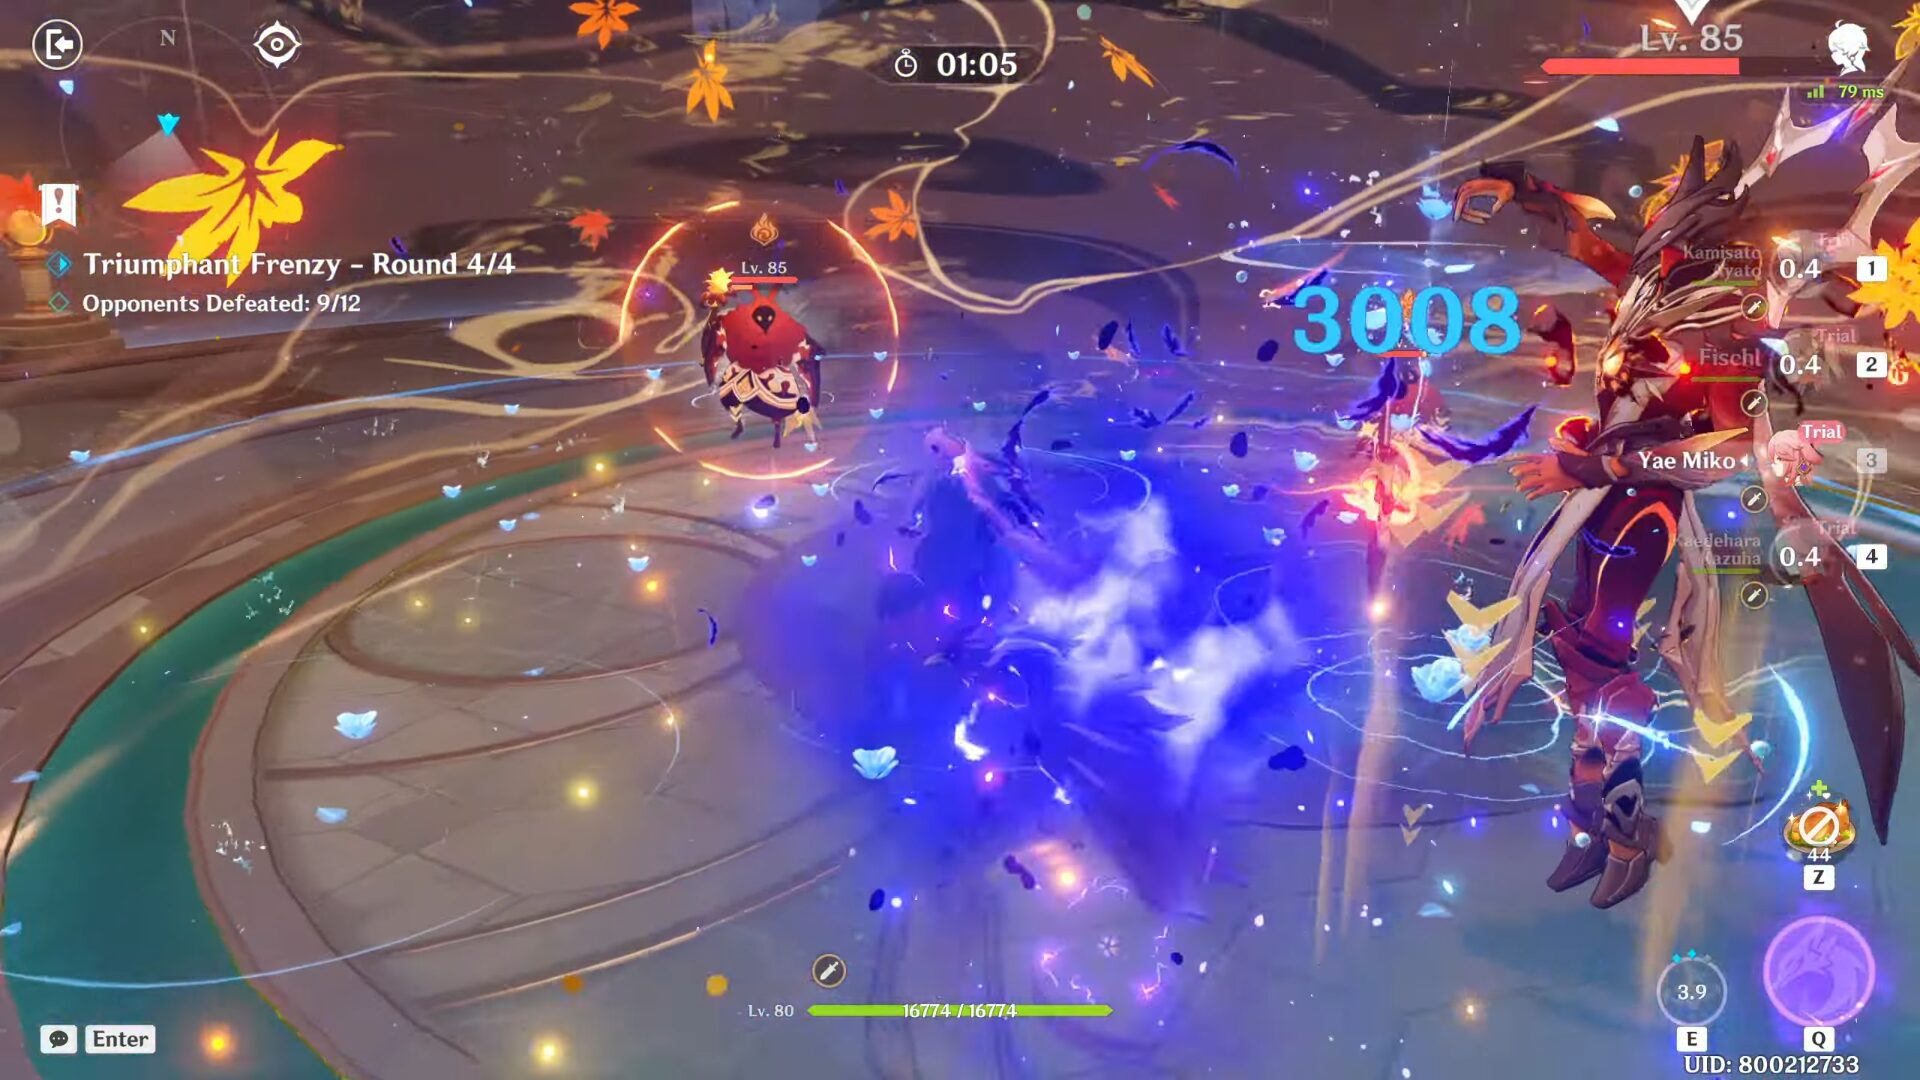
In the fourth round, choose Ayato | Fischl | Yae Miko | Kazuha. In the first wave, make sure to use Kazuha and his Hold Skill to gather all Specters in one spot and his Burst will do all the work. Since there are no Pyro and Dendro elements in your team, they won't be immune to anything this time. In the last wave, focus on the Abyss Lector since Kazuha's Burst and the ladies' Electro partners should be enough to destroy their Pyro shield and defeat them while you're busy with Lector. Speaking of Lector, when he is in the second phase, make sure to always destroy any Darkfire Furnace (the thing that was left behind and he summons a meteor) because by doing so, you will deplete ~25% of its Pyro shield.
The rough rotation: Yae Miko Skill x3 > Fischl Skill > Kazuha Hold Skill & Burst (& Skill again if possible) > Ayato Burst, Skill & Normal ATK. There's no healer in this team so don't forget to dodge at the important time (like when Abyss Lector enters his second phase).
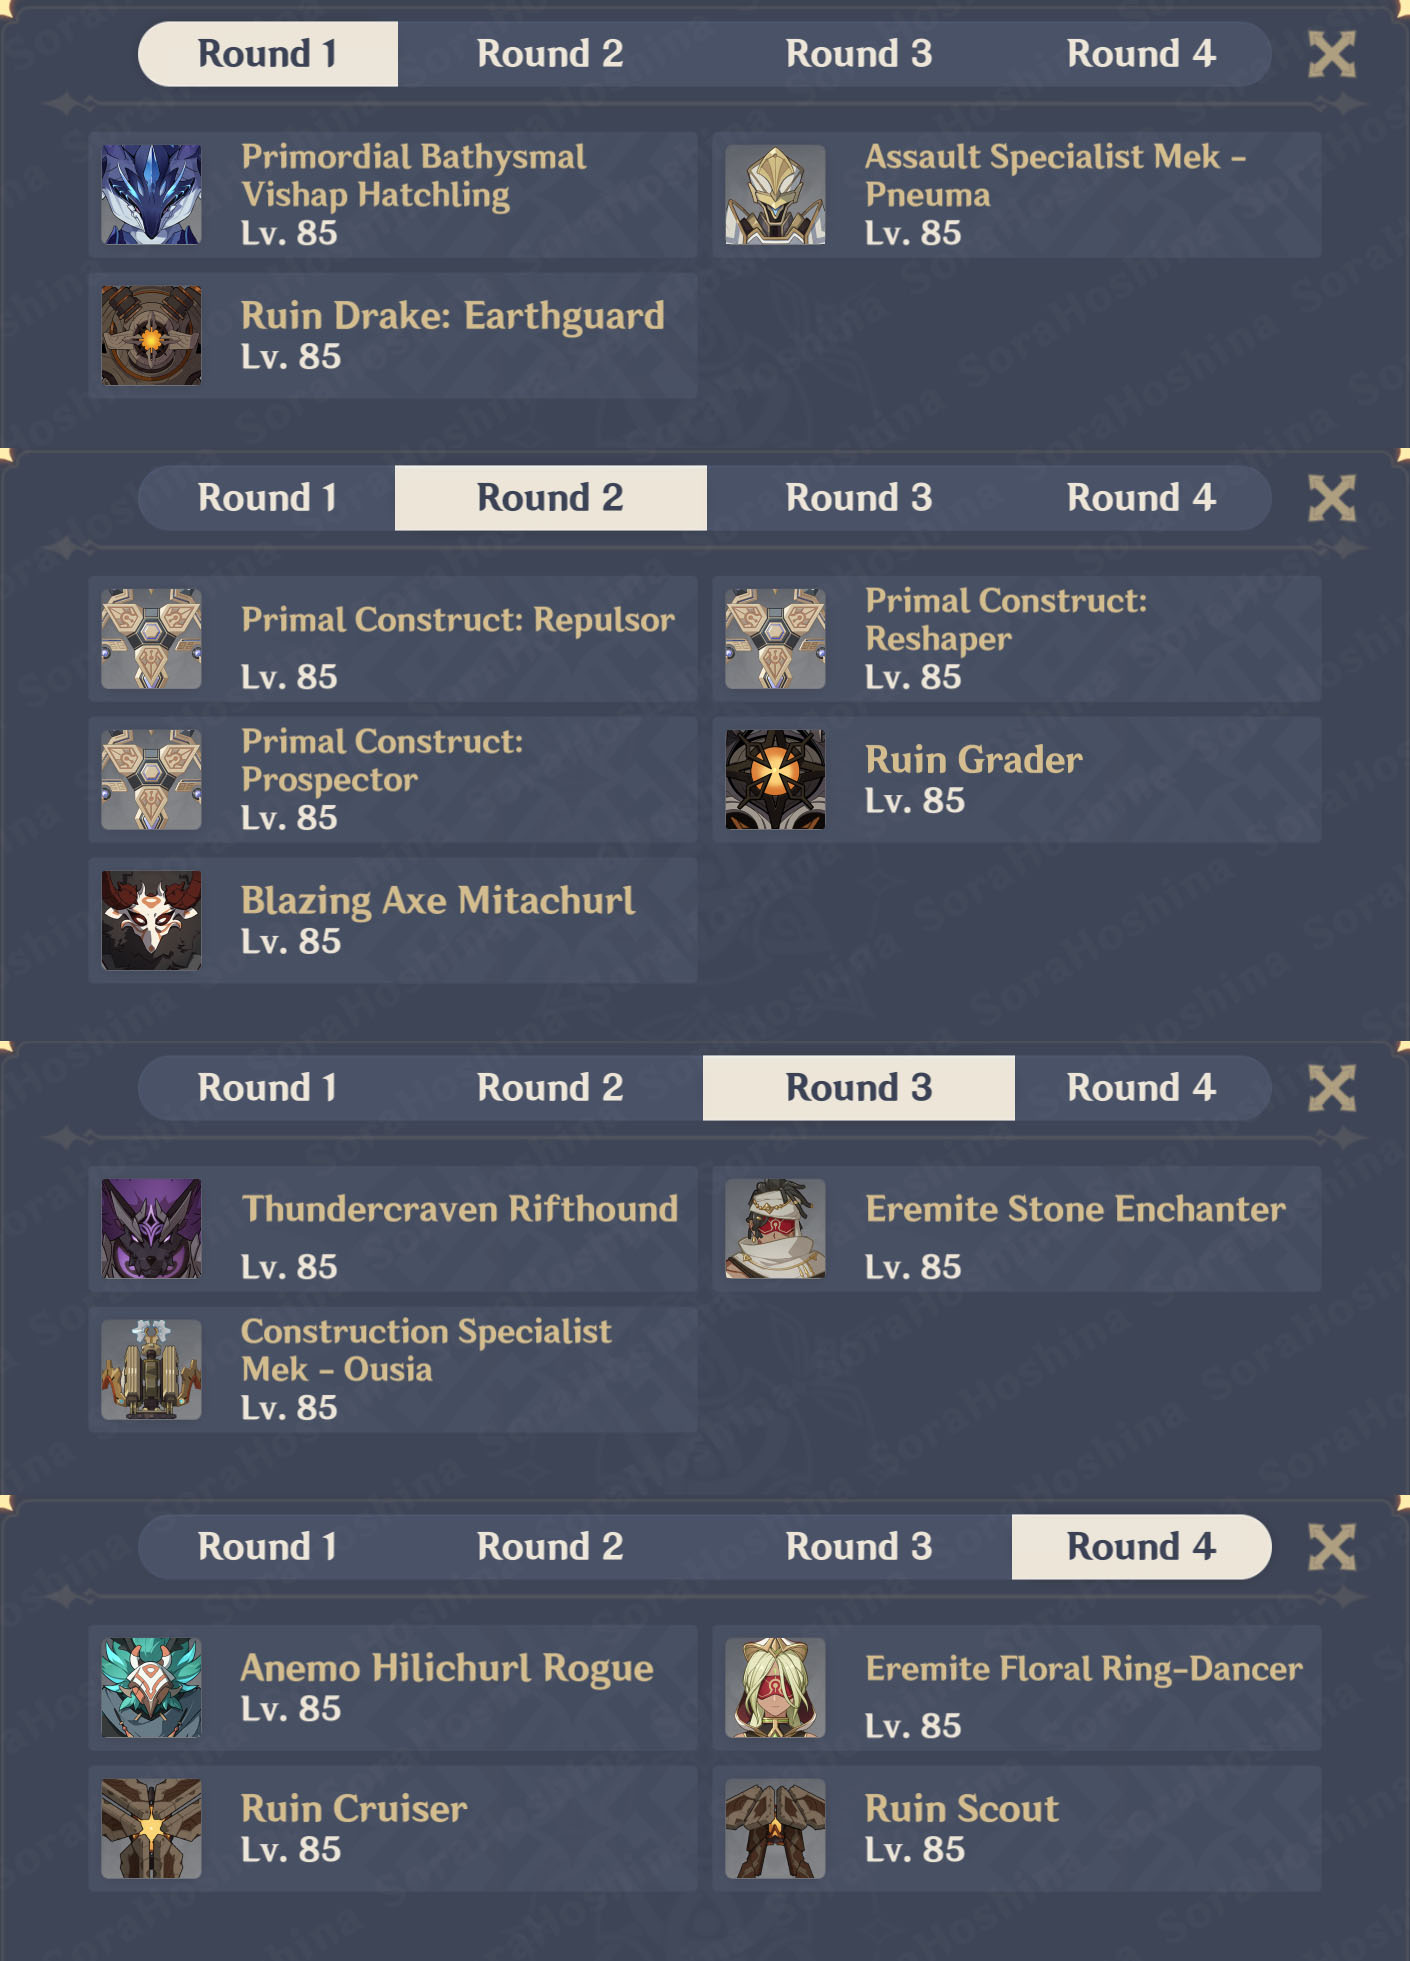
Stage 5 - The Shimmering Tree-Shadows
Combat Buff
Roiling Resolve will grant levels of buffs that correspond to your party members' total Resolve.
When a character triggers a Dendro-related reaction, all party members' Elemental Mastery will be increased by 100/300 for 6s.
Opponents Detail
Strategy
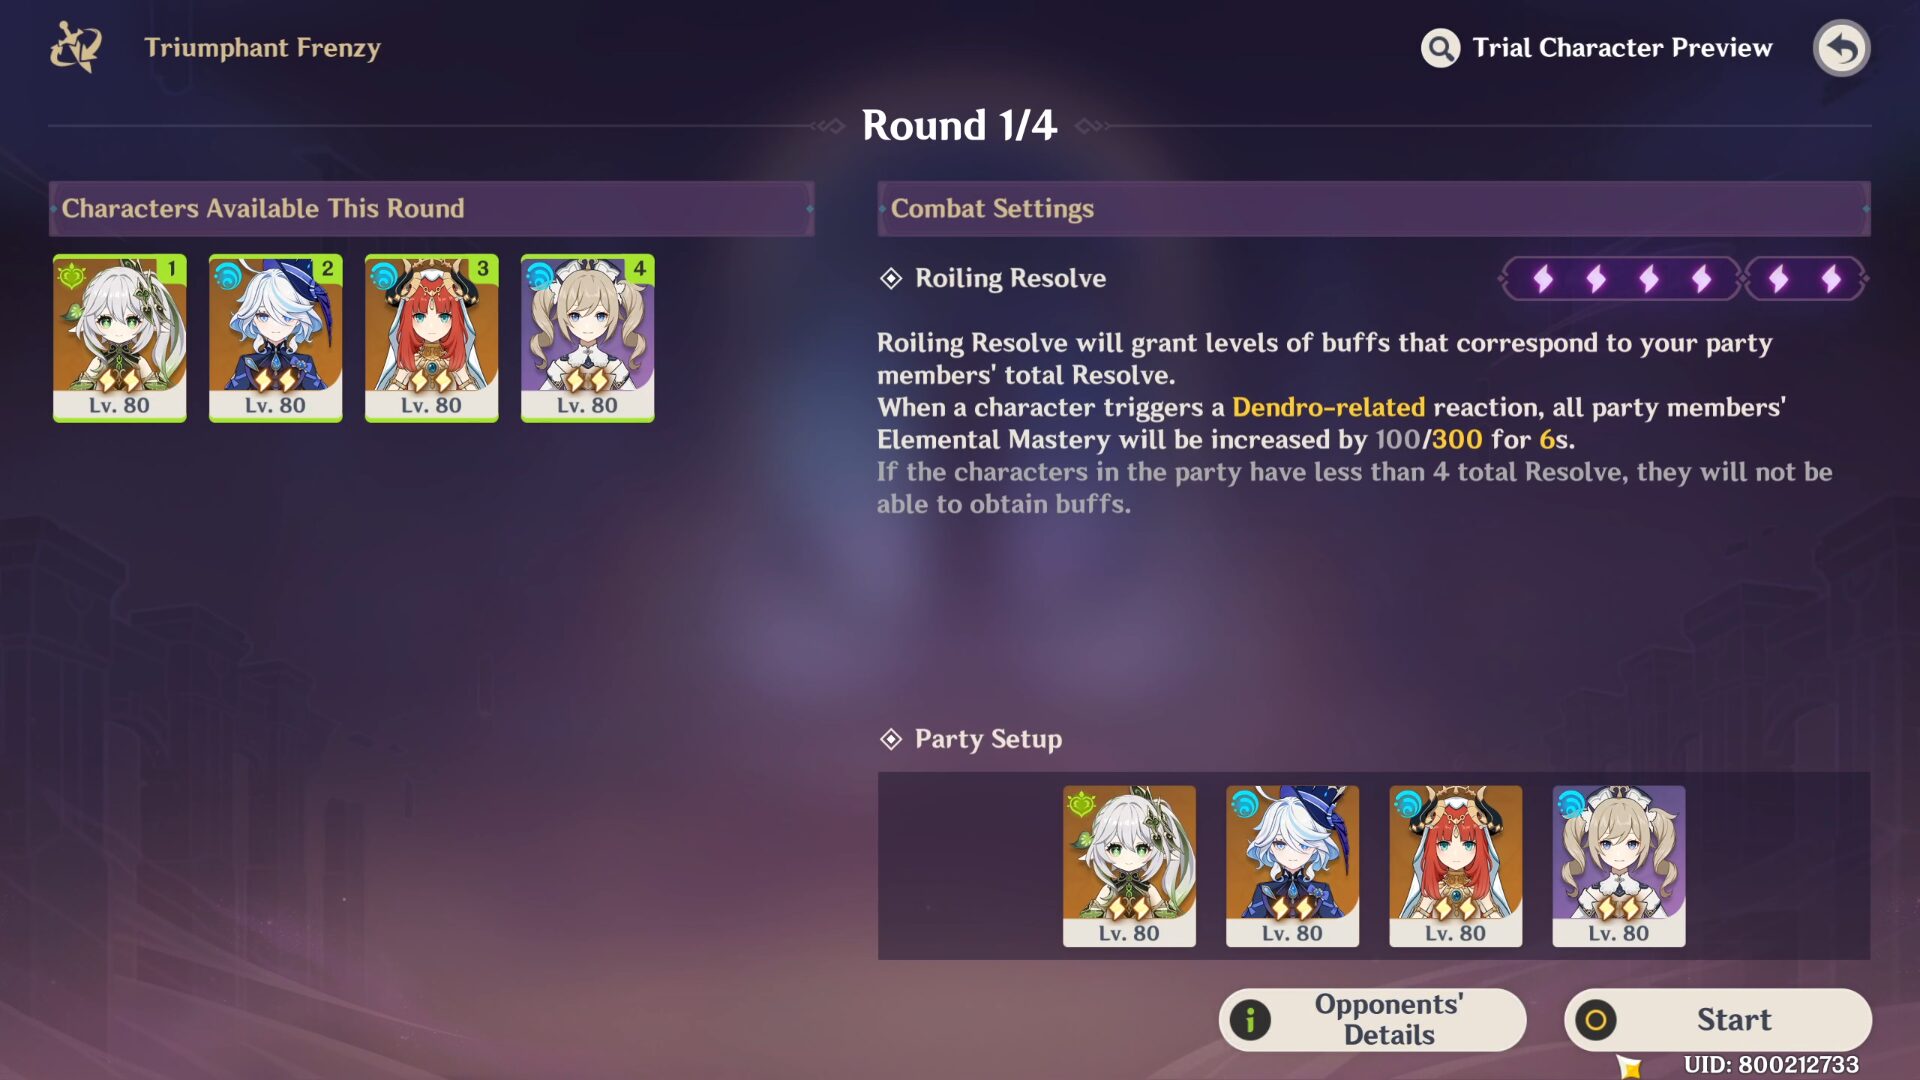

In the first round, choose Nahida | Furina | Nilou | Barbara. If you don't have Nilou, enjoy all the Bloom bursting and killing your enemies in an instant. If you already have her, well, I'm sure you know how dangerous she is in her Bounty Bloom team. But don't forget that your team will also take damage so use Barbara to heal the team.
The rough rotation: Nilou Skill x3 > Nahida Hold Skill & Burst > Furina Skill & Burst > Barbara Skill > Nahida spam Normal ATK. Whenever you see Nilou's Whirling Steps disappear, switch to her again and use her Skill to activate it again. That's where all your upgraded Dendro bombs come from. While if your whole team is almost in critical health (because of Furina's Skill and Dendro damage, use Barbara's Burst to immediately heal the whole team.
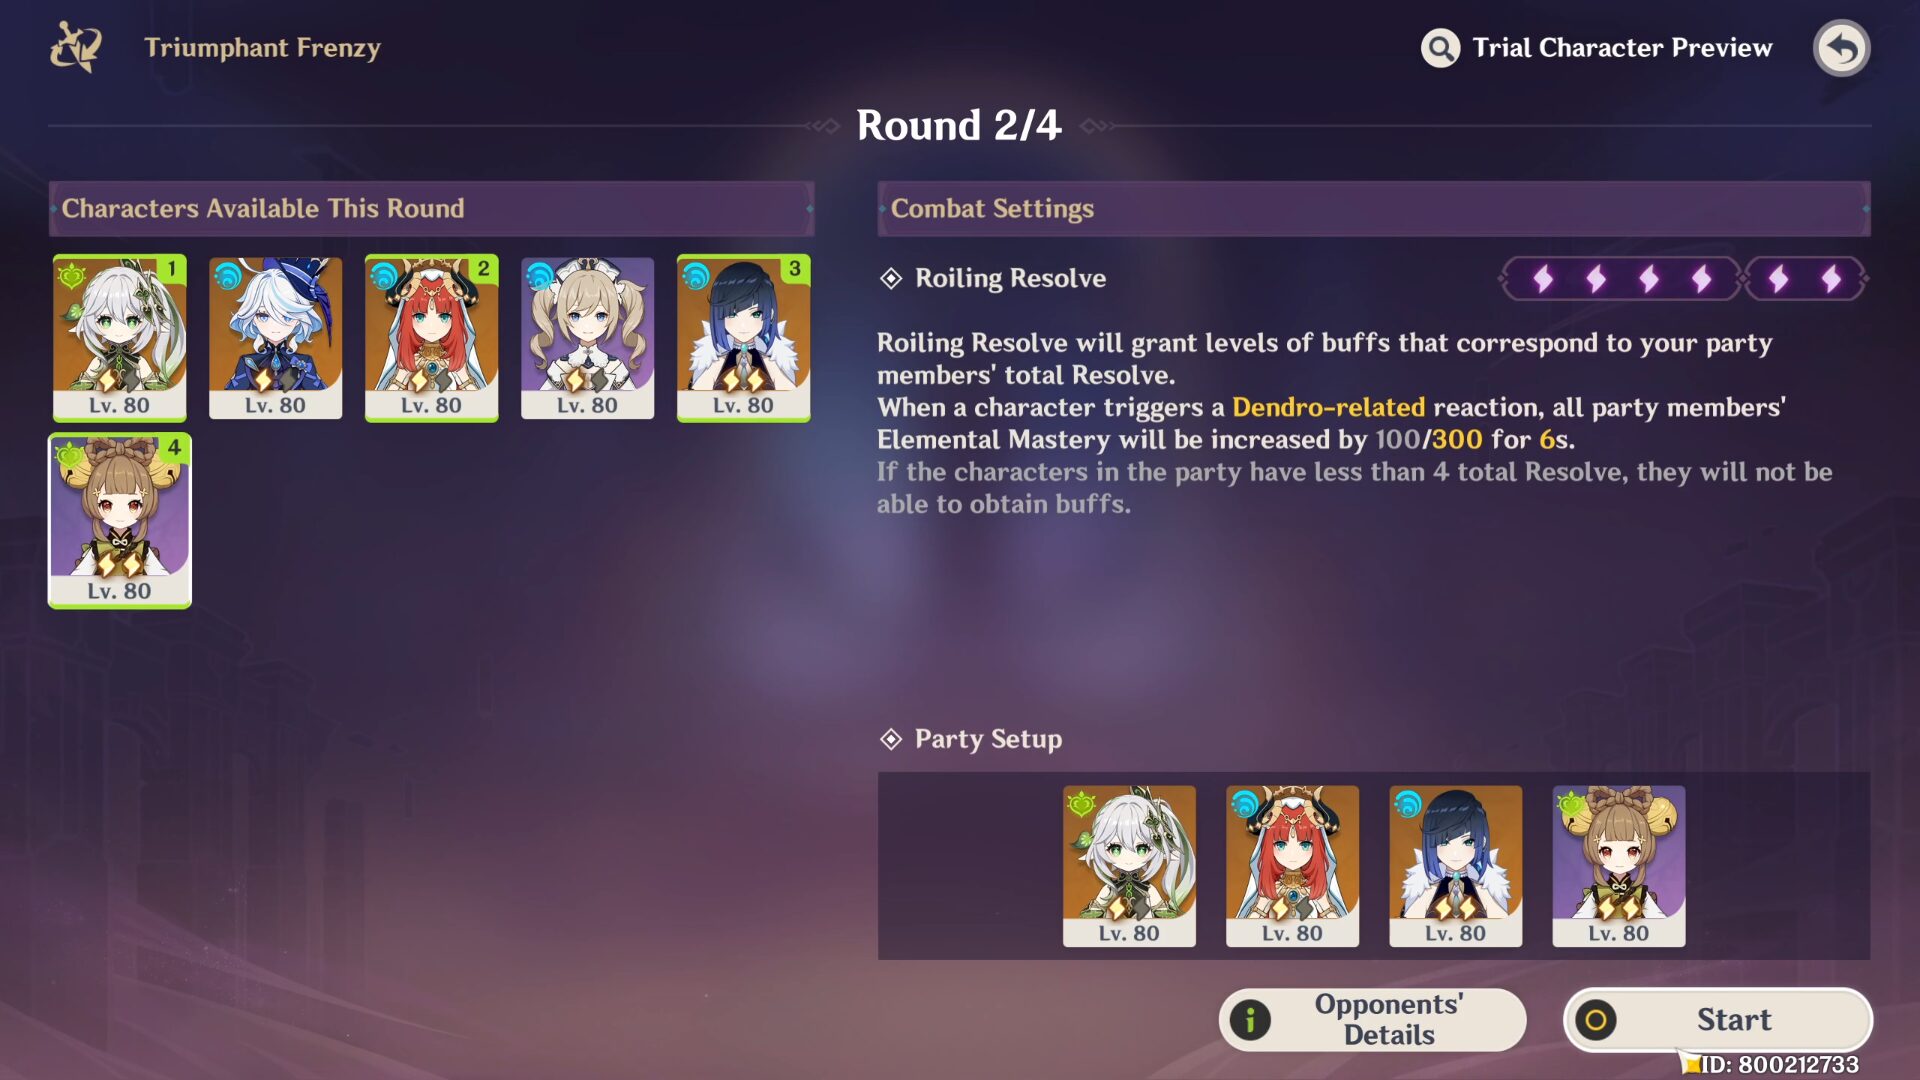
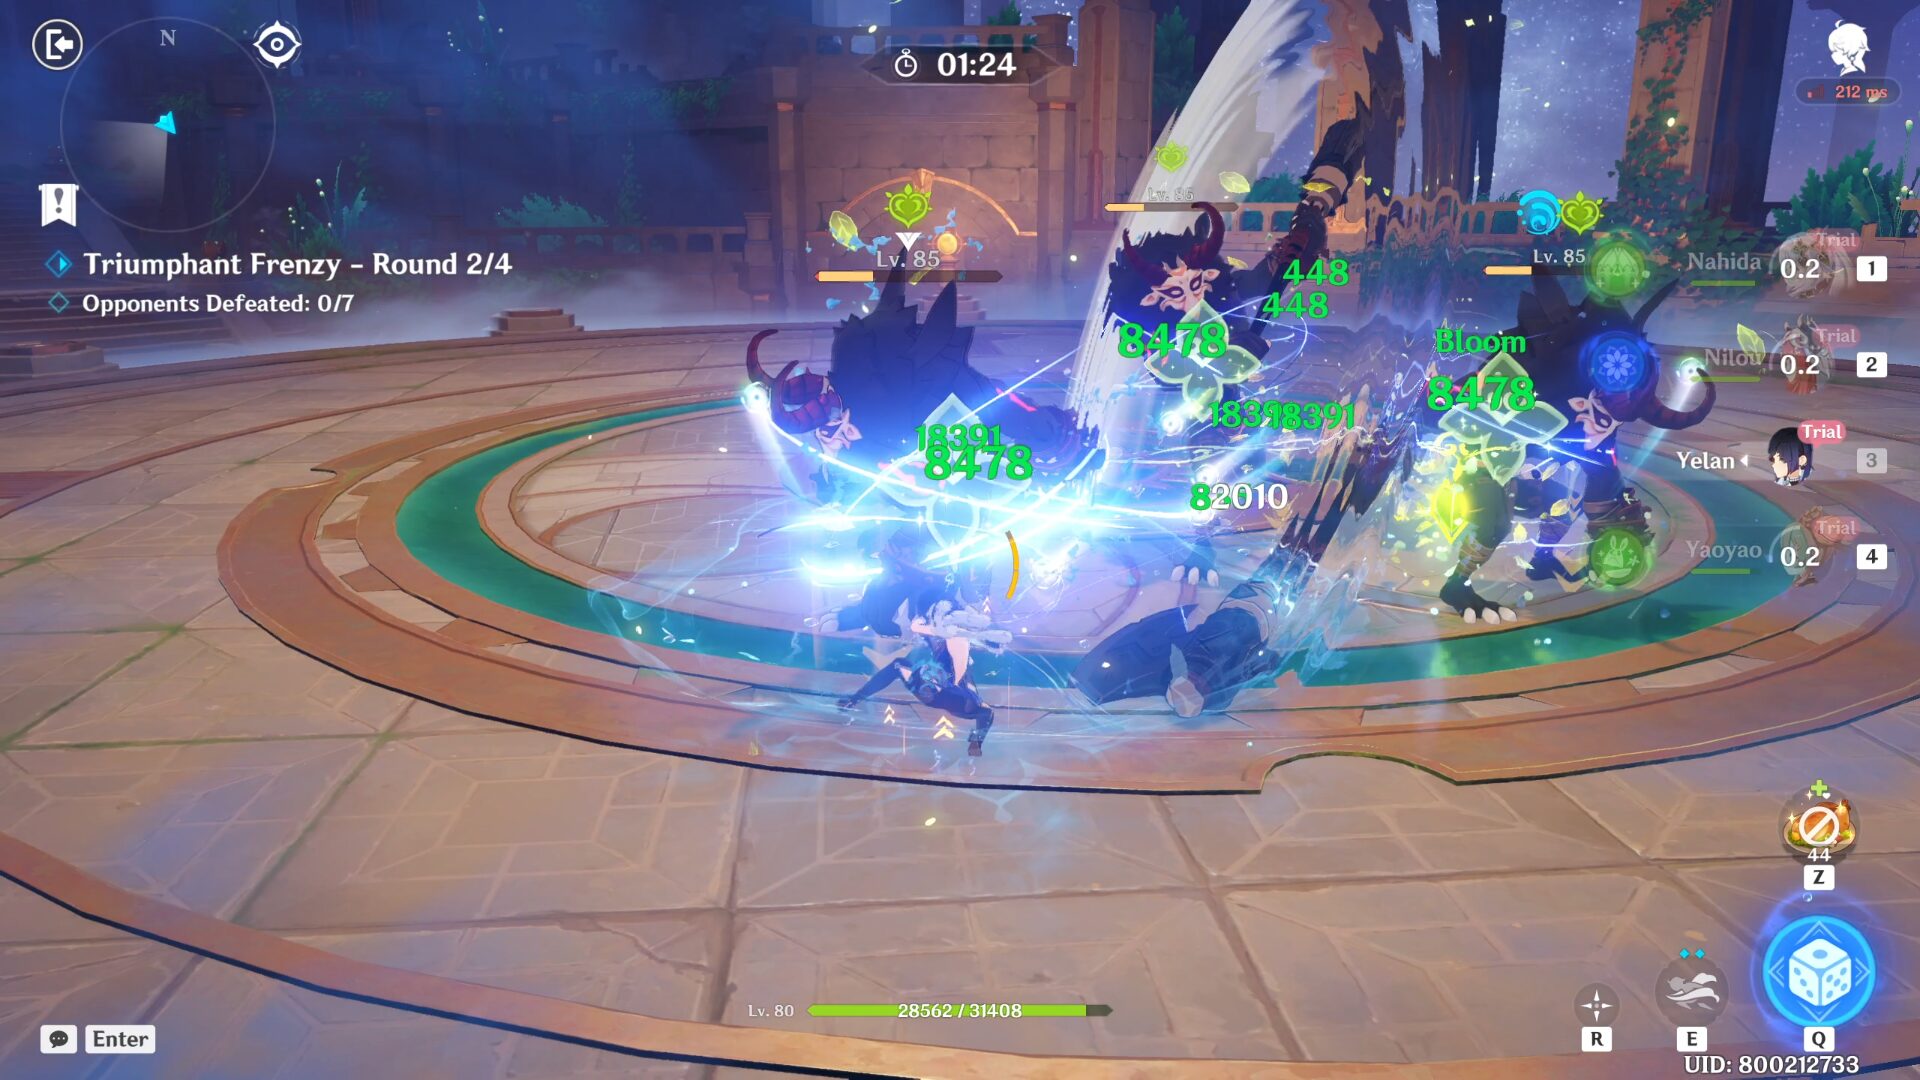
In the second round, choose Nahida | Nilou | Yelan | Yaoyao. This team is not much different from the previous team, as Nilou's Bounty Bloom will do all the work. All you have to do is make sure Nilou's Whirling Steps is available, your allies are in great health, and Nahida keeps inflicting Dendro on enemies.
The rough rotation: Nilou Skill x3 > Nahida Hold Skill & Burst > Yelan Burst & Skill > Yaoyao Skill > Nahida spam Normal ATK. If your team is in critical health, after Yelan's Burst, use Yaoyao Burst and spam her Normal ATK for a few seconds to let Yuegui heals the whole party members.
In the third round, choose Alhaitham | Yelan | Kuki Shinobu | Yaoyao. When you have the first three, you know it's the Hyperbloom time. In the first wave, the Rifthounds will keep teleporting so if you want to use your Burst, make sure to do it after they are done teleporting, or it will just go to waste.
The rough rotation: Yaoyao Skill > Yelan Burst & Skill > Kuki Shinobu Skill > Alhaitham Skill, Burst & Normal ATK. With two healers on the field, I'm confident your team can survive just fine, especially with Alhaitham defeating the enemies before they can even hit him.


In the fourth round, choose Keqing | Collei | Furina | Kuki Shinobu. This is another Hyperbloom team. There's nothing much to say since none of the enemies are extremely dangerous and you can survive + deal huge damage as long as your rotation is fine. At most, the annoying one would be in wave 2 where there are 3 enemies and 2 of them may launch themselves to get far away from you. But all you have to do is stand beside one of the Ruin Cruisers and make sure its back is against the other 2 enemies. This way, if they back up, they will reverse in the direction of other enemies.
The rough rotation: Furina Burst & Skill > Collei Burst & Skill > Kuki Shinobu Skill > Keqing Skill & Burst.
Gameplay Rewards
➥ Don’t forget to manually claim your rewards from the event page. By completing all the event challenges, you will get the following rewards:
- Primogem x420
- Mora x450000
- Sanctifying Unction x20
- Hero's Wit x15
- Mystic Enhancement Ore x15
- Fine Enhancement Ore x30

SoraHoshina
Articles: 180More Articles

Genshin Impact: Version 4.6 Tier List (May 2024)
Genshin Impact: Xiangling Quick Character Guide

Genshin Impact: Freminet Quick Character Guide

Genshin Impact: Lynette Quick Character Guide

Genshin Impact: Lyney Quick Character Guide

Genshin Impact: Arlecchino Quick Character Guide

Genshin Impact: Spiral Abyss V4.6 Floor 12 Complete Guide

Genshin Impact: Spiral Abyss V4.6 Floor 11 Complete Guide

Genshin Impact Codes – April 2024

Genshin Impact: Vibro-Crystal Applications Event Guide

Genshin Impact: All New Fontaine World Quests in Version 4.6
Genshin Impact: Where His Life Lies Quest Guide

Genshin Impact: All 8 Lost Grimoire and Bookshelves Location

Genshin Impact: All New Achievements in Version 4.6
Genshin Impact: All 55 Hydroculus in Fontaine V4.6

Genshin Impact: Autoharmonic Music Box All Score Locations
Genshin Impact: Challenger: Series IX Achievement Guide

Genshin Impact: Latecoming Homecoming Quest Guide
Genshin Impact: Canticles of Harmony Chain Quest Guide