Table of Contents
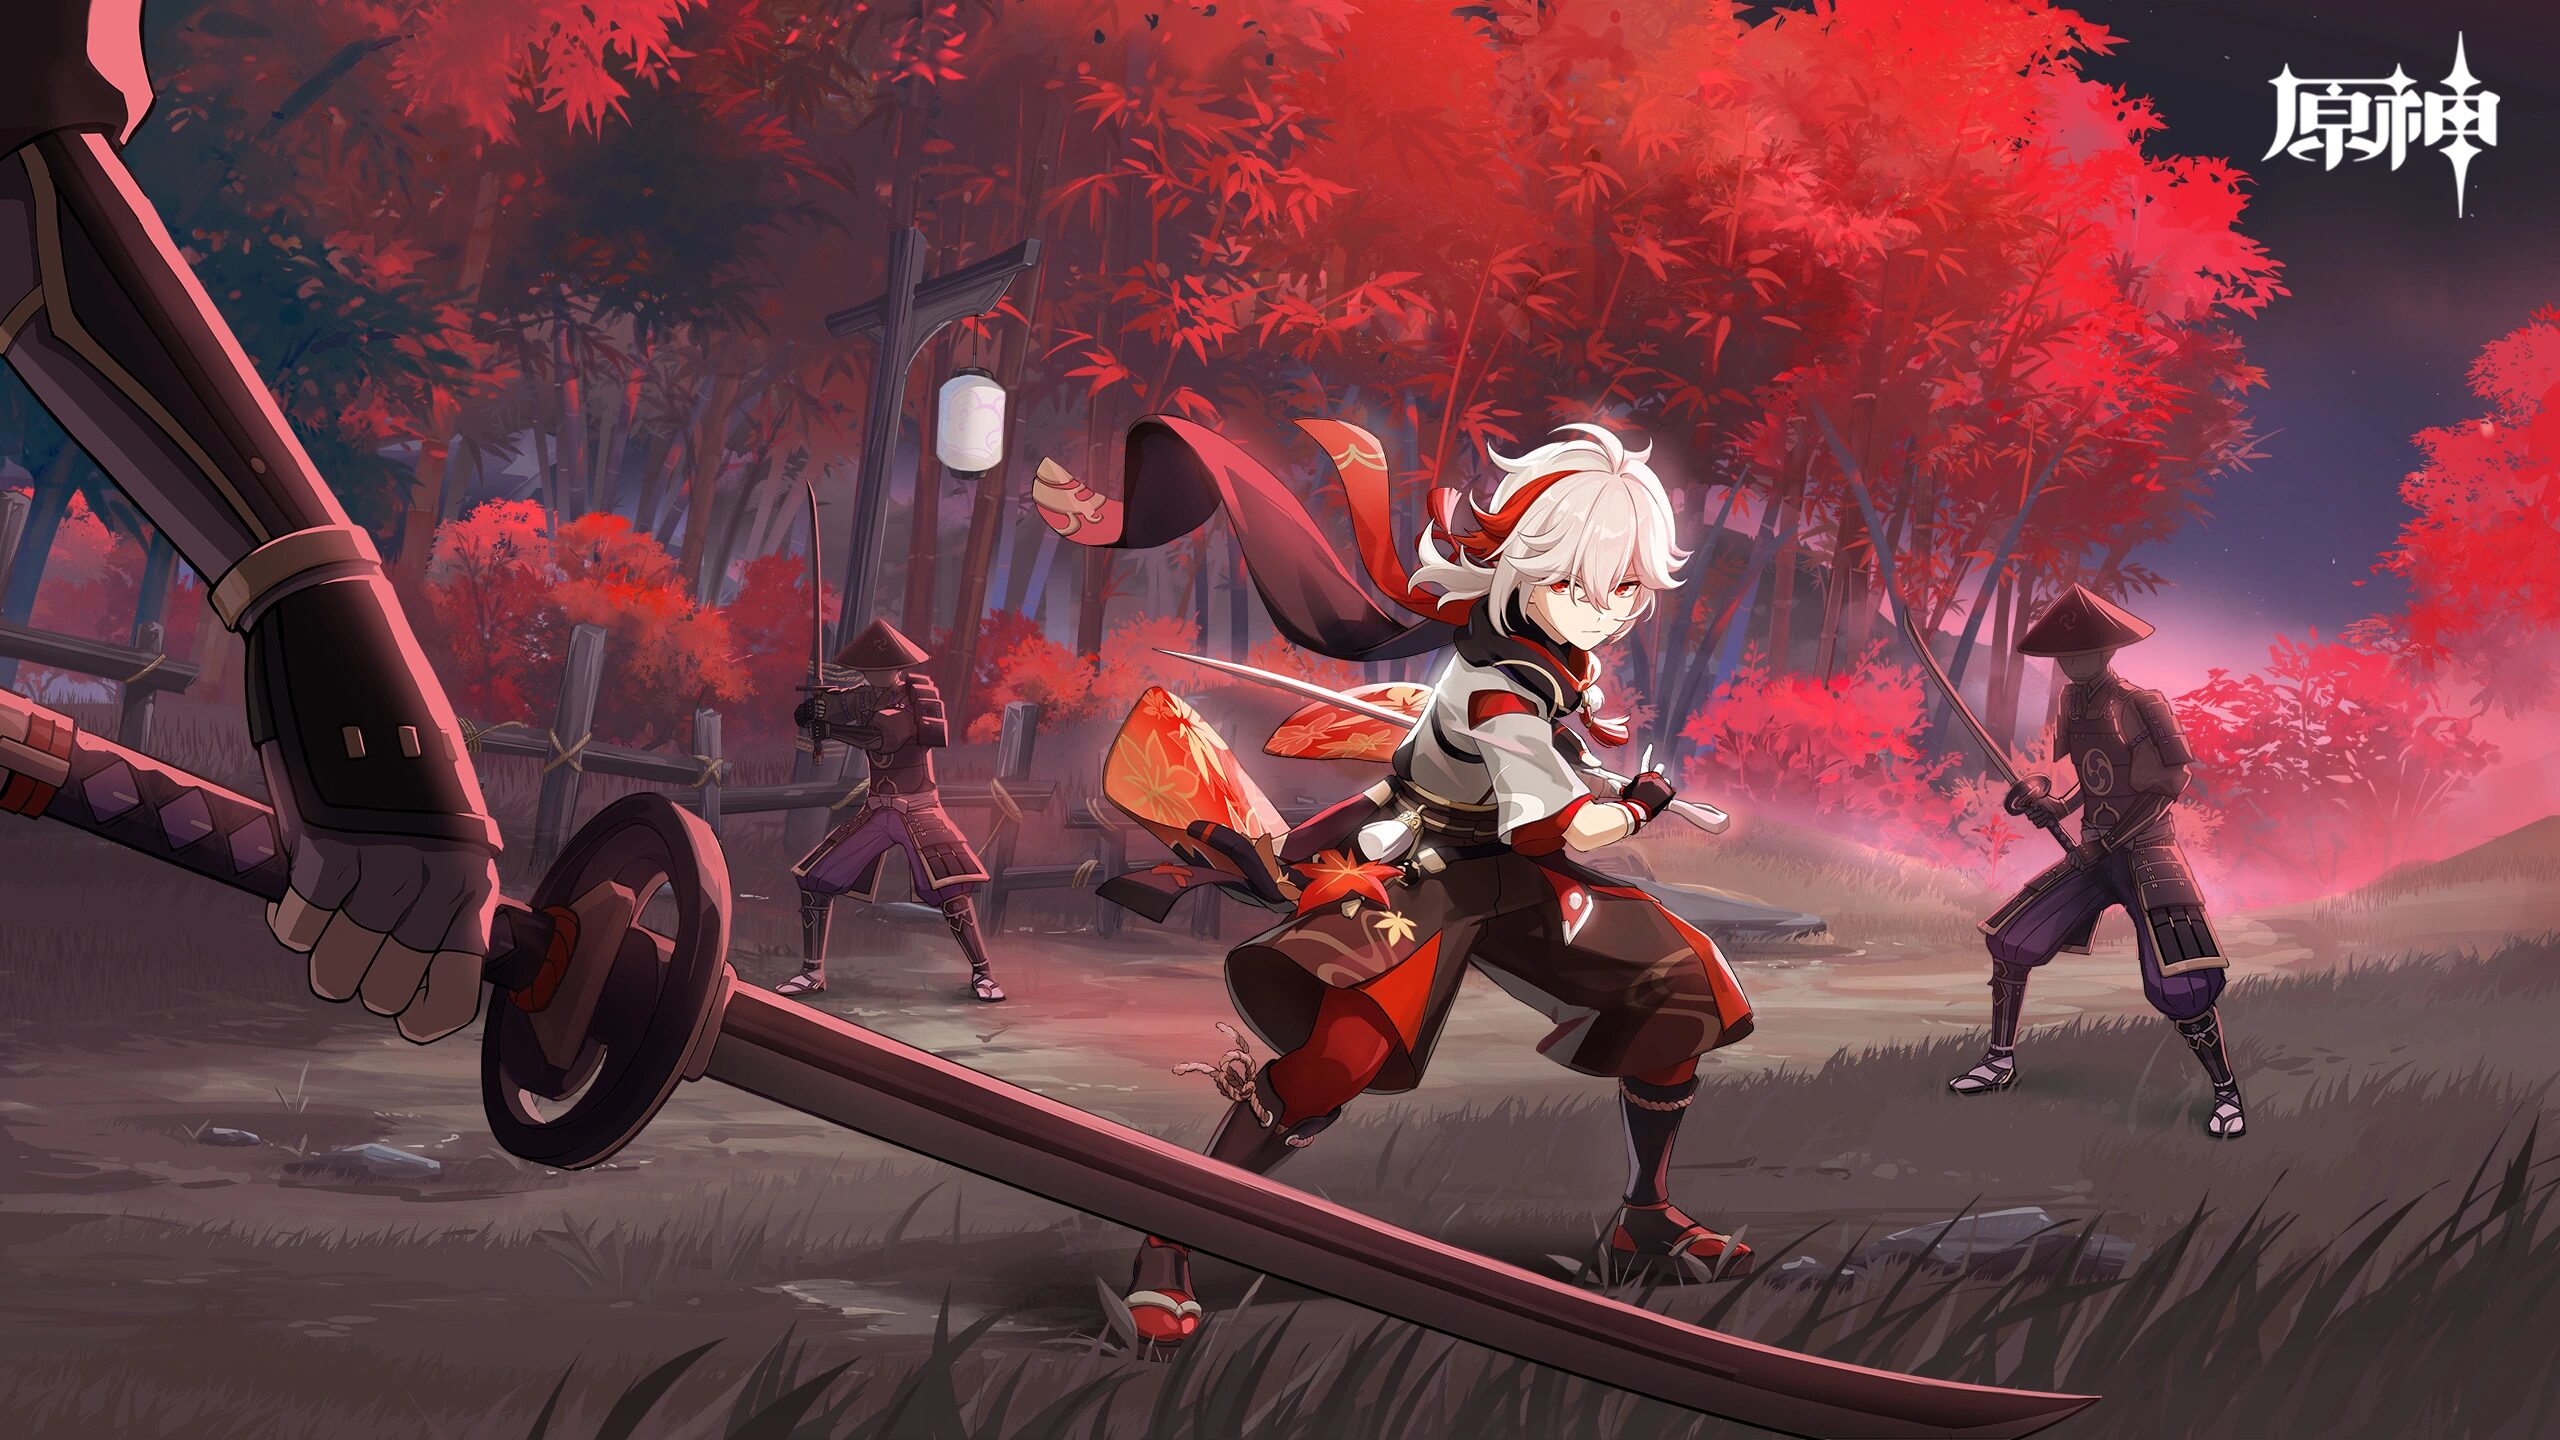
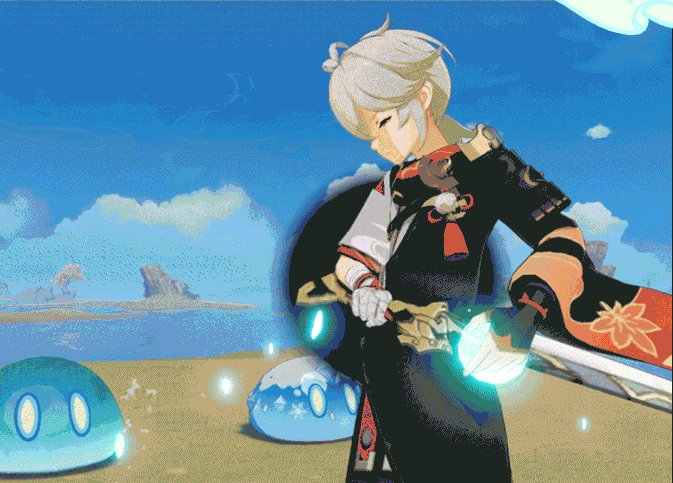
Kaedehara Kazuha is a support character who increases party damage. By triggering a Swirl reaction, Kazuha can further buff his teammates with an Elemental Damage Bonus for their corresponding Element. He can also pull opponents in and deal damage simultaneously with his Plunging Attack: Midare Ranzan.
This guide is based on the Community Character Builds by the Genshin Helper Team.
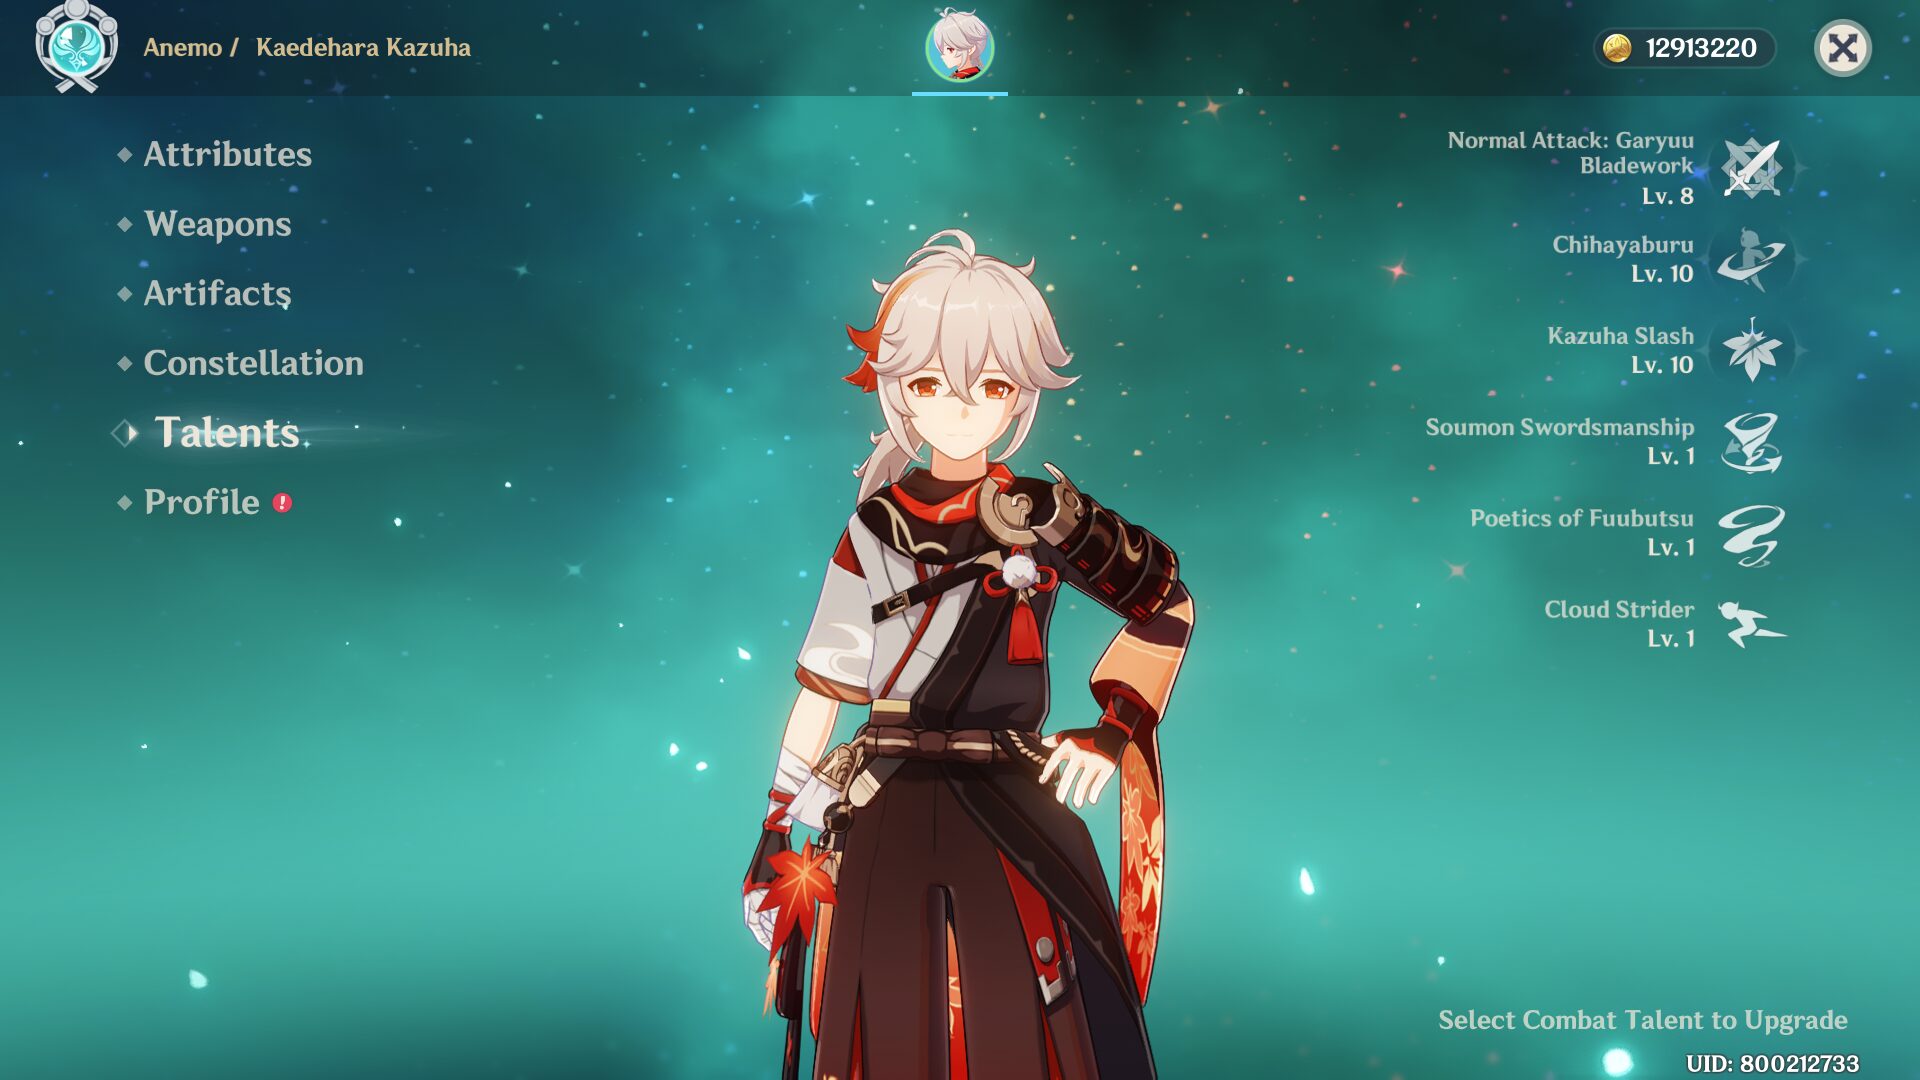
Skills Overview
Normal Attack: Garyuu Bladework
Normal Attack
Performs up to 5 rapid strikes.
Charged Attack
Consumes a certain amount of Stamina to unleash 2 rapid sword strikes.
Plunging Attack
Plunges from mid-air to strike the ground below, damaging opponents along the path and dealing AoE DMG upon impact. If this Plunging Attack is triggered by Chihayaburu, it will be converted to Plunging Attack: Midare Ranzan.
Plunging Attack: Midare Ranzan
When a Plunging Attack is performed using the effects of the Elemental Skill Chihayaburu, Plunging Attack DMG is converted to Anemo DMG. On landing, Kazuha creates a small wind tunnel via a secret blade technique that pulls in nearby objects and opponents.
Midare Ranzan's DMG is considered Plunging Attack DMG.
Elemental Skill: Chihayaburu
Unleashes a secret technique as fierce as the rushing wind that pulls objects and opponents towards Kazuha's current position before launching opponents within the AoE, dealing Anemo DMG and lifting Kazuha into the air on a rushing gust of wind.
Within 10s of remaining airborne after casting Chihayaburu, Kazuha can unleash a powerful Plunging Attack known as Midare Ranzan.
(Press/Tap)
Can be used in mid-air.
Hold
Charges up before unleashing greater Anemo DMG over a larger AoE than (Press/Tap) Mode.
Elemental Burst: Kazuha Slash
The signature technique of Kazuha's self-styled bladework — a single slash that strikes with the force of the first winds of autumn, dealing AoE Anemo DMG.
The blade's passage will leave behind a field named "Autumn Whirlwind" that periodically deals AoE Anemo DMG to opponents within its range.
Elemental Absorption
If Autumn Whirlwind comes into contact with Hydro/Pyro/Cryo/Electro, it will deal additional elemental DMG of that type.
Elemental Absorption may only occur once per use.
| The element which is absorbed by Kazuha's elemental burst follows the priority of Pyro > Hydro > Electro > Cryo, and can be absorbed from both the active character and enemies. (i.e. Standing in Bennett 's Elemental Burst will result in Kazuha's Elemental Burst infusing Pyro as Bennett's Elemental Burst applies Pyro to the active character) |
Ascension 1: Soumon Swordsmanship
If Chihayaburu comes into contact with Hydro/Pyro/Cryo/Electro when cast, Chihayaburu will absorb that element and if Plunging Attack: Midare Ranzan is used before the effect expires, it will deal an additional 200% ATK of the absorbed elemental type as DMG. This will be considered Plunging Attack DMG.
Elemental Absorption may only occur once per use of Chihayaburu.
Ascension 4: Poetics of Fuubutsu
Upon triggering a Swirl reaction, Kaedehara Kazuha will grant all party members a 0.04% Elemental DMG Bonus to the element absorbed by Swirl for every point of Elemental Mastery he has for 8s. Bonuses for different elements obtained through this method can co-exist.
Passive Talent: Cloud Strider
Decreases sprinting Stamina consumption for your own party members by 20%.
Not stackable with Passive Talents that provide the exact same effects.
Talent Priorities
Burst > Skill > Normal Attack*
*For an EM-focused build, upgrading Kazuha's talent levels isn't a necessity.
*Note that upgrading Kazuha's NA talent increases the damage of his plunge attacks.
Constellations
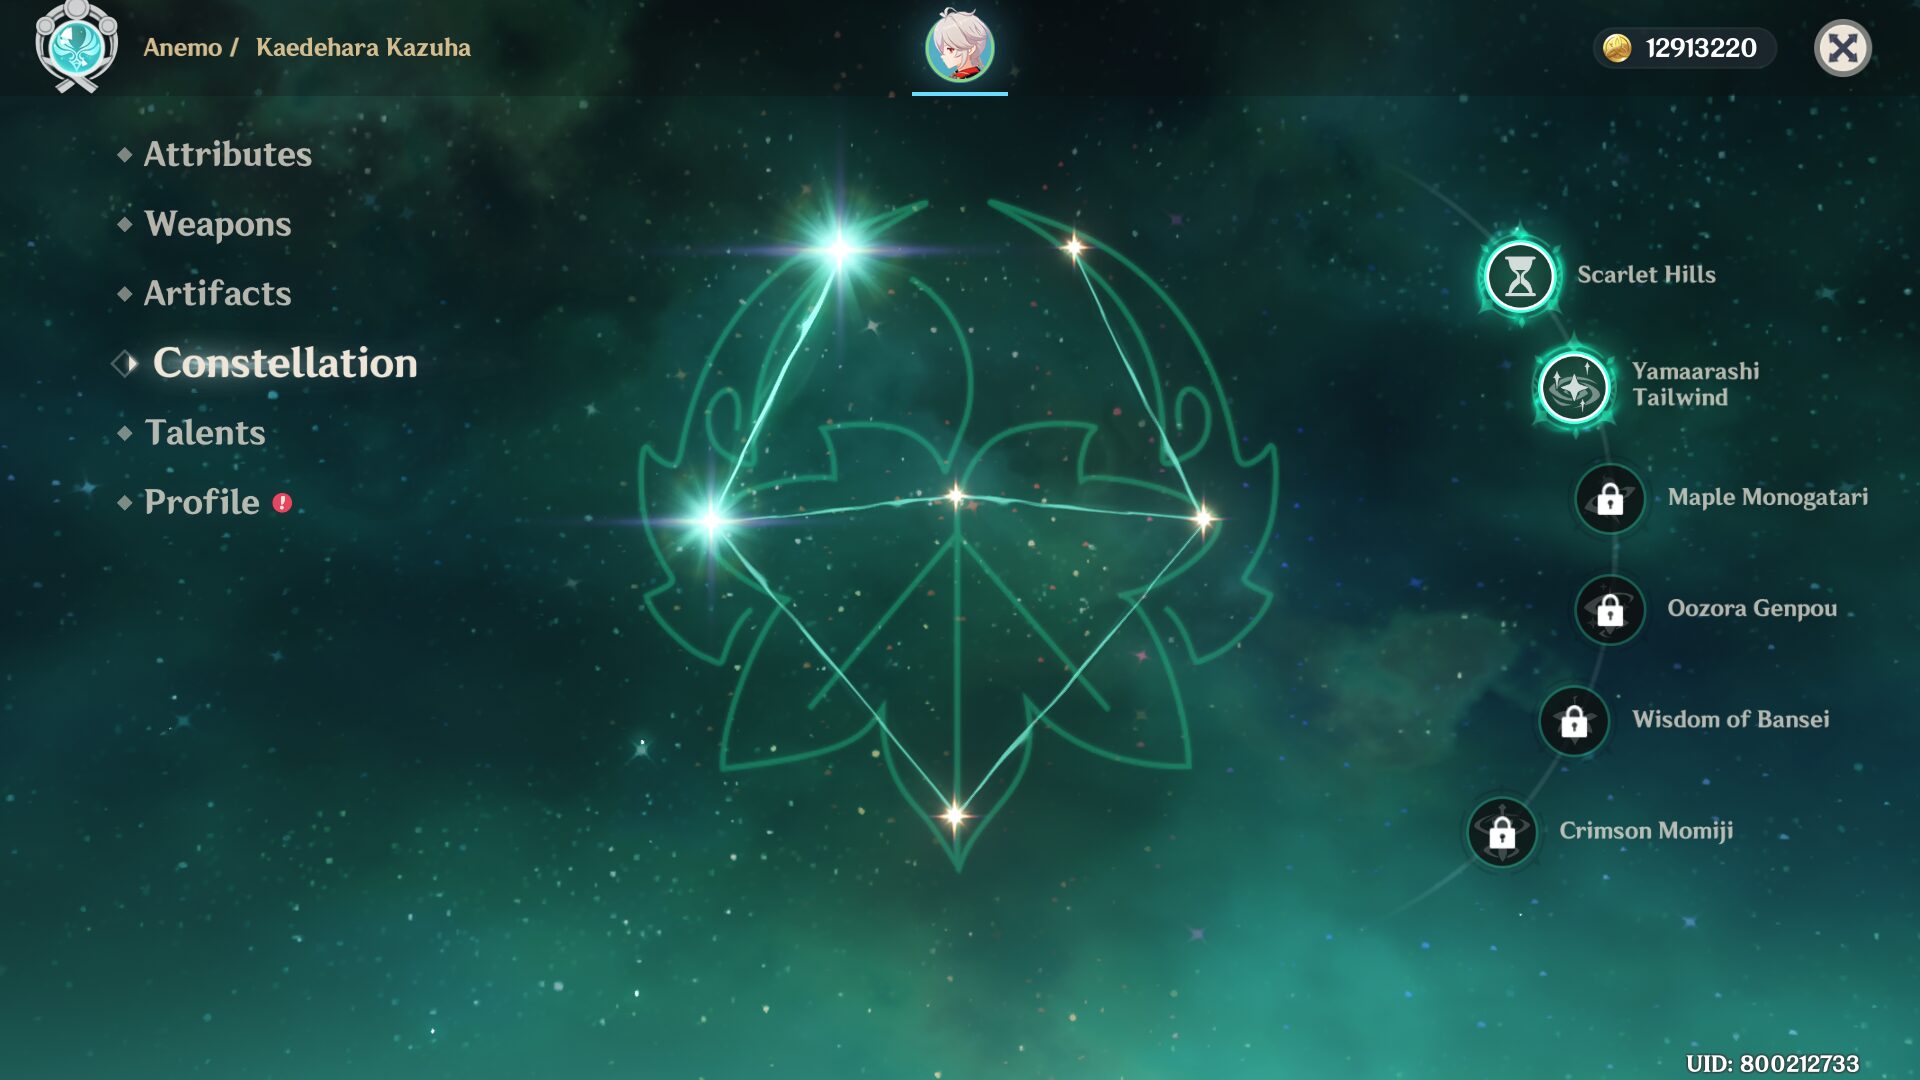
Best Constellations: C1 & C2
C1: Scarlet Hills ⭐
Decreases Chihayaburu's CD by 10%.
Using Kazuha Slash resets the CD of Chihayaburu.
C2: Yamaarashi Tailwind ⭐
The Autumn Whirlwind field created by Kazuha Slash has the following effects:
• Increases Kaedehara Kazuha's own Elemental Mastery by 200 for its duration.
• Increases the Elemental Mastery of characters within the field by 200.
The Elemental Mastery-increasing effects of this Constellation do not stack.
C3: Maple Monogatari
Increases the Level of Chihayaburu by 3.
Maximum upgrade level is 15.
C4: Oozora Genpou
When Kaedehara Kazuha's Energy is lower than 45, he obtains the following effects:
• (Pressing/Tapping) or Holding Chihayaburu regenerates 3 or 4 Energy for Kaedehara Kazuha, respectively.
• When gliding, Kaedehara Kazuha regenerates 2 Energy per second.
C5: Wisdom of Bansei
Increases the Level of Kazuha Slash by 3.
Maximum upgrade level is 15.
C6: Crimson Momiji
After using Chihayaburu or Kazuha Slash, Kaedehara Kazuha gains an Anemo Infusion for 5s. Additionally, each point of Elemental Mastery will increase the DMG dealt by Kaedehara Kazuha's Normal, Charged, and Plunging Attacks by 0.2%.
Recommended Weapons
The ultimate goal is to try to stack as much EM while getting enough ER for a consistent Burst uptime. Having any of the ER swords or a second Anemo character in the team will also help reduce the need for ER and prioritize EM substats more.
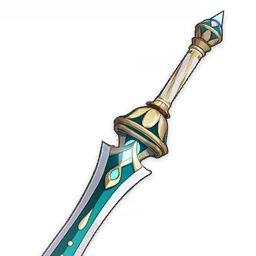
- Freedom-Sworn (5✩)
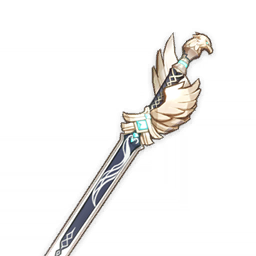
~= Xiphos' Moonlight [R4+] (4✩) - Xiphos' Moonlight (4✩)
~= Favonius Sword (4✩)* - Iron Sting (4✩)
~= Toukabou Shigure (4✩)
~= Sacrificial Sword (4✩)*
~= Fleuve Cendre Ferryman (4✩)
~= Sapwood Blade (4✩)*
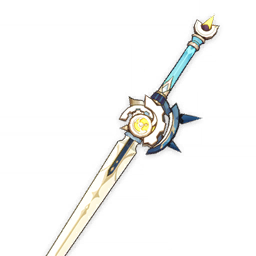
~= Skyward Blade (5✩) - Skyrider Sword (3✩)
1) Freedom-Sworn (ATK: 608 • Elemental Mastery: 198)
A part of the "Millenial Movement" that wanders amidst the winds. Increases DMG by 10/12.5/15/17.5/20%. When the character wielding this weapon triggers Elemental Reactions, they gain a Sigil of Rebellion. This effect can be triggered once every 0.5s and can be triggered even if said character is not on the field. When you possess 2 Sigils of Rebellion, all of them will be consumed and all nearby party members will obtain "Millennial Movement: Song of Resistance" for 12s. "Millennial Movement: Song of Resistance" increases Normal, Charged and Plunging Attack DMG by 16/20/24/28/32% and increases ATK by 20/25/30/35/40%. Once this effect is triggered, you will not gain Sigils of Rebellion for 20s.
Of the many effects of the "Millennial Movement," buffs of the same type will not stack.
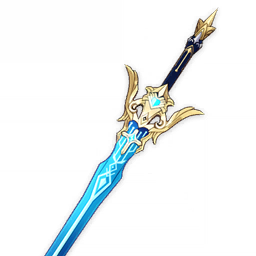
2) Xiphos' Moonlight (ATK: 510 • Elemental Mastery: 165)
The following effect will trigger every 10s: The equipping character will gain 0.036/0.045/0.054/0.063/0.072% Energy Recharge for each point of Elemental Mastery they possess for 12s, with nearby party members gaining 30% of this buff for the same duration. Multiple instances of this weapon can allow this buff to stack. This effect will still trigger even if the character is not on the field.
3) Favonius Sword (ATK: 454 • Energy Recharge: 61.3%)
CRIT Hits have a 60/70/80/90/100% chance to generate a small amount of Elemental Particles, which will regenerate 6 Energy for the character. Can only occur once every 12/10.5/9/7.5/6s.
Note: With this weapon, try to aim for some Crit Rate stats to trigger the weapon passive reliably.
4) Iron Sting (ATK: 510 • Elemental Mastery: 165)
Dealing Elemental DMG increases all DMG by 6/7.5/9/10.5/12% for 6s. Max 2 stacks. Can only occur once every 1s.

5) Toukabou Shigure (ATK: 510 • Elemental Mastery: 165)
After an attack hits opponents, it will inflict an instance of Cursed Parasol upon one of them for 10s. This effect can be triggered once every 15s. If this opponent is taken out during Cursed Parasol's duration, Cursed Parasol's CD will be refreshed immediately. The character wielding this weapon will deal 16/20/24/28/32% more DMG to the opponent affected by Cursed Parasol.

6) Fleuve Cendre Ferryman (ATK: 510 • Energy Recharge: 45.9%)
Increases Elemental Skill CRIT Rate by 8/10/12/14/16%. Additionally, increases Energy Recharge by 16/20/24/28/32% for 5s after using an Elemental Skill.
Recommended Artifacts
- Viridescent Venerer (4)
- Instructor (4)
- Thundering Fury (4)*

1) Viridescent Venerer
2-Piece Bonus: Anemo DMG Bonus +15%
4-Piece Bonus: Increases Swirl DMG by 60%. Decreases opponent's Elemental RES to the element infused in the Swirl by 40% for 10s.

2) Instructor
2-Piece Bonus: Increases Elemental Mastery by 80.
4-Piece Bonus: Upon triggering an Elemental Reaction, increases all party members' Elemental Mastery by 120 for 8s.

3) Thundering Fury
2-Piece Bonus: Electro DMG Bonus +15%
4-Piece Bonus: Increases DMG caused by Overloaded, Electro-Charged, Superconduct, and Hyperbloom by 40%, and the DMG Bonus conferred by Aggravate is increased by 20%. When Quicken or the aforementioned Elemental Reactions are triggered, Elemental Skill CD is decreased by 1s. Can only occur once every 0.8s.
Note: This is a niche build that excels only in AoE situations and with specific teams. Those teams include an off-field Hydro and Electro support to allow Kazuha to constantly trigger the 4pc effect and spam his Elemental Skill, as well as another Anemo support to hold the Viridiscent Venerer (4) set. Such teams can be Kazuha + Kokomi + Fischl + Venti, with Barbara and Sucrose being weaker replacements for Kokomi and Venti.
This team triggers multiple fall damage instances against enemies that can be Crowd-Controlled by Kazuha. Fischl can use The Viridiscent Hunt bow to allow for more fall damage instances.
**NOTE: This team performs very poorly in pure single-target situations.
| Artifact Main Stats | Artifact Sub Stats |
|---|---|
| Sands - Elemental Mastery / Energy Recharge Goblet - Elemental Mastery Circlet - Elemental Mastery | Energy Recharge* Elemental Mastery ATK% / Crit Rate** *Prioritize Energy Recharge until you meet the requirement. **Prioritize Crit Rate over ATK% if running Favonius |
Team Compositions
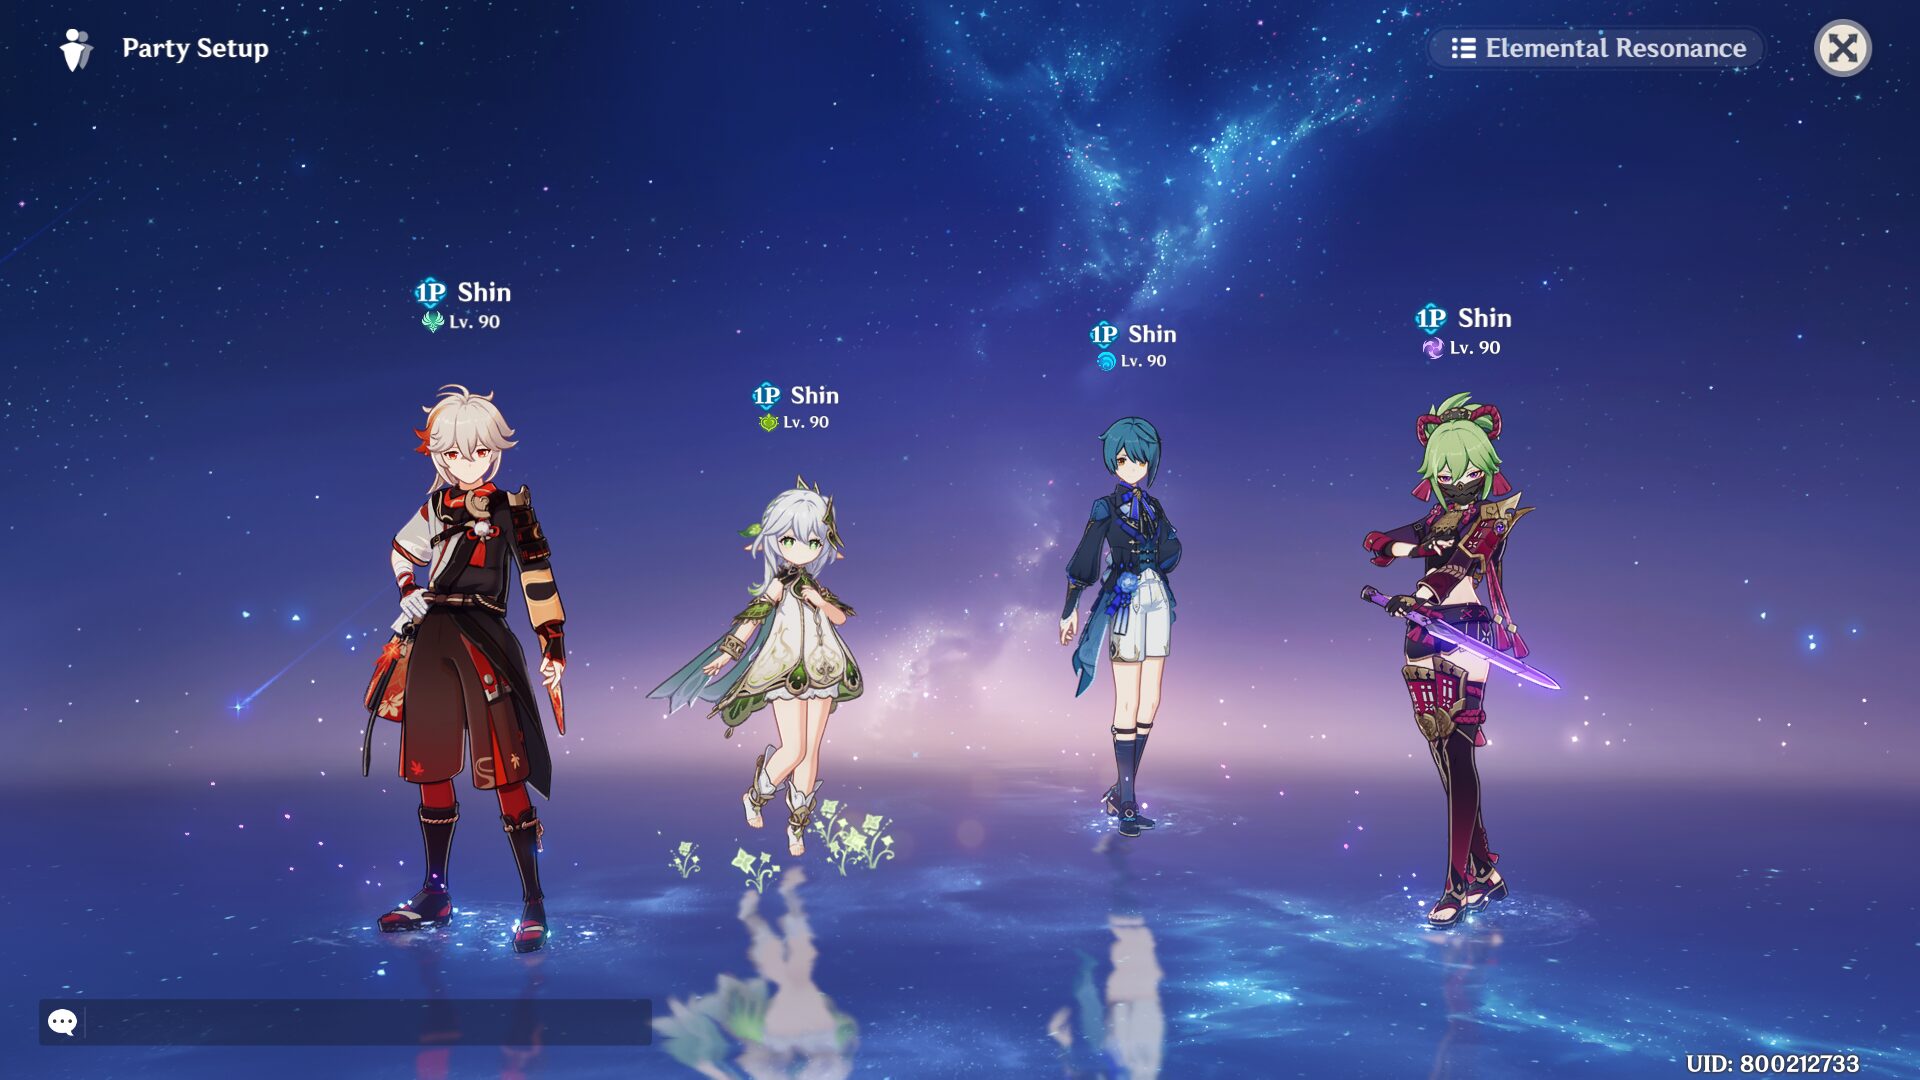
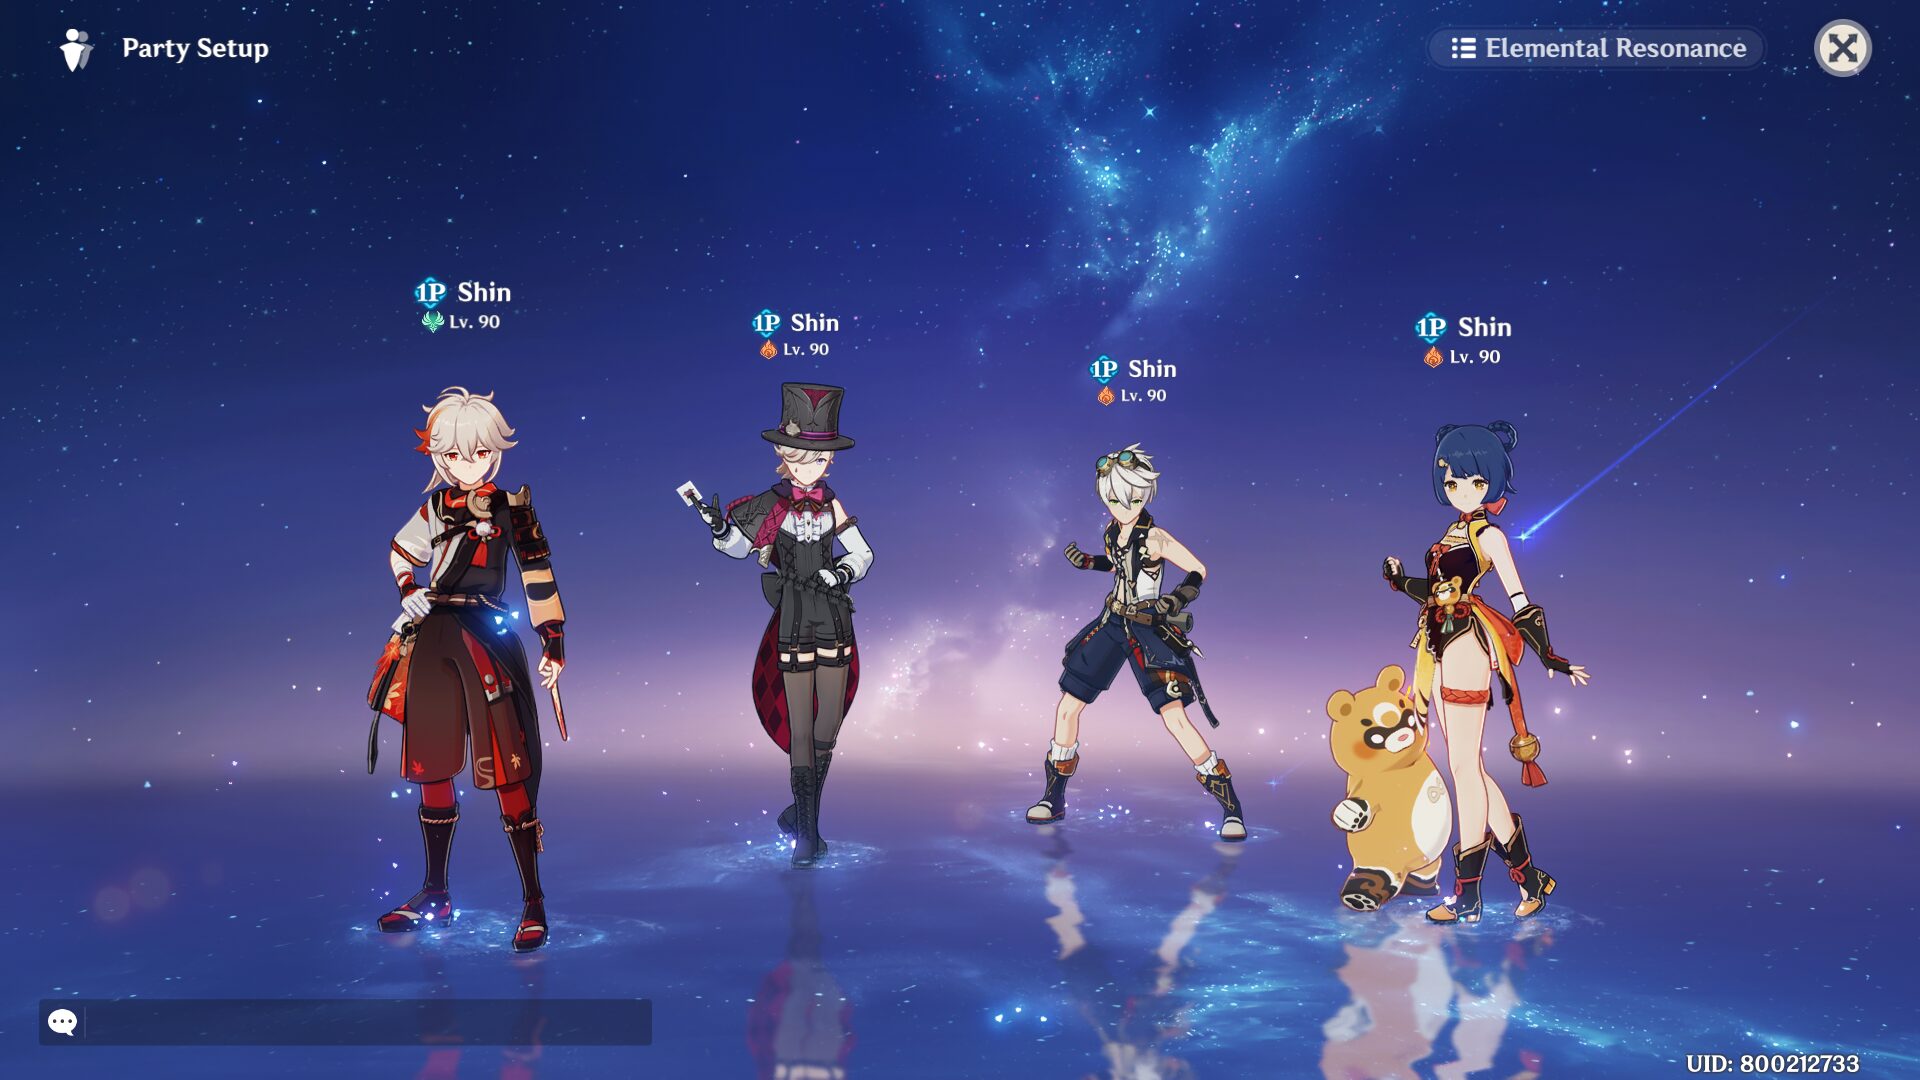
Aggravate/Quicken Team
Kazuha: Buffer Buffer Buffer
Keqing / Raiden Shogun: Main DPS
Fischl / Yae Miko: Off-field Electro application
Kirara / Nahida / DMC / Yaoyao: Off-field Dendro application
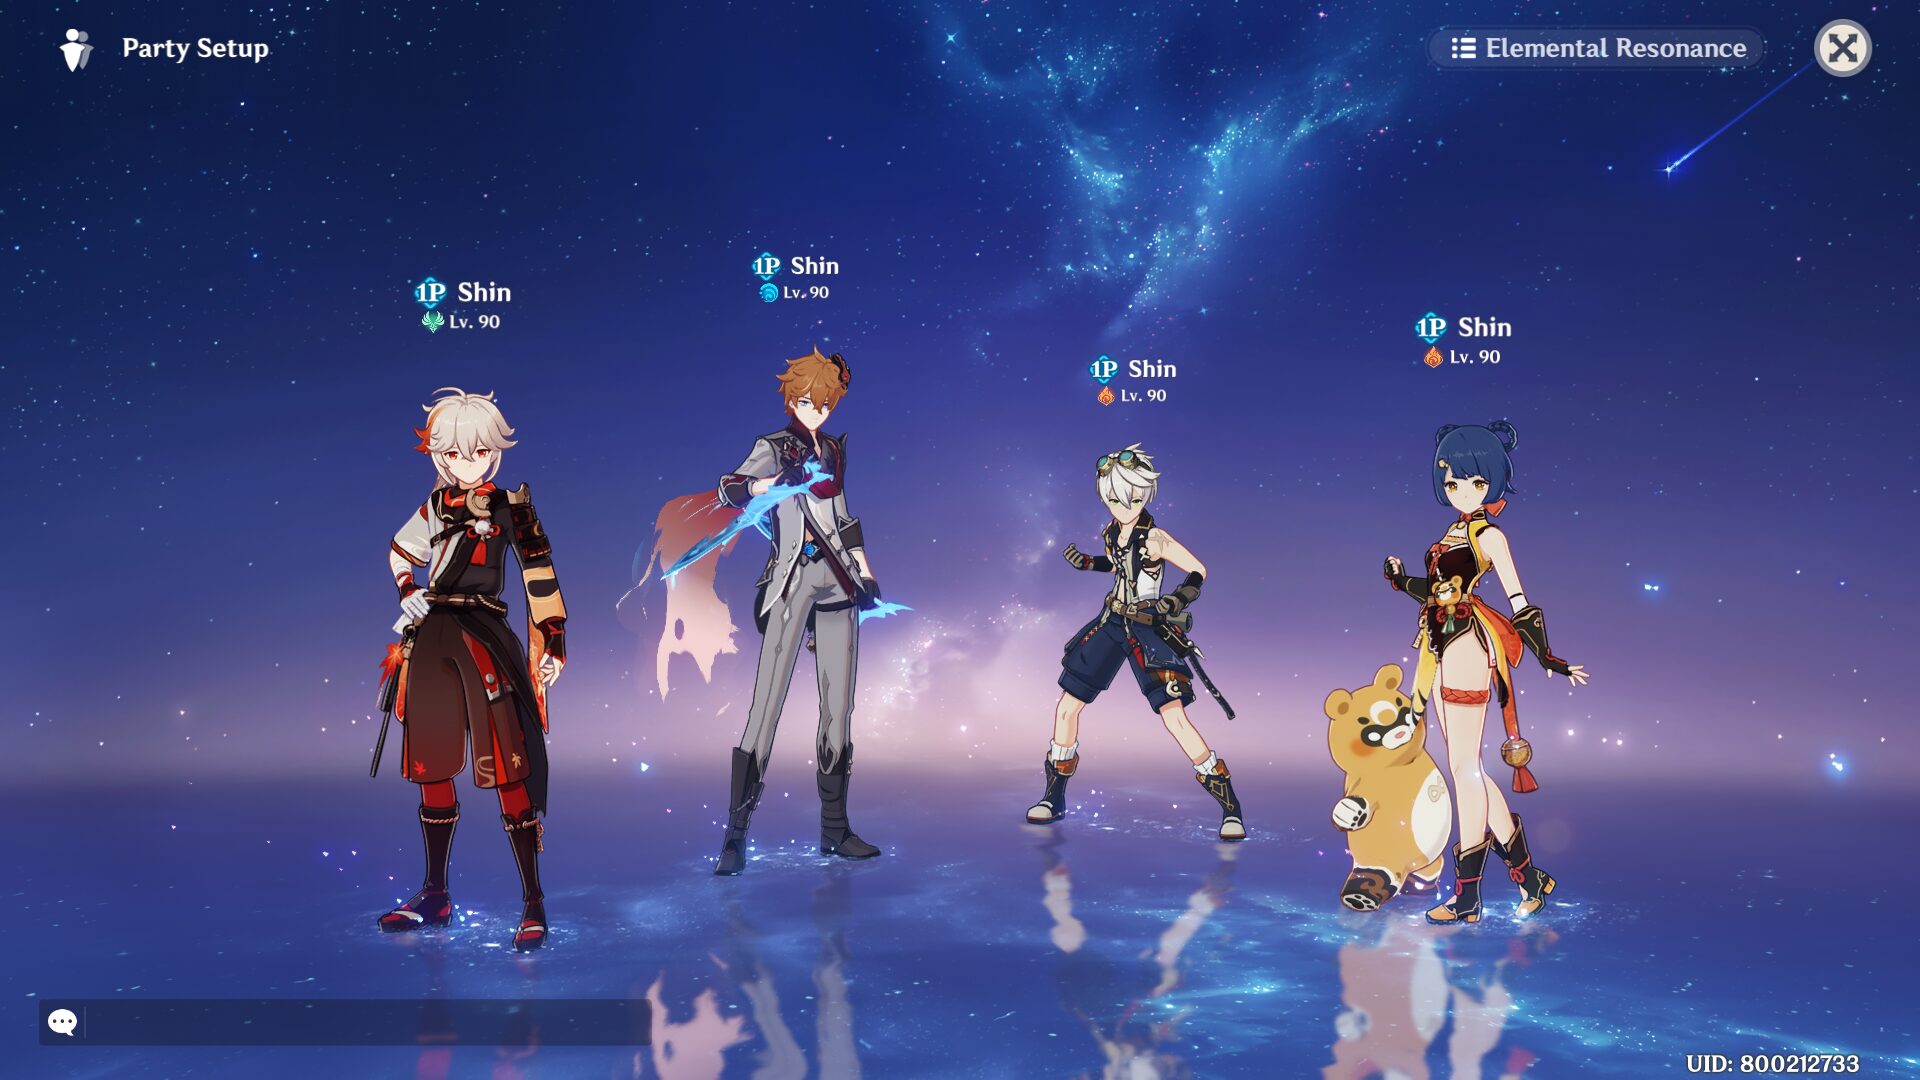
Hyperbloom Team
Kazuha: Buffer Buffer Buffer
Nahida / Alhaitham: On-field Dendro application
Xingqiu / Yelan / Kokomi: Off-field Hydro application
Raiden Shogun / Kuki Shinobu: Hyperbloom trigger
Burgeon Team
Kazuha: Buffer Buffer Buffer
Nahida: On-field Dendro application
Xingqiu / Yelan / Kokomi / Barbara: Off-field Hydro application
Bennett / Thoma: Burgeon trigger
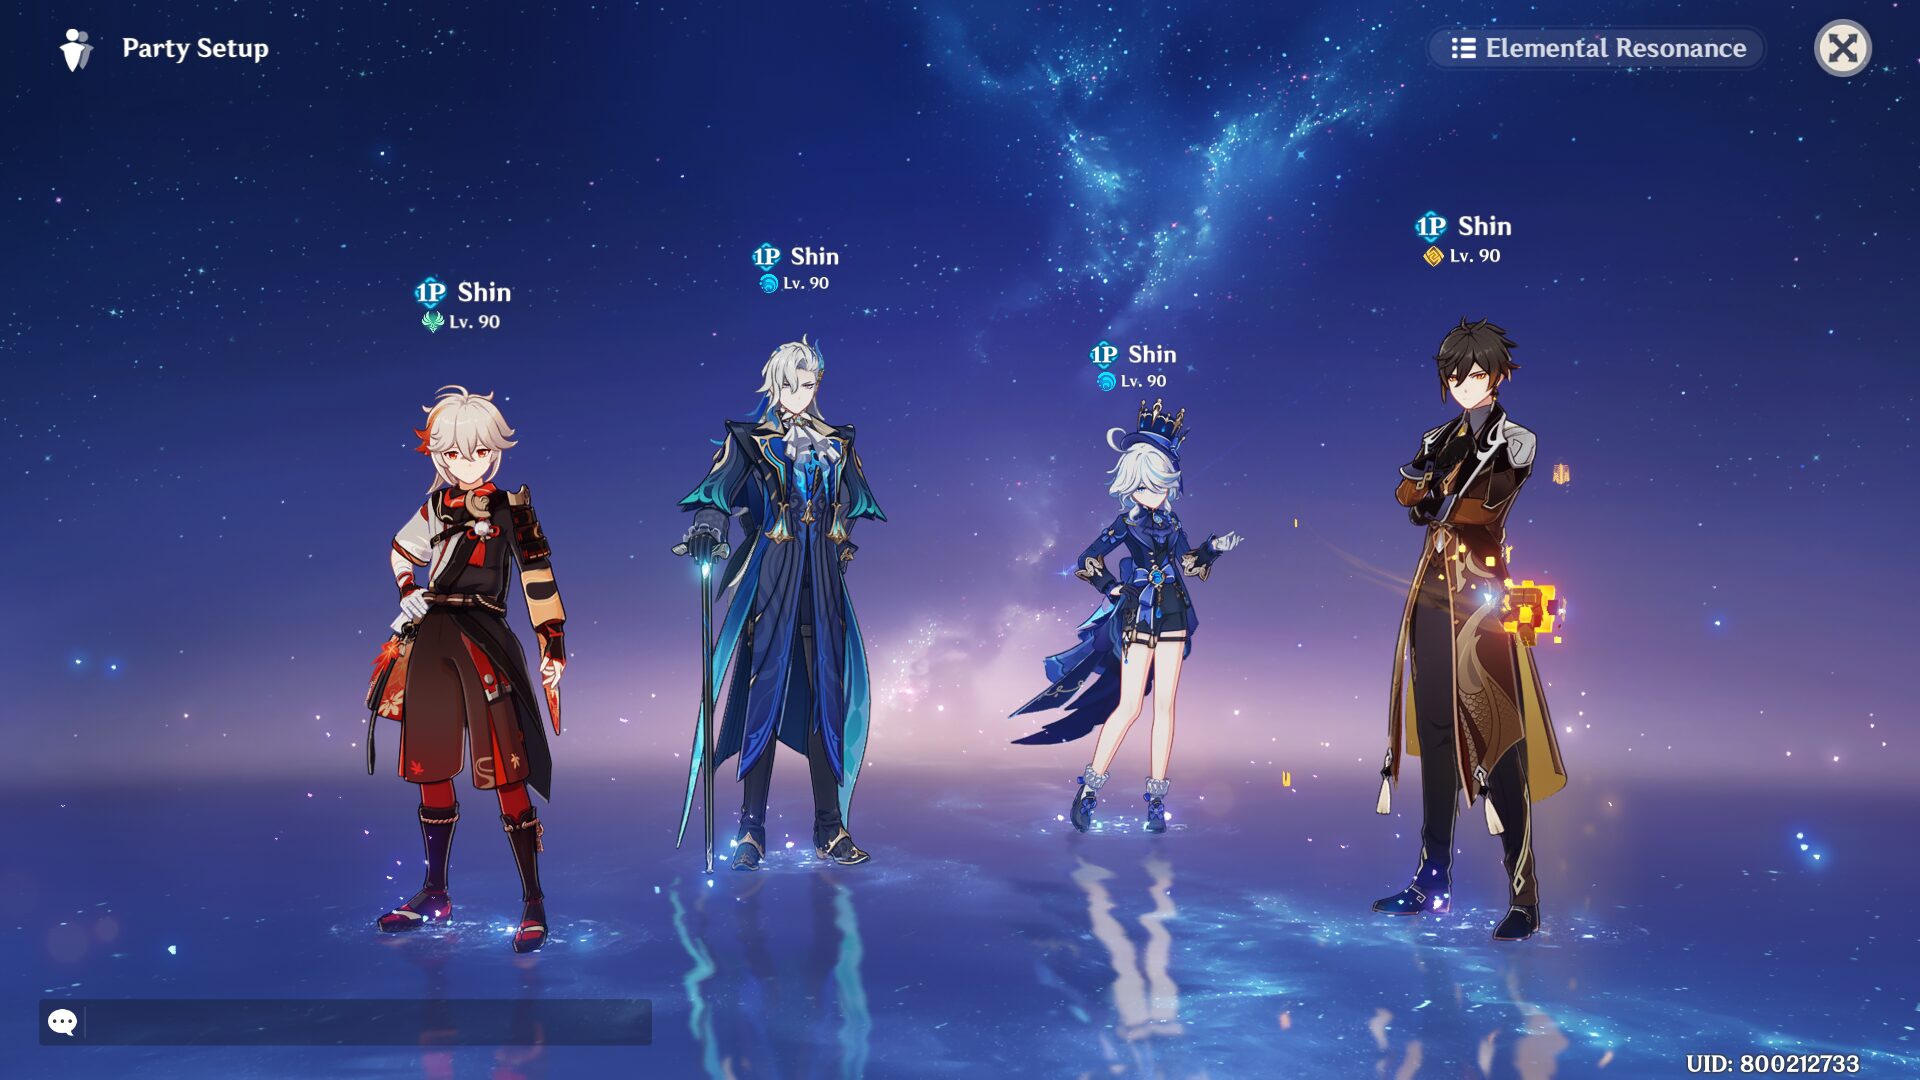
Freeze Team
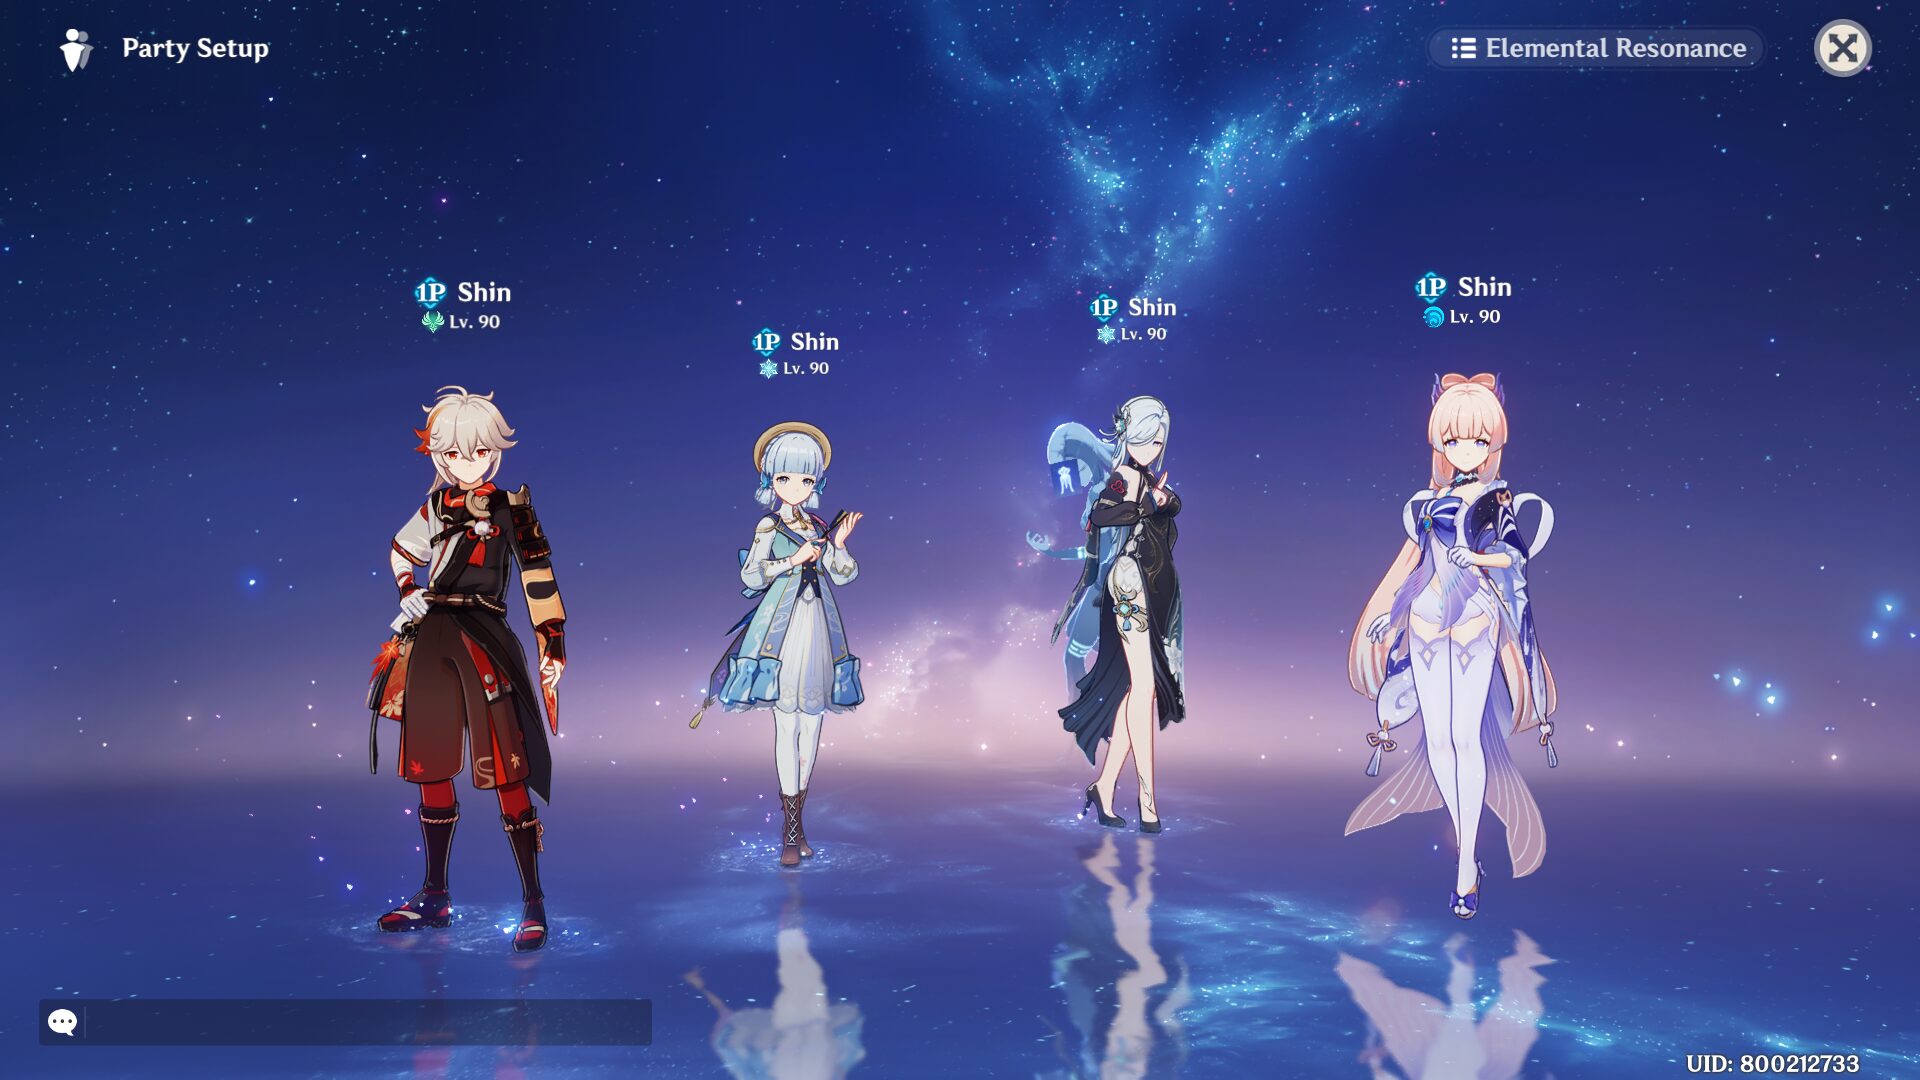
Kazuha: Buffer
Kamisato Ayaka: Main DPS
Shenhe / Rosaria: Support
Sangonomiya Kokomi: Healer + TTDS catalyst
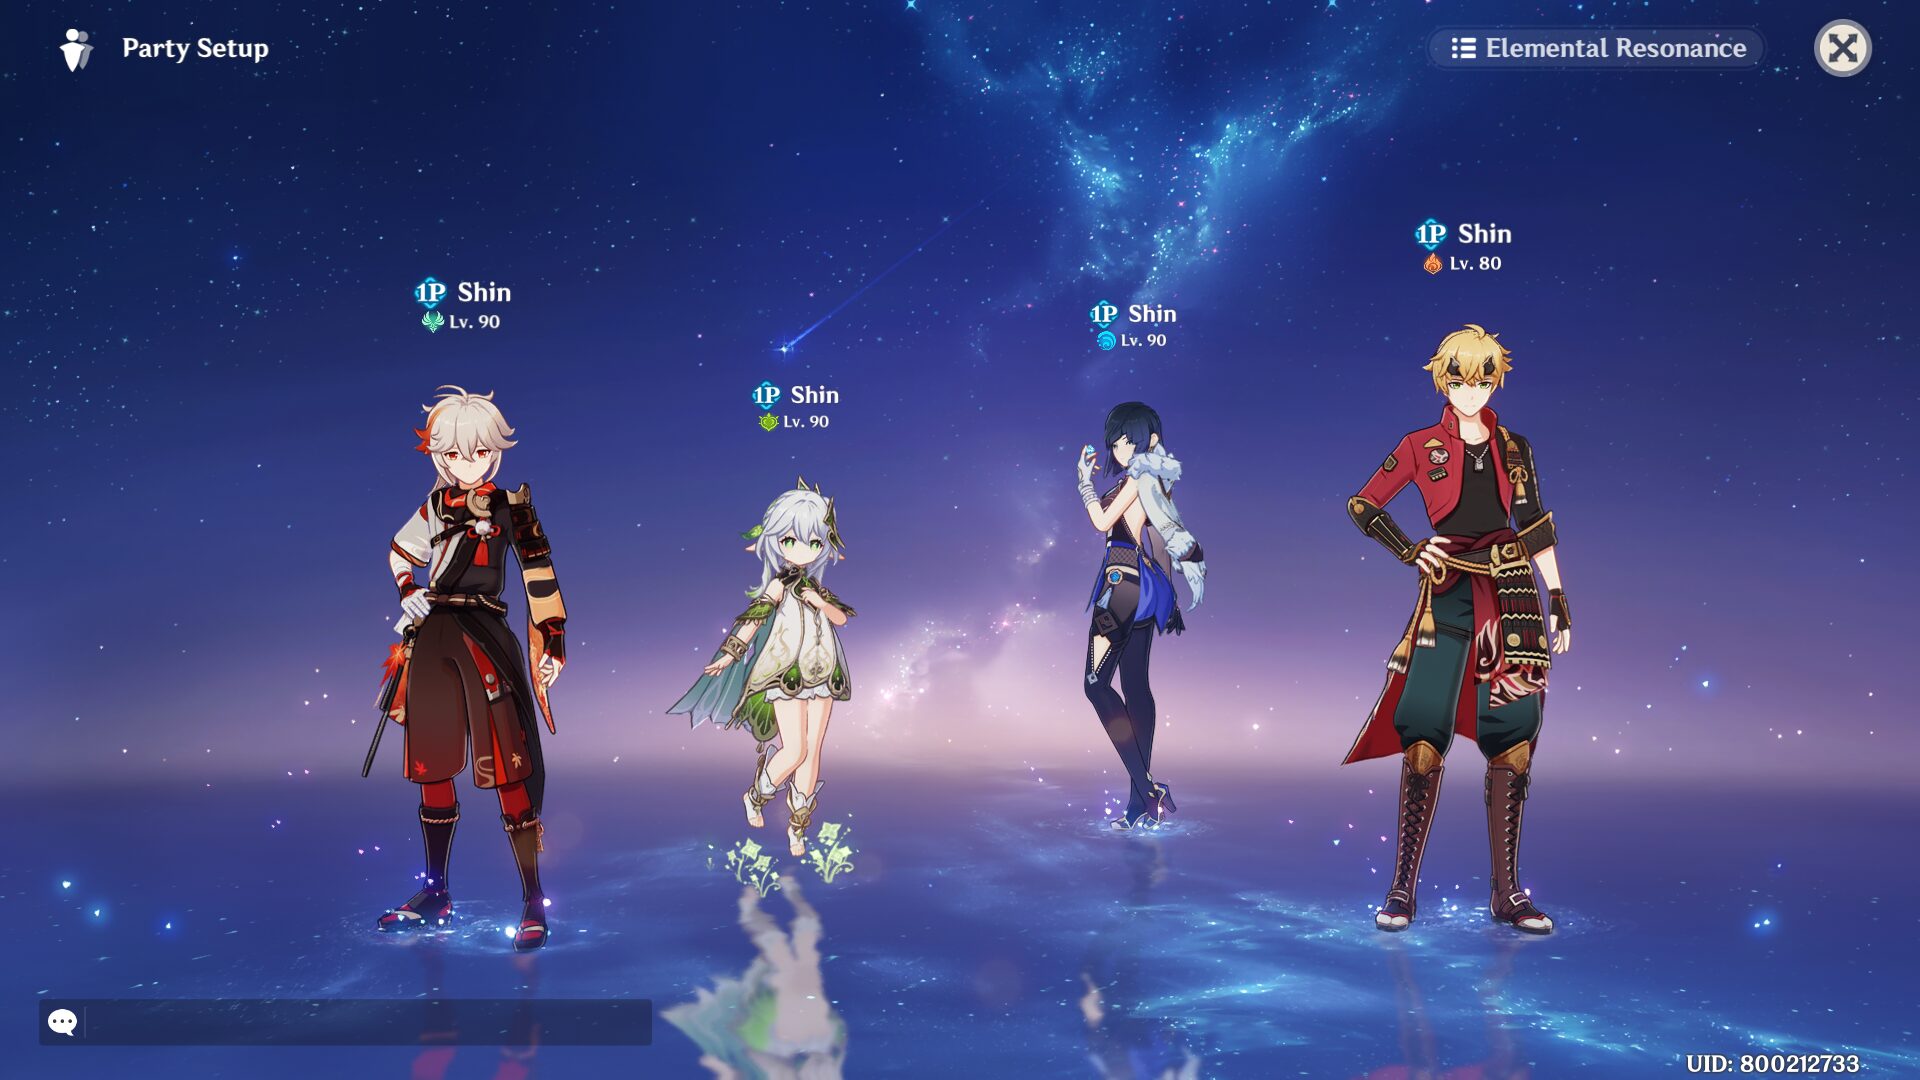
Reverse Vape Team
Kazuha: Buffer
Tartaglia: Main DPS
Bennett: Buffer + Healer
Xiangling: Off-Field Sub-DPS
Mono & Hypercarry Team
Kazuha: Buffer
Lyney: Main DPS
Bennett: Buffer + Healer
Xiangling: Off-Field Sub-DPS
Kazuha: Buffer
Neuvillette: Main DPS
Furina: Buffer + Sub-DPS
Zhongli: Shielder
Triple Anemo Team

Kazuha: Buffer
Xiao: Main DPS
Faruzan: Buffer
Zhongli: Shielder

SoraHoshina
Articles: 173More Articles

Genshin Impact Codes – April 2024

Genshin Impact: Vibro-Crystal Applications Event Guide

Genshin Impact: All New Fontaine World Quests in Version 4.6

Genshin Impact: Where His Life Lies Quest Guide
Genshin Impact: All 8 Lost Grimoire and Bookshelves Location

Genshin Impact: All New Achievements in Version 4.6
Genshin Impact: All 55 Hydroculus in Fontaine V4.6
Genshin Impact: Autoharmonic Music Box All Score Locations
Genshin Impact: Challenger: Series IX Achievement Guide

Genshin Impact: Latecoming Homecoming Quest Guide
Genshin Impact: Canticles of Harmony Chain Quest Guide

Genshin Impact: Version 4.5 Tier List (April 2024)

Genshin Impact: Barbara Quick Character Guide
Genshin Impact: Xingqiu Quick Character Guide
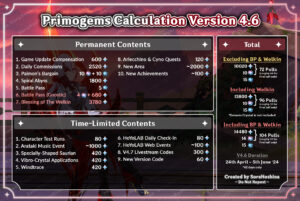
Genshin Impact: Primogems Calculation for Version 4.6

Genshin Impact: Version 4.6 Special Program Livestream Overview
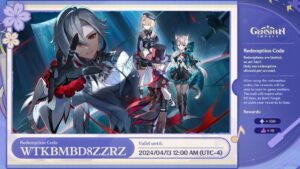
Genshin Impact: 3 New Redemption Codes from 4.6 Special Program

Genshin Impact: Version 4.6 Livestream Countdown

Genshin Impact: Yanfei Quick Character Guide